We have been quite busy with work and have functions to cater this weekend both on Saturday and Sunday, plus there is a classic car show we want to go to on Sunday afternoon, with our car.
This has meant that there hasn’t been much time to spare for putting the new shed together. My husband has been putting together some of the parts after work some days this week. We decided to take our time as we didn’t want to rush it and make mistakes. We have also been at the mercy of the weather and have only been able to continue on dry days.
Once we had the base together we tried it in the run for size. We then tried one side of the shed, on the base, to check the height and realised that it wasn’t going to fit. We decided that the only thing to do was to cut it down a bit. We decided to cut the bottom “plank” off which reduced the height by seven inches.
This meant a lot of work because the frame is steel and all the frame work had to be cut down. We also needed to cut out the pop hole before we could put the shed together. The shed would have been fairly straight forward to put together if we hadn’t had to make alterations which effected everything.
Despite this I am so pleased that it isn’t so high as this means we will be able to move it around which means I can sweep around and underneath it and wash it and position it differently if I want to. If it had been jammed in height wise we wouldn’t have been able to move it.
Once we had made all the alterations we moved all the parts inside the run and started to put it together. As we had read in the reviews on line the roof was the tricky bit. It was one of those things where you get one side together and another side pops out. Eventually we got it together.
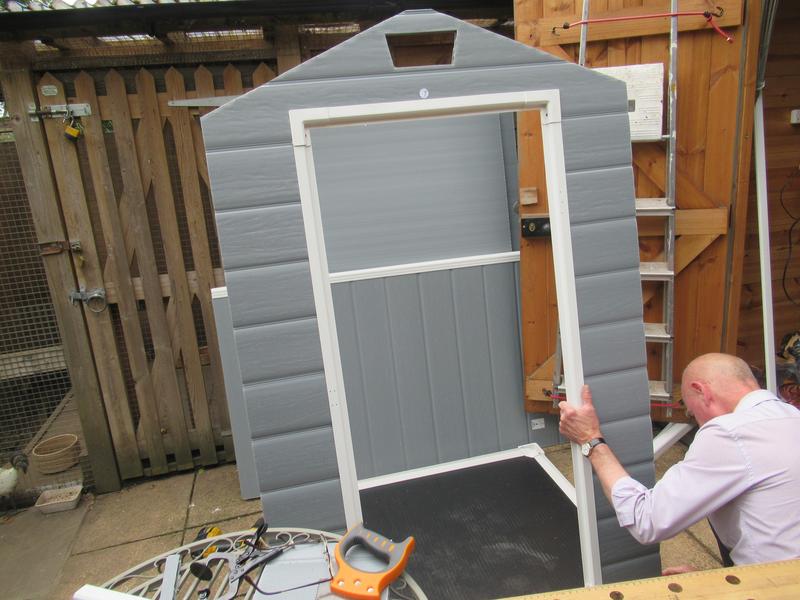
A trial run at putting the shed together
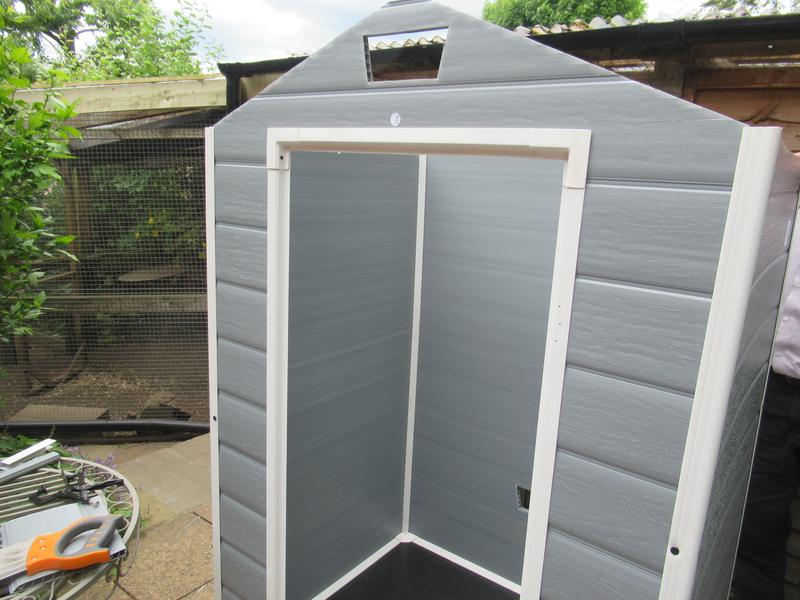
The shell of the shed
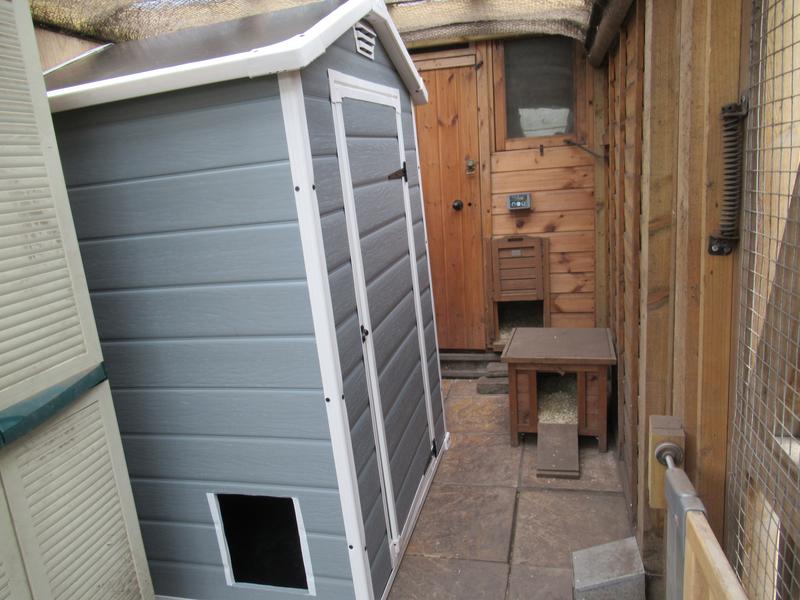
The shed is together inside the run
The shed isn’t in it’s final position as I need to be able to get the old shed door open at the moment so that I can still get in there. Once this shed is up and running it will be pushed back in front of the old shed and I will then decide where the nest boxes will end up.
The pop hole has been cut out but we need to attach the door and the automatic door closer. We also need to put in perches. For now the girls can get used to it being here. I have blocked the pop hole so that they are not tempted to explore inside and possibly poop in there.
There is still more work to be done but for now it is up and it is inside so that is a good start.
 Click here to see the history of my flock.
Looks good, a least you know the rain wont get in.
Yes, it has the advantage that it doesn’t have to be completely weather proof as it is under a dry area. We just need to get the finishing touches added.