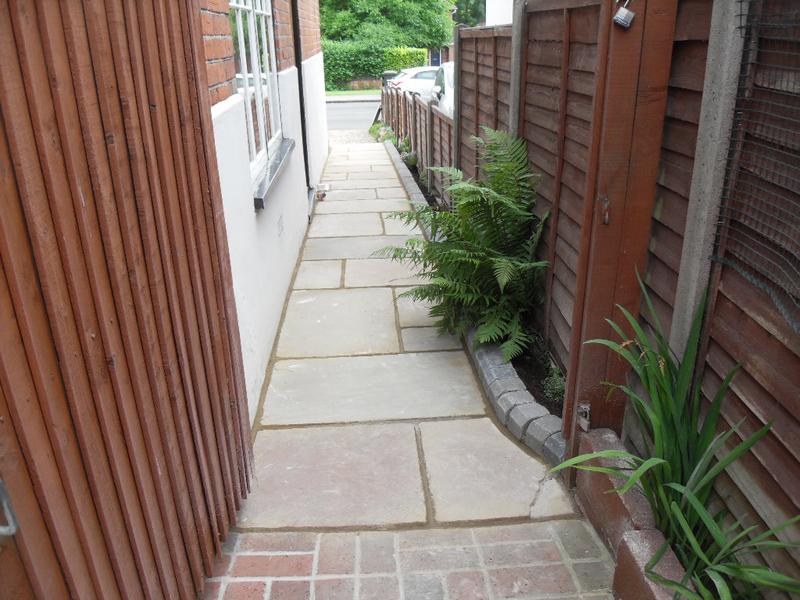
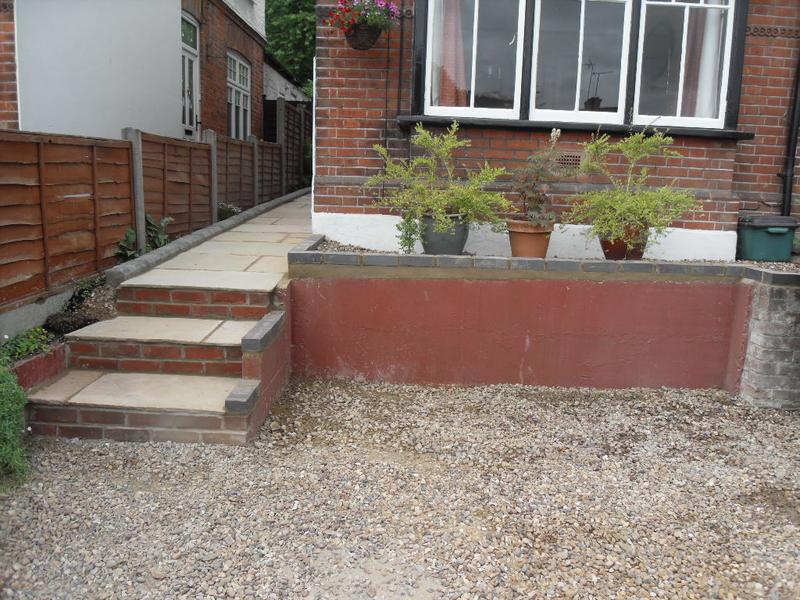
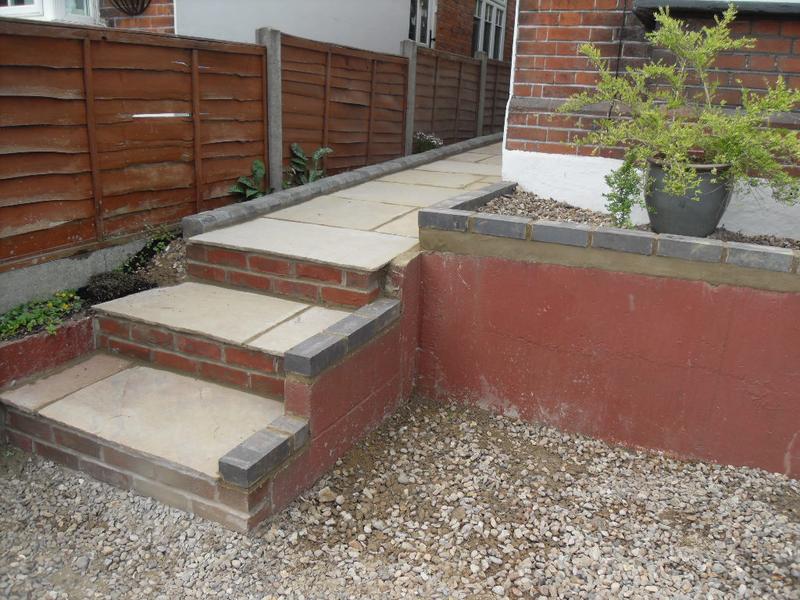
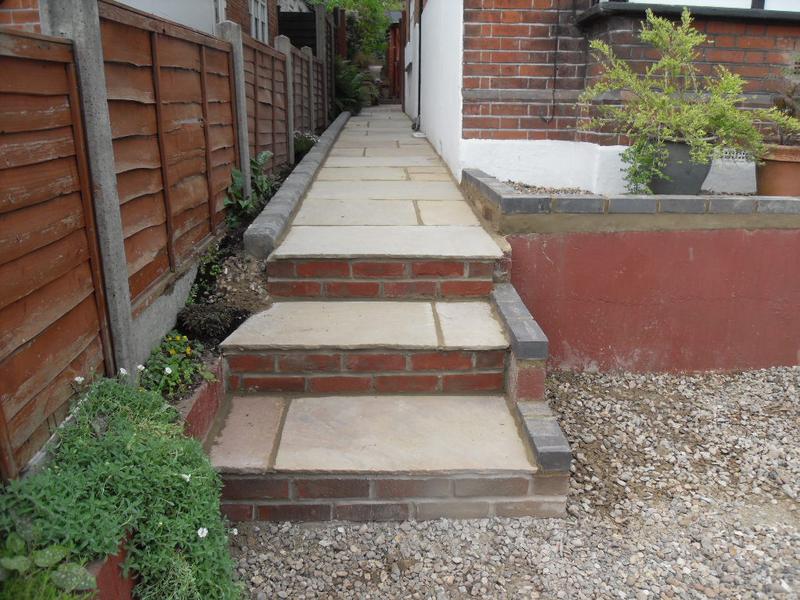
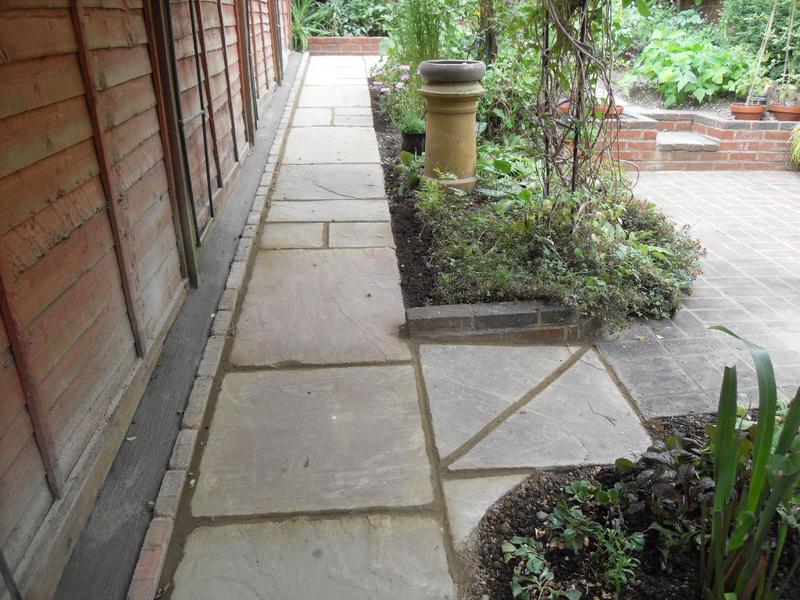
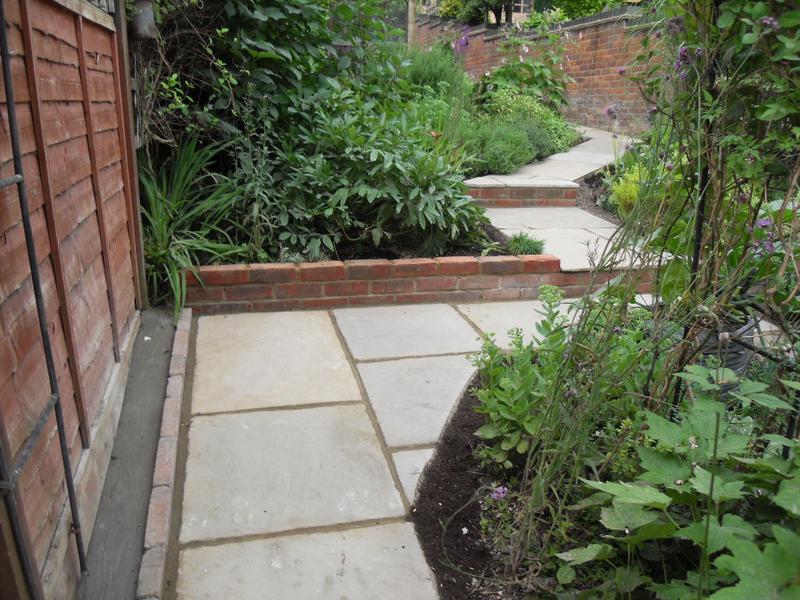
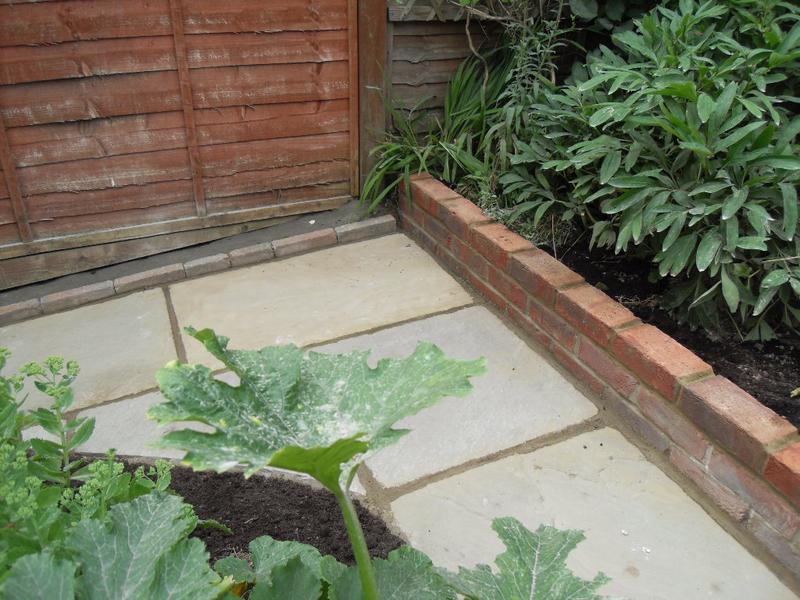
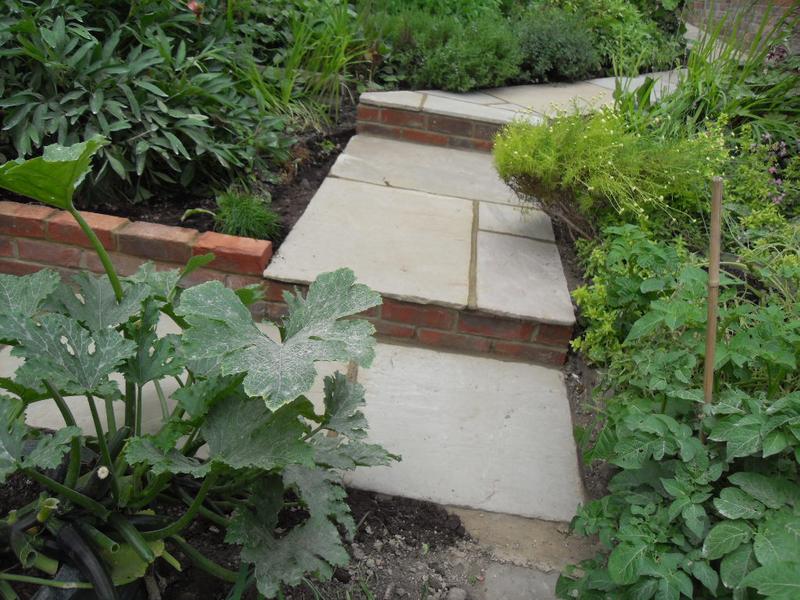
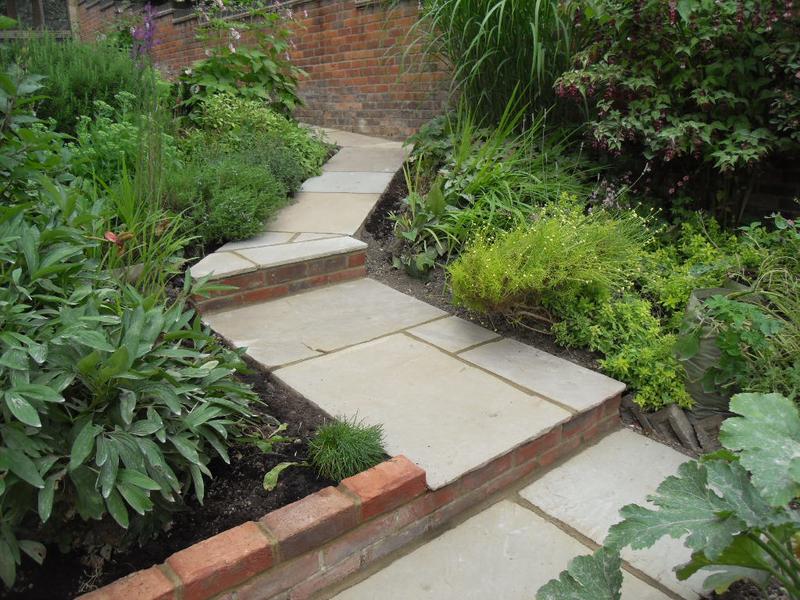
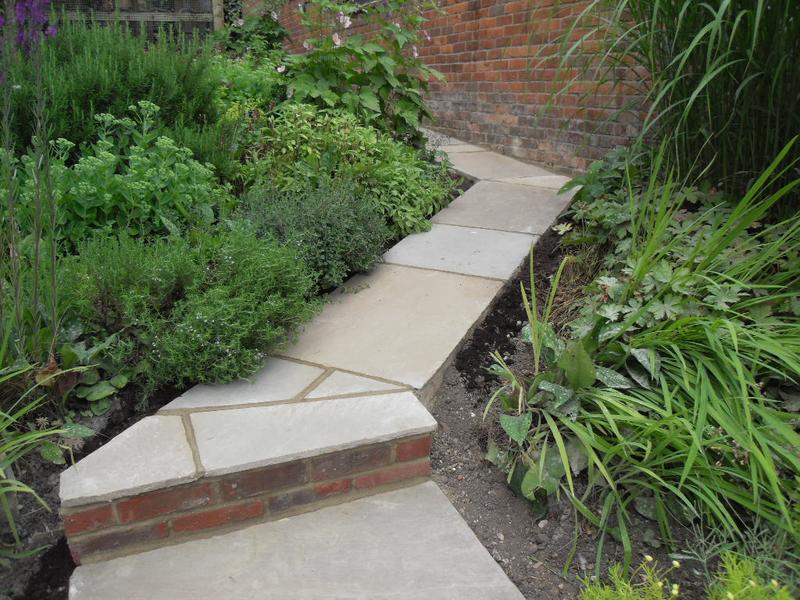
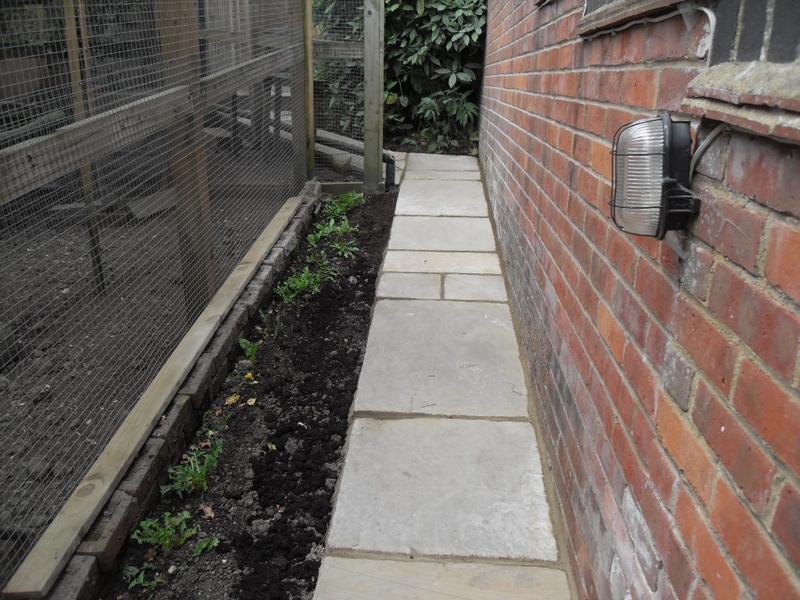
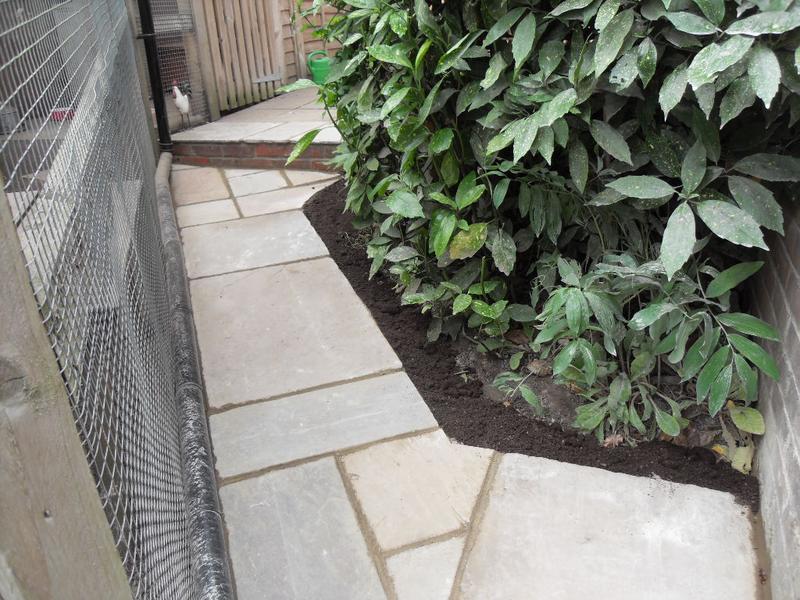
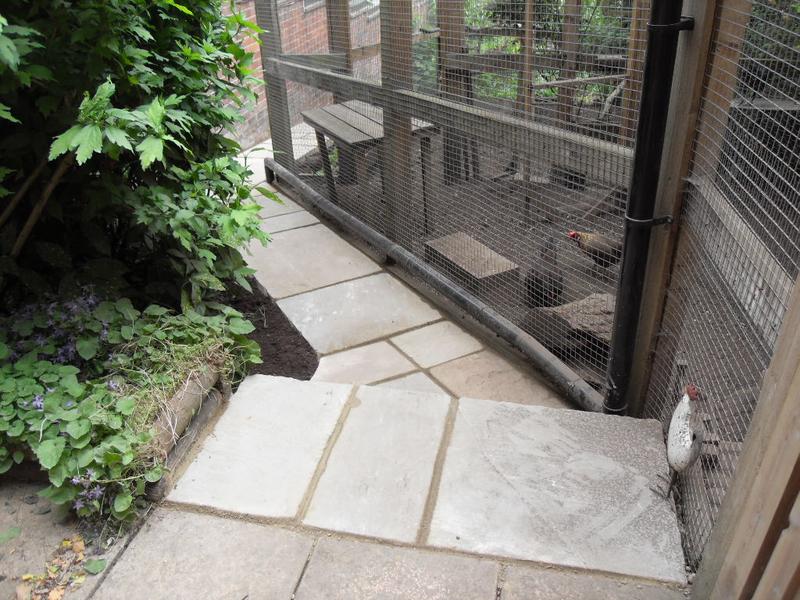
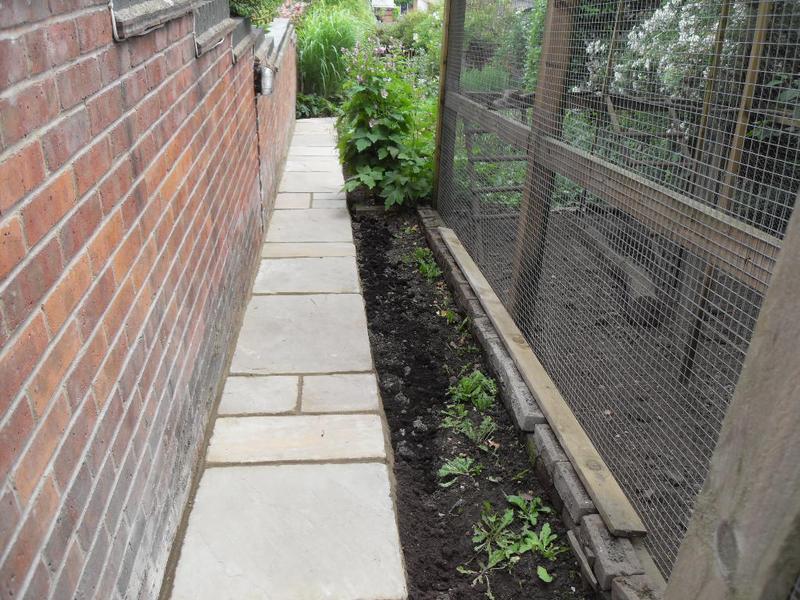
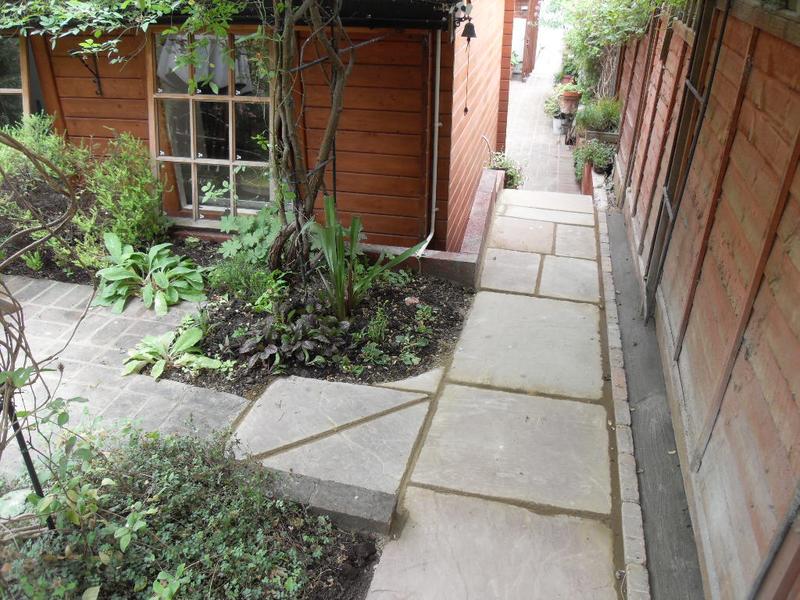
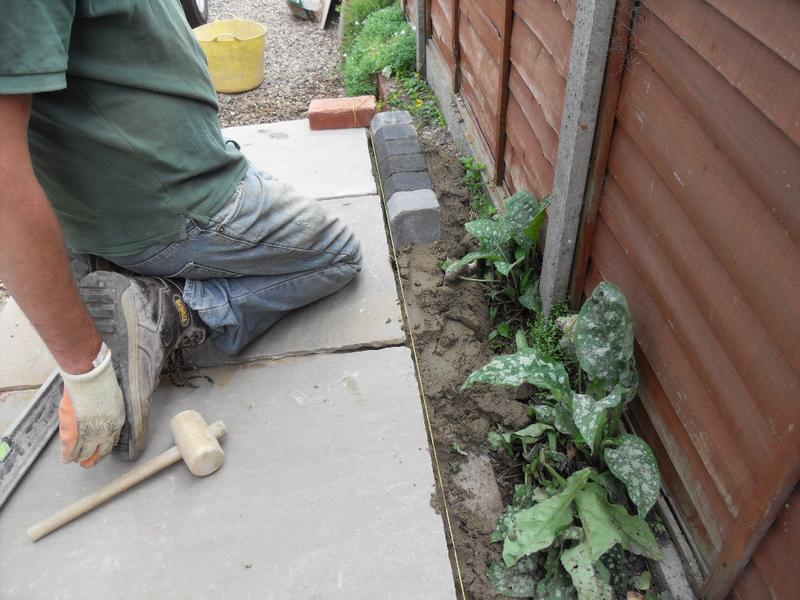
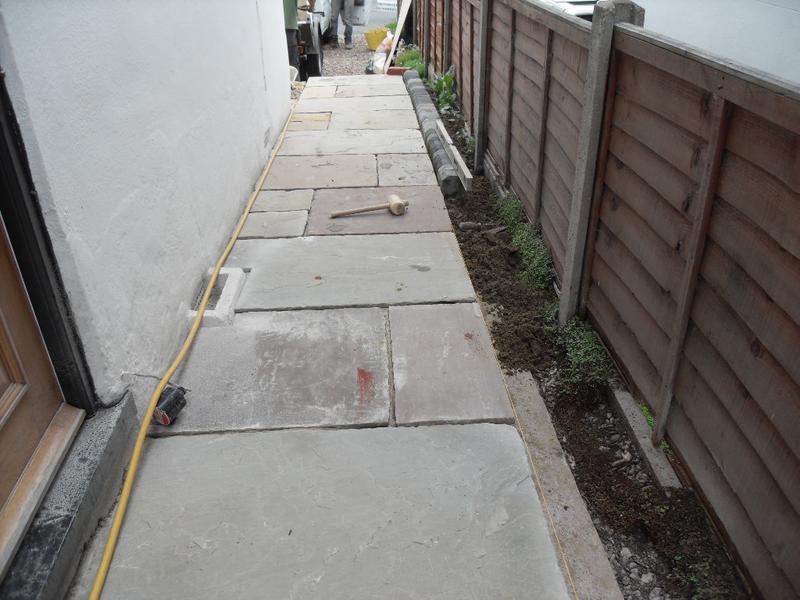
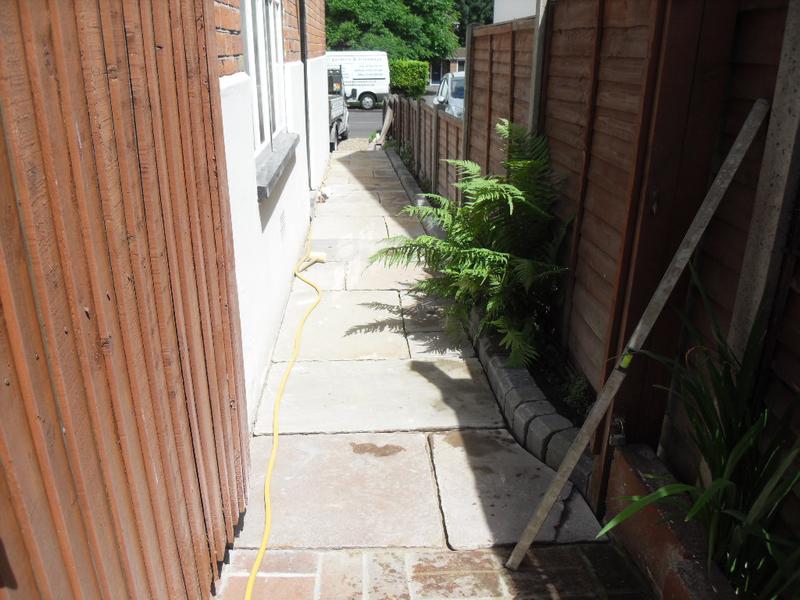
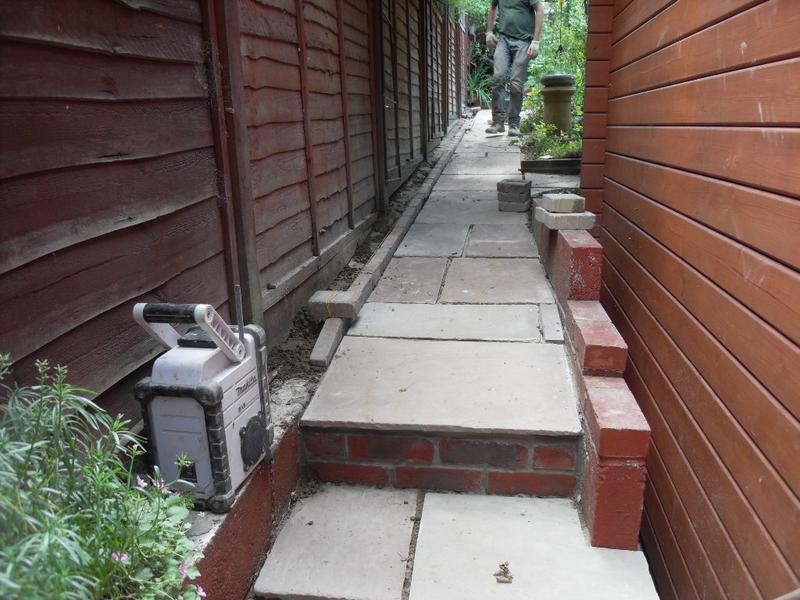
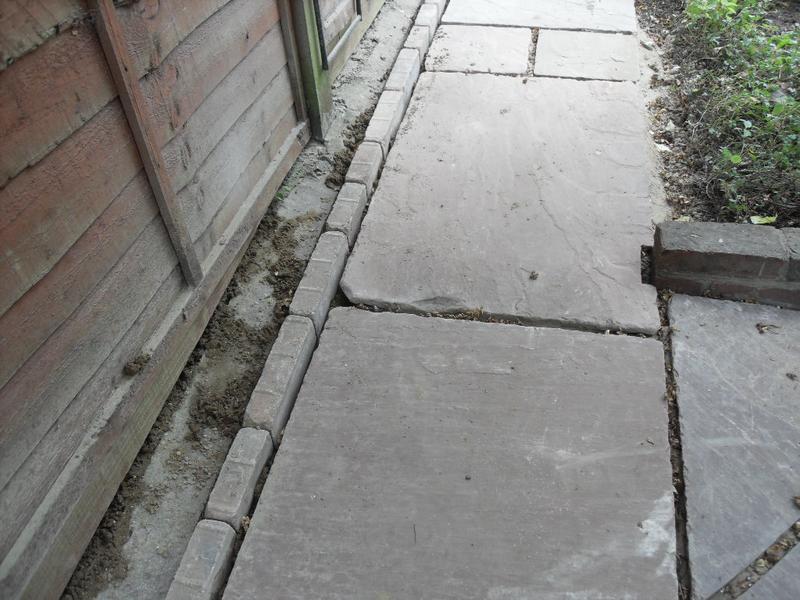
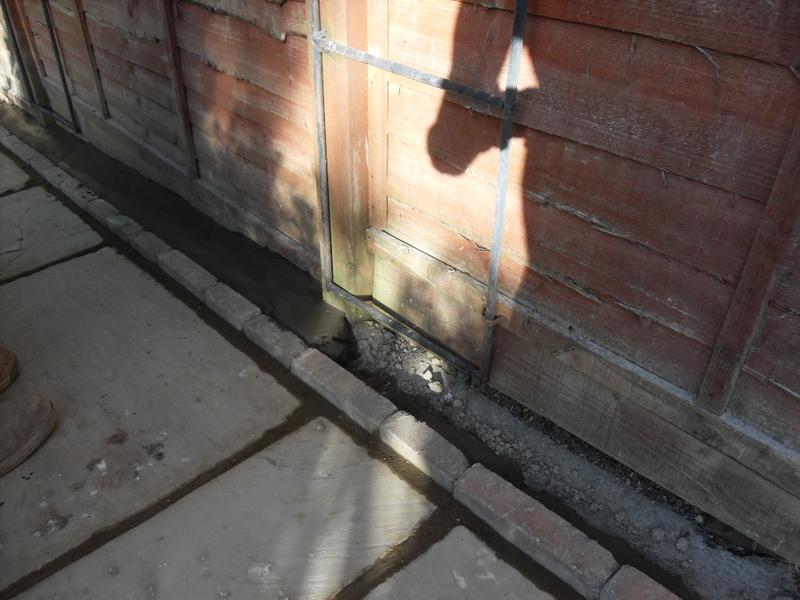
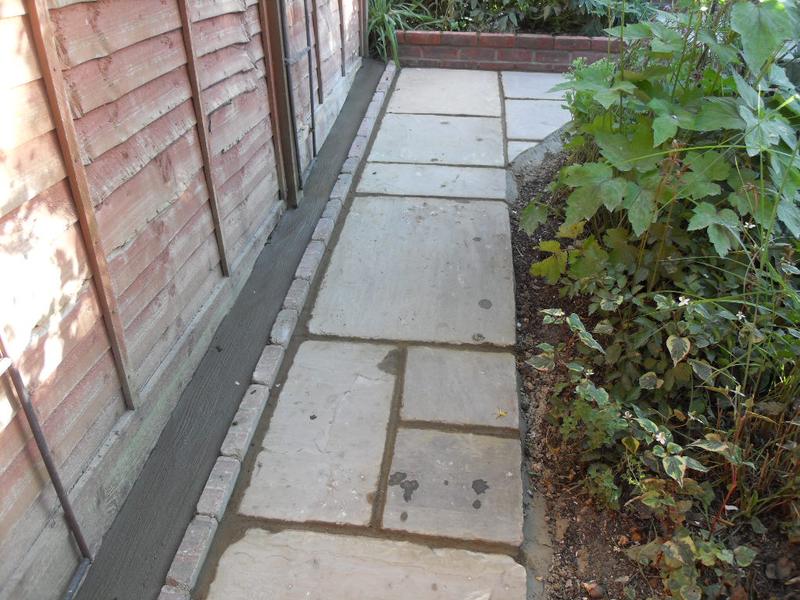
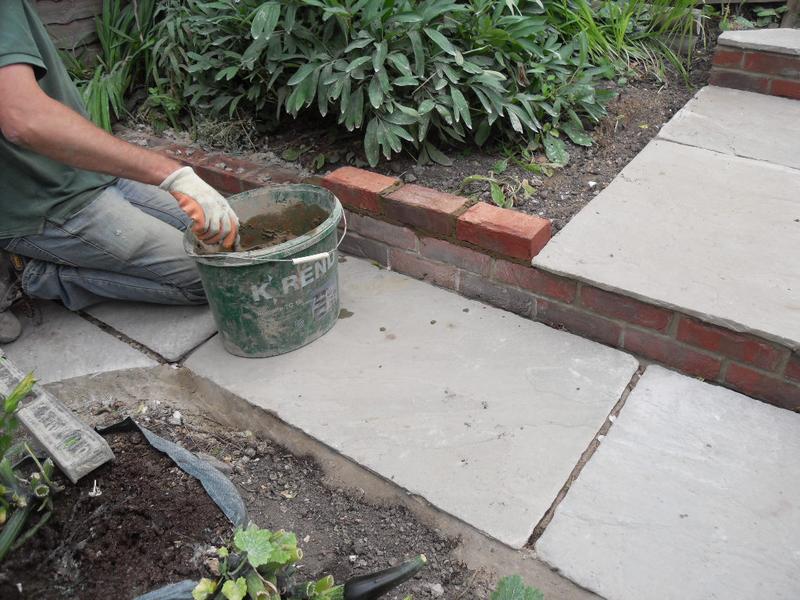
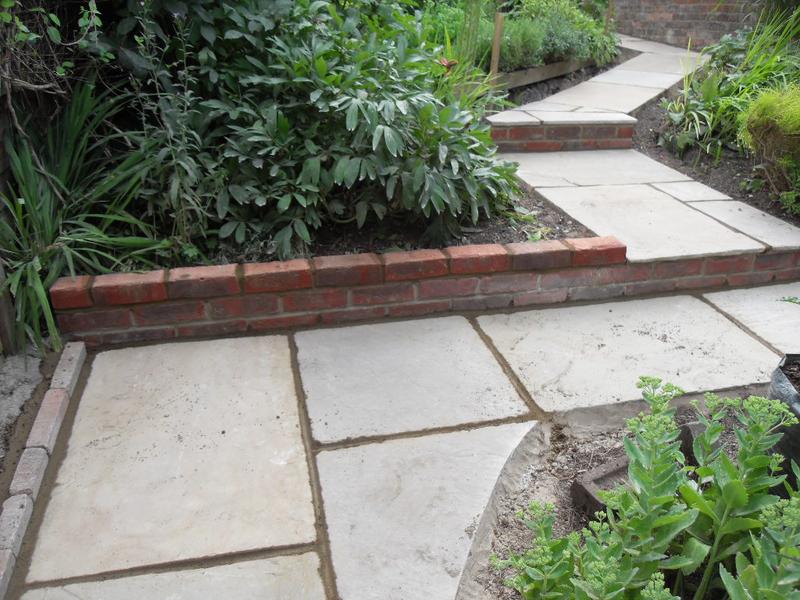
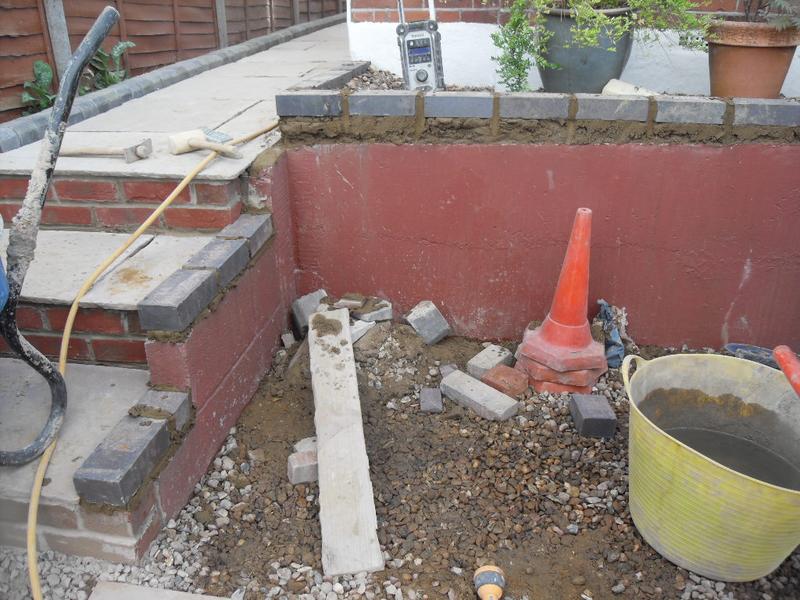
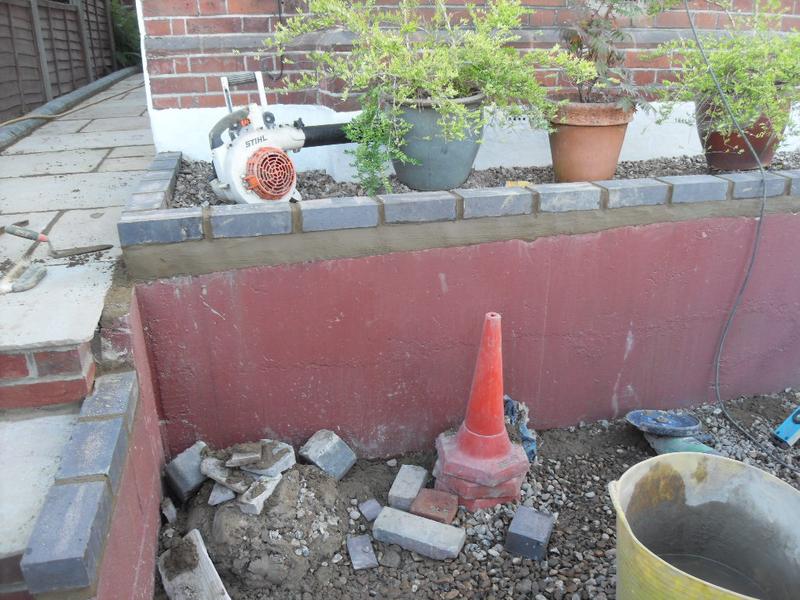
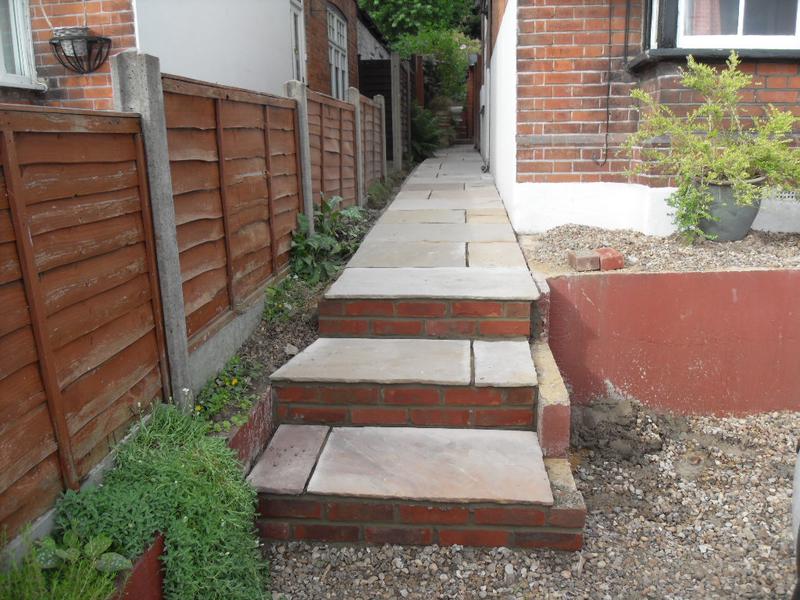
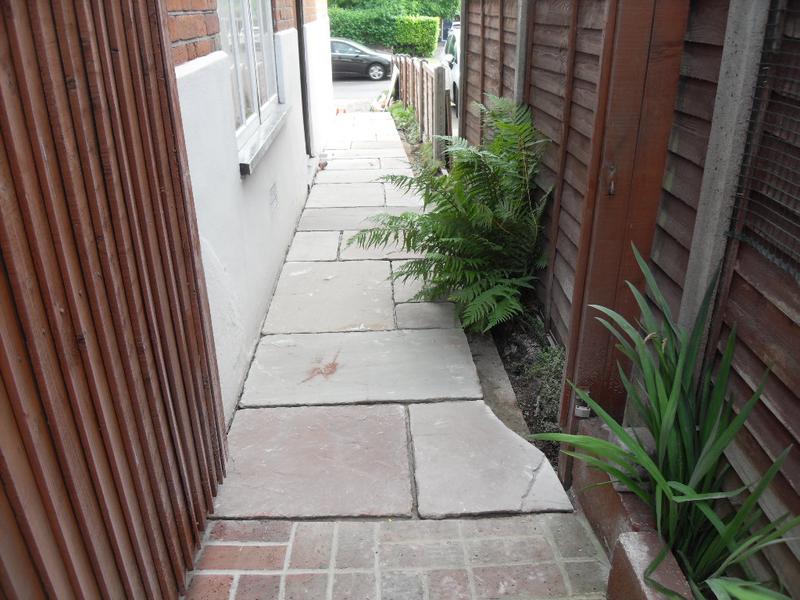
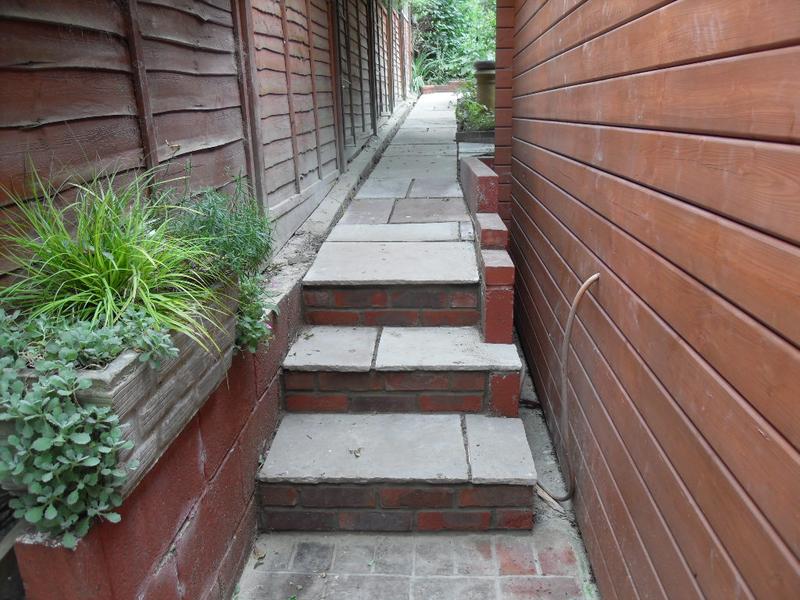
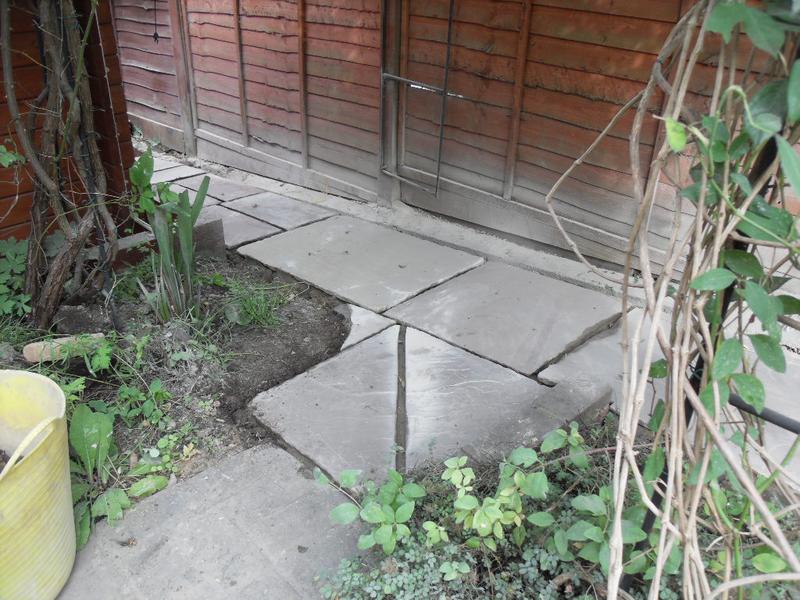
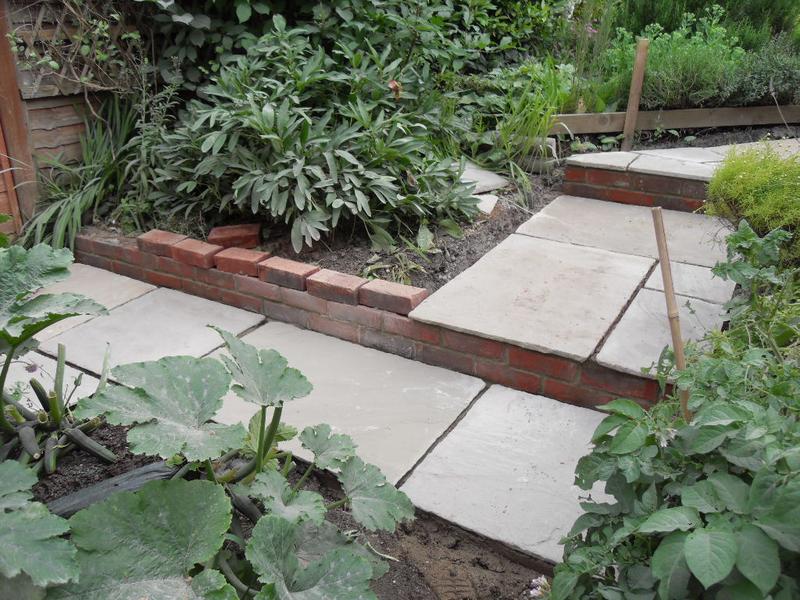
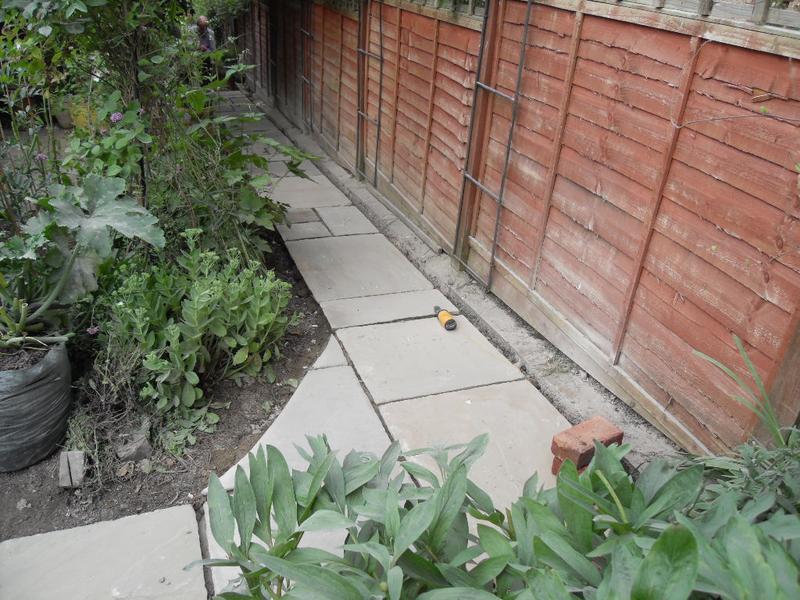
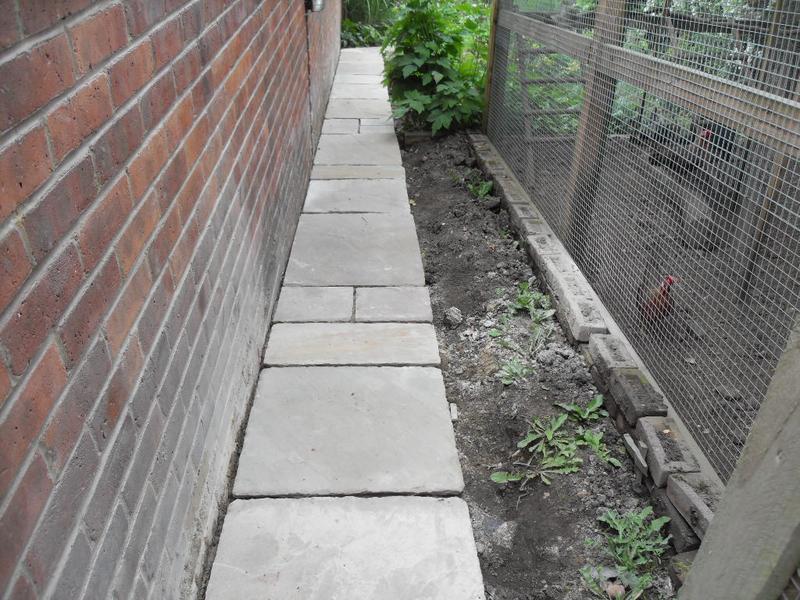
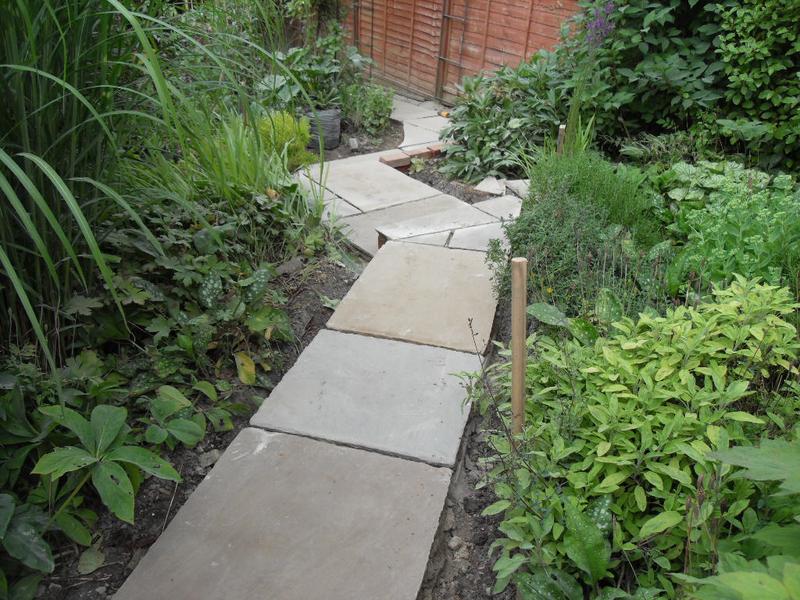
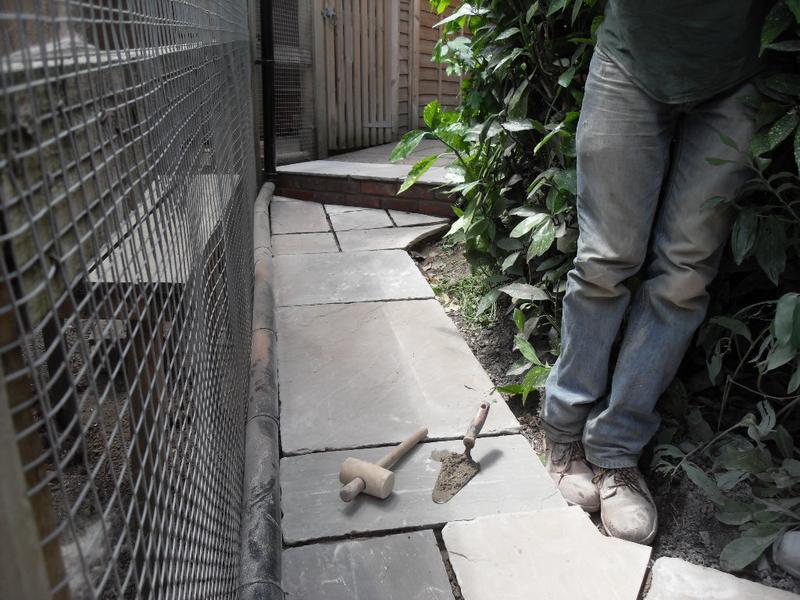
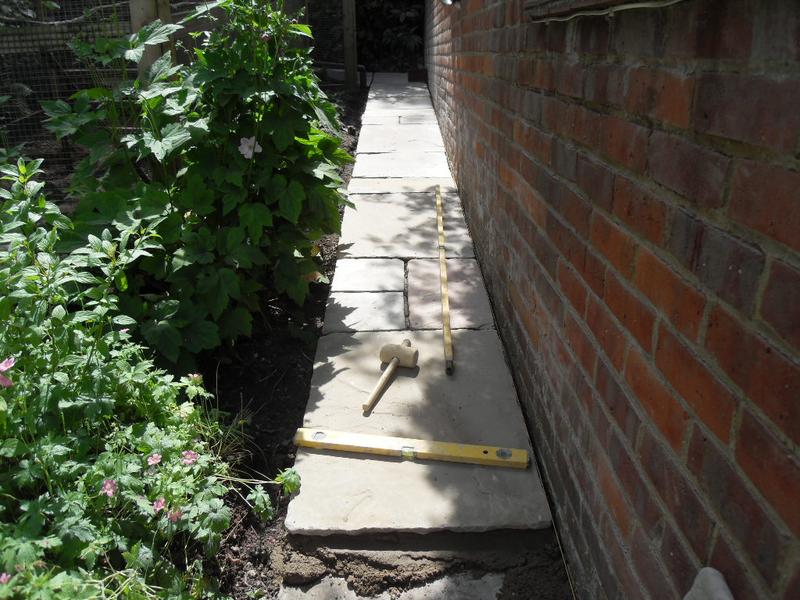
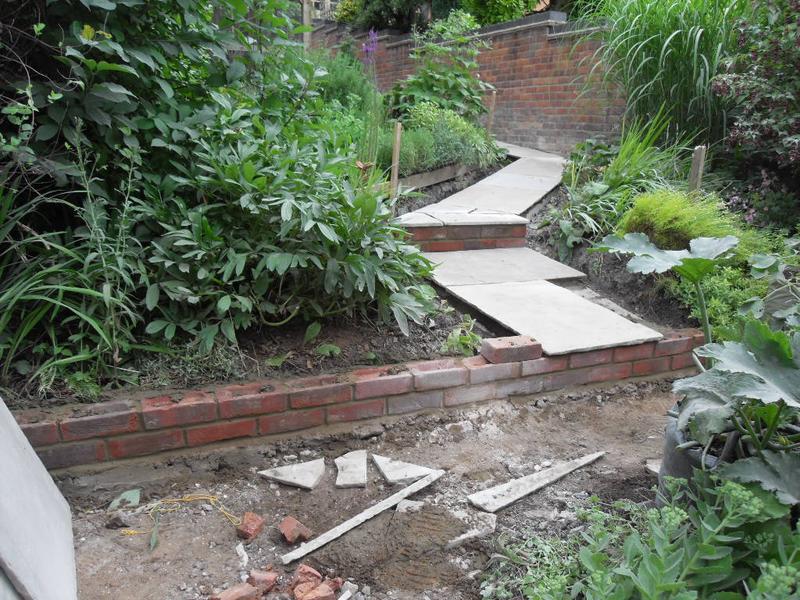
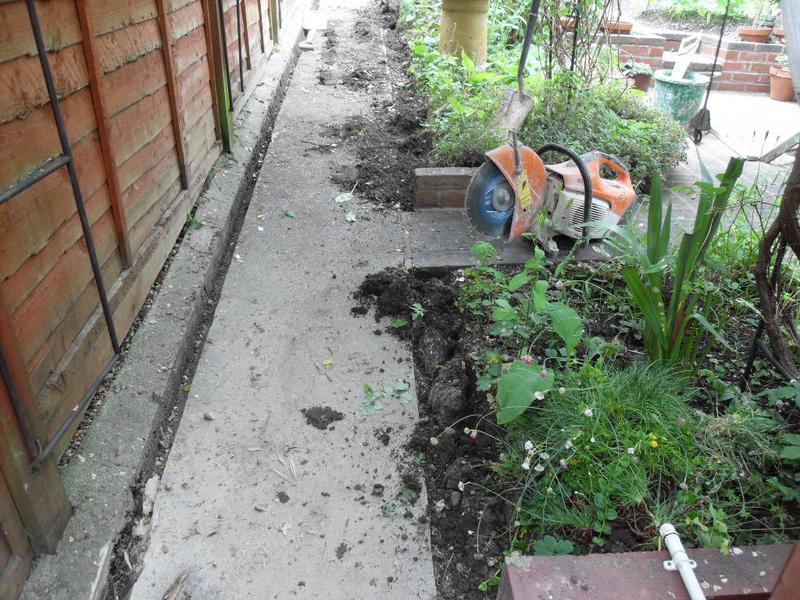
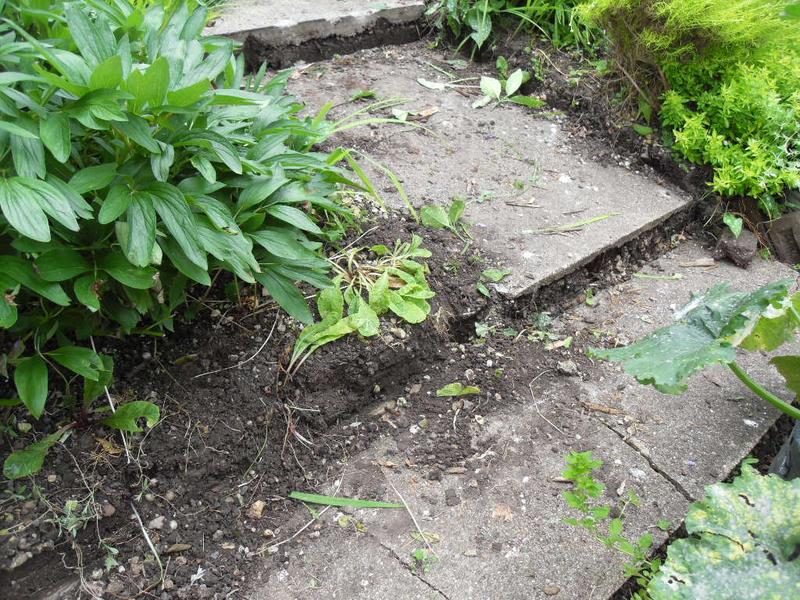
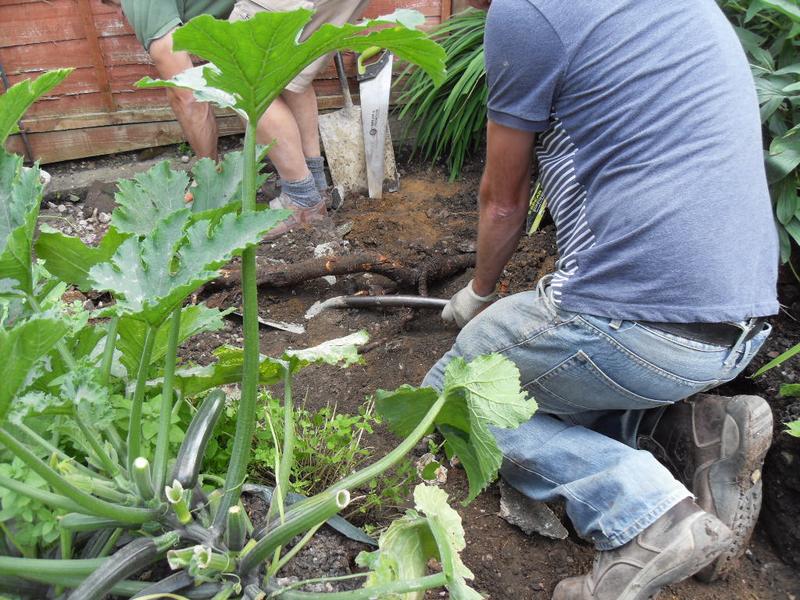
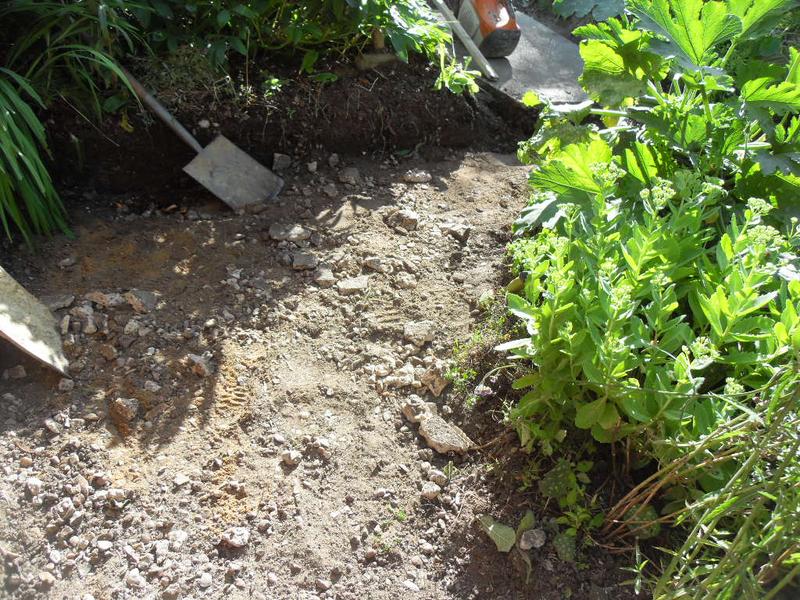
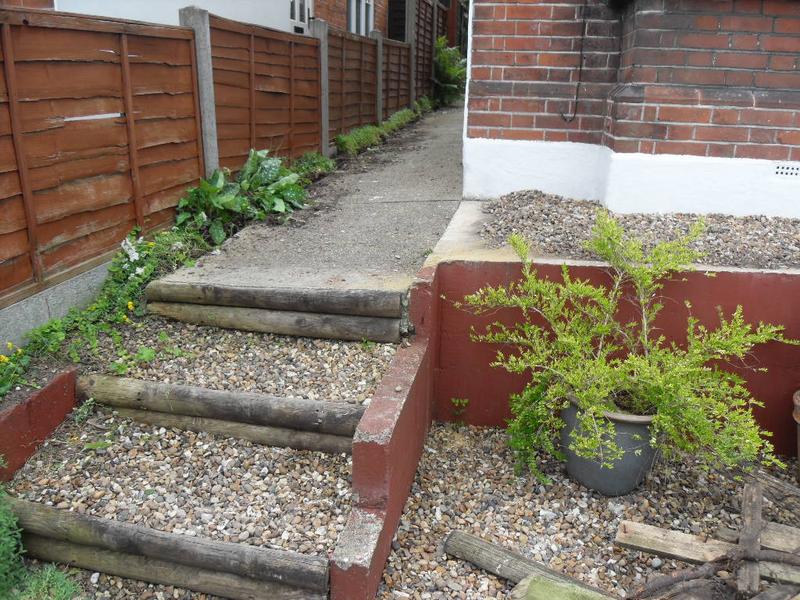
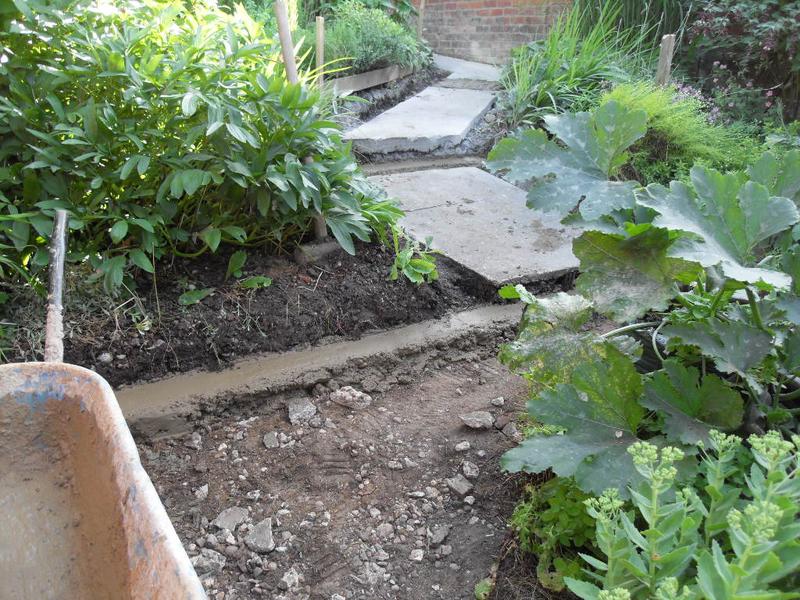
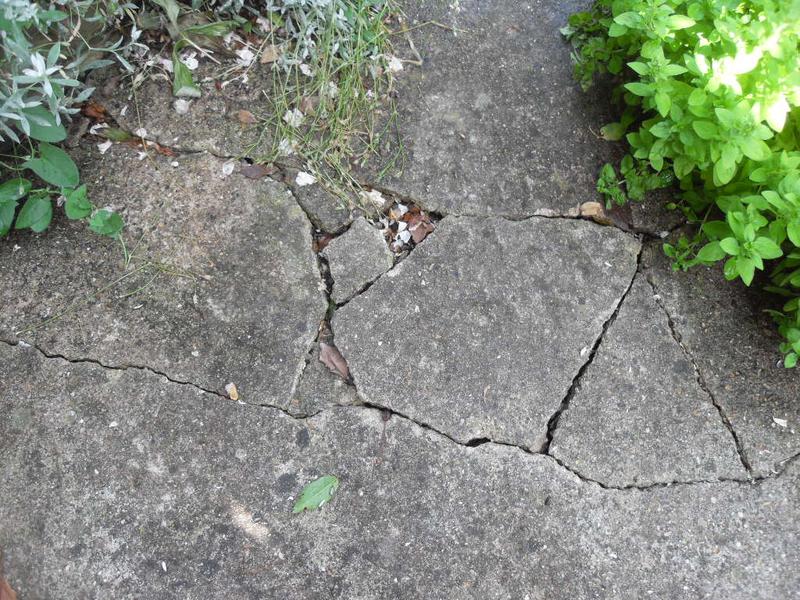
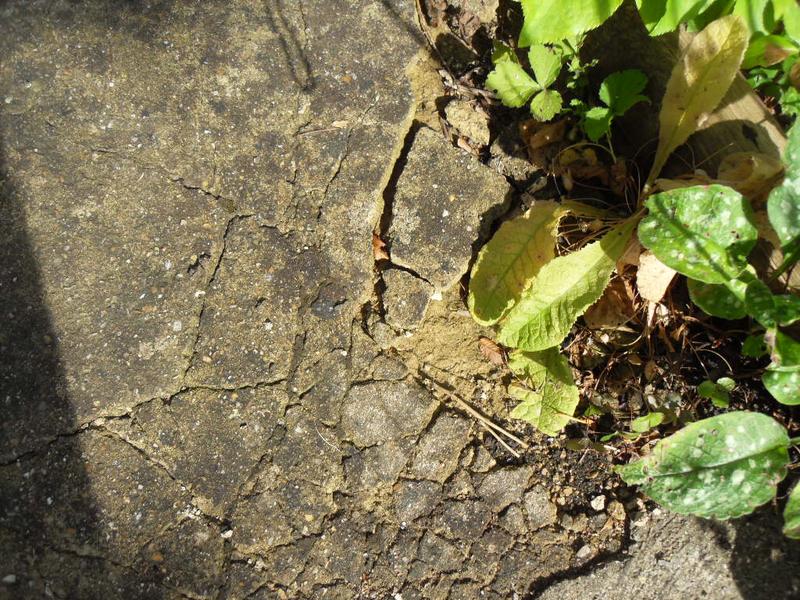
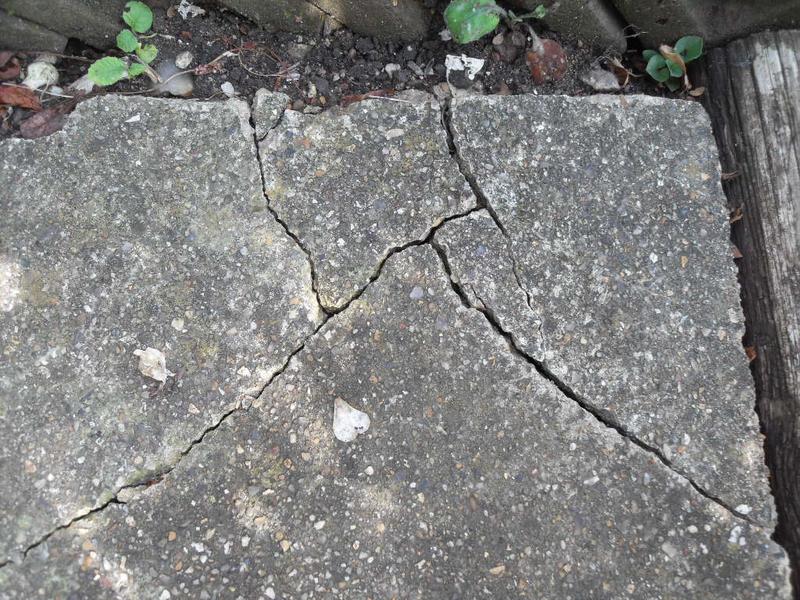
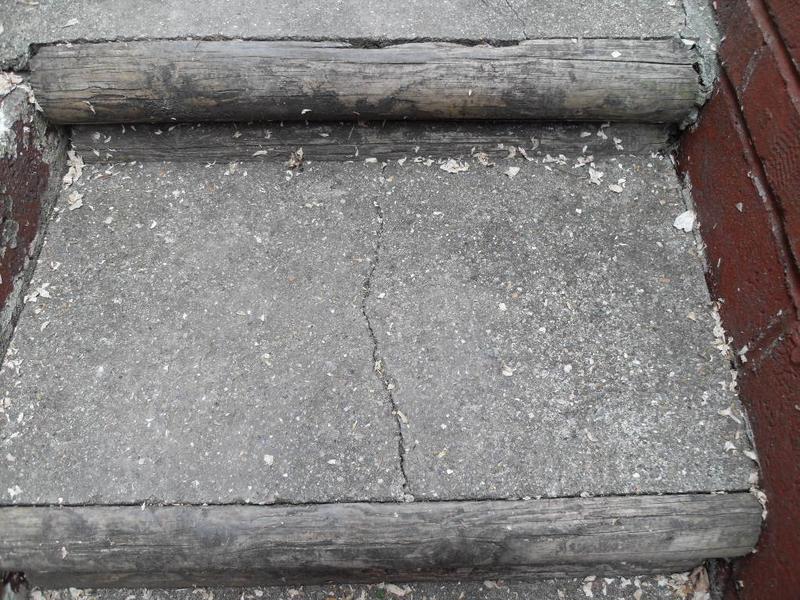
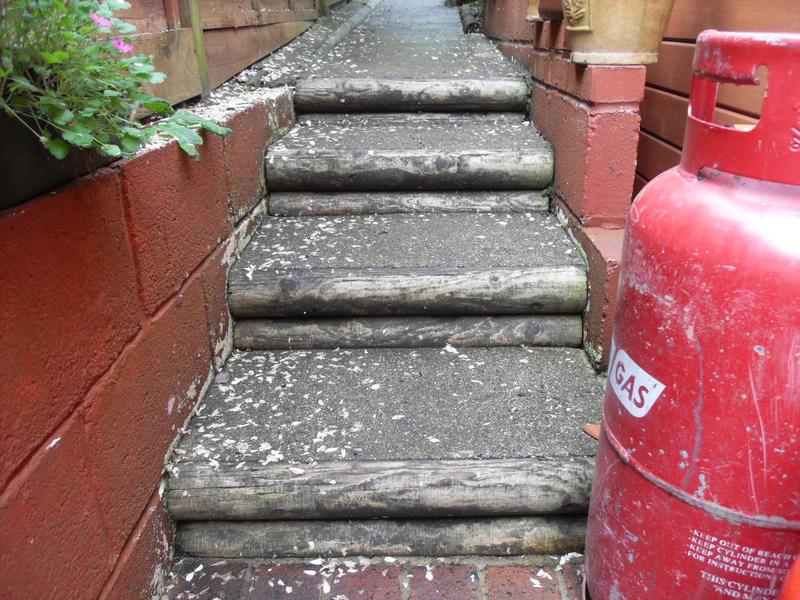
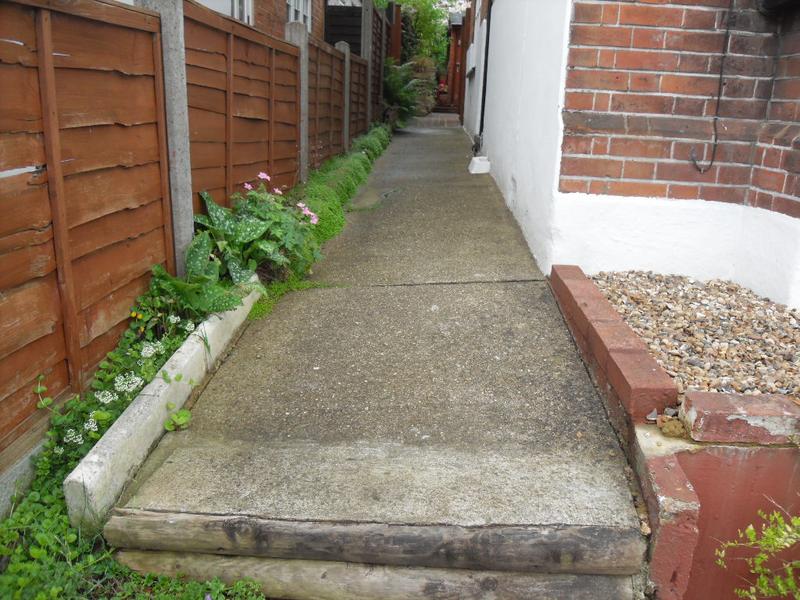
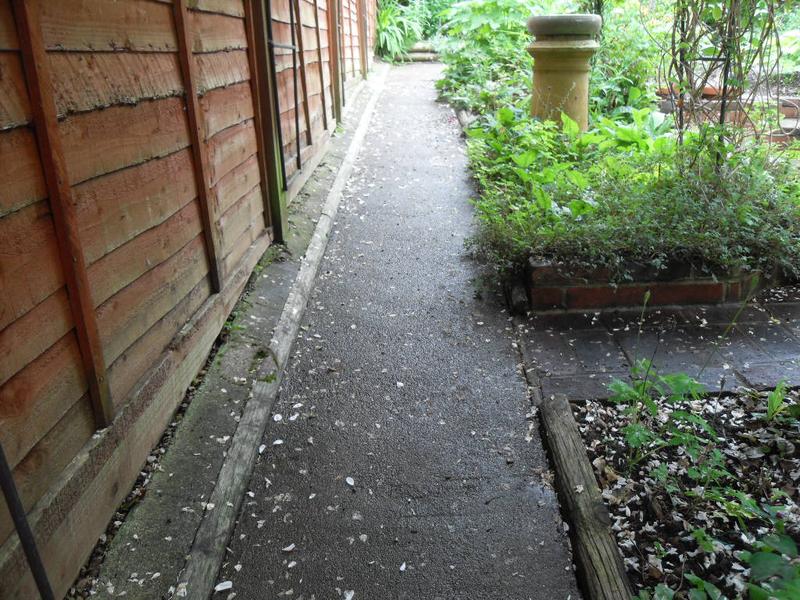
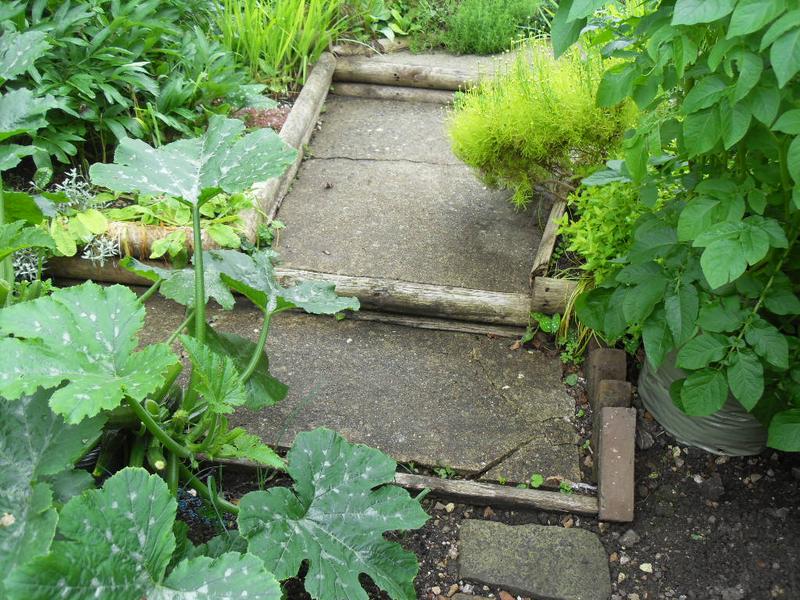
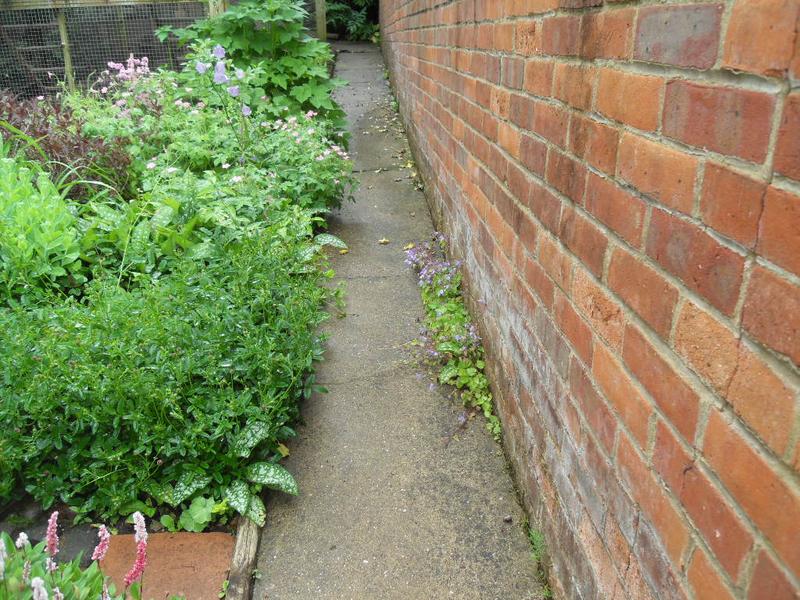
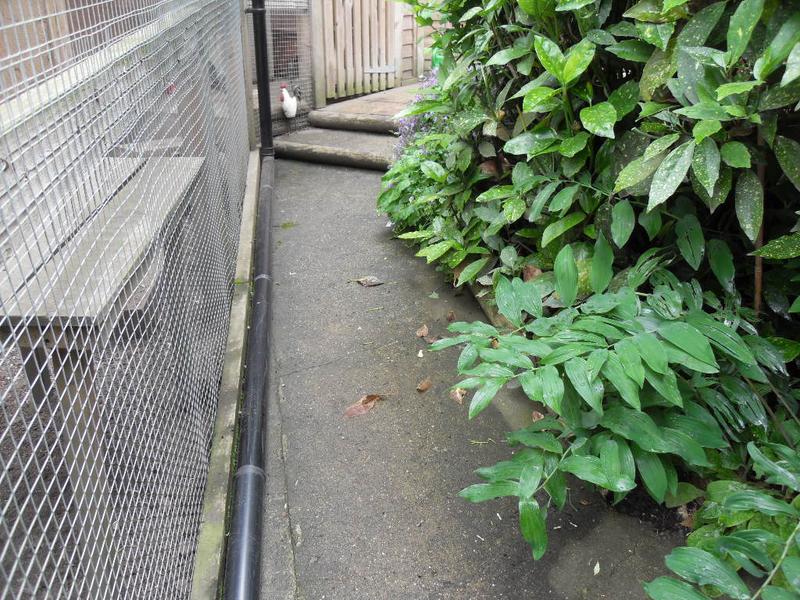
We are still working on the finishing touches since the path was finished but I thought it was about time I got back to the girls.
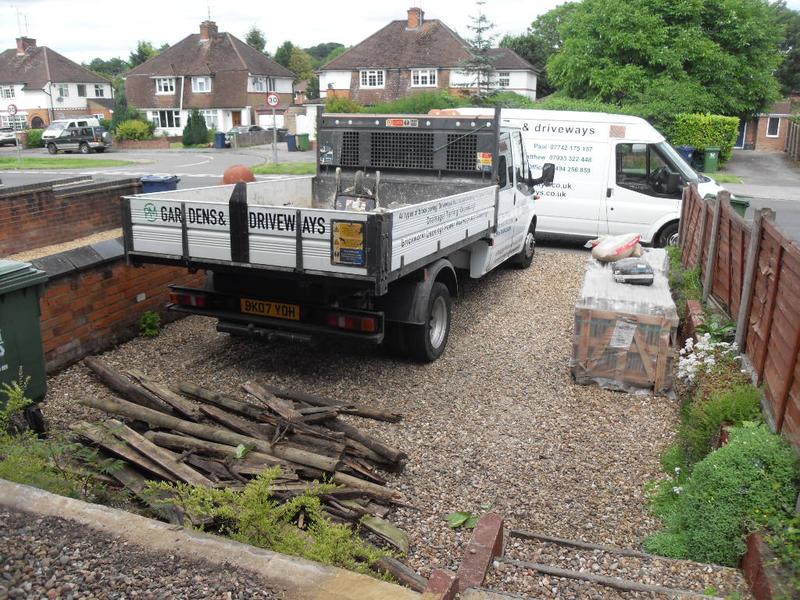
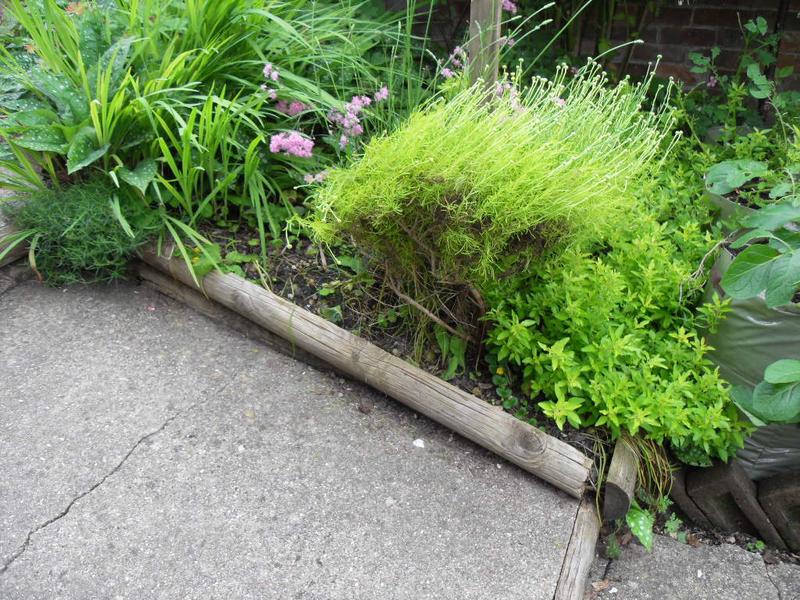
I will continue with the garden improvements tomorrow. My husband has cleaned up the shingle on the drive. With amazing timing our next door neighbours have replaced the front fence today which has made the front look even better. Although it is their fence we said we would be happy to go halves on the cost as it is benefiting us too but they wouldn’t hear of it.
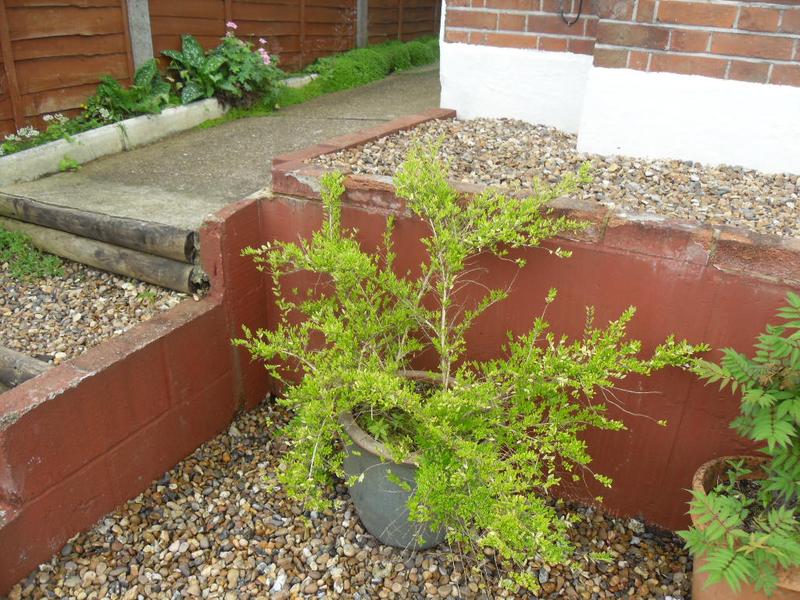
I have put the first coat of white paint on the front wall today and will give it a second coat in the morning. I will also be repainting the red side walls.
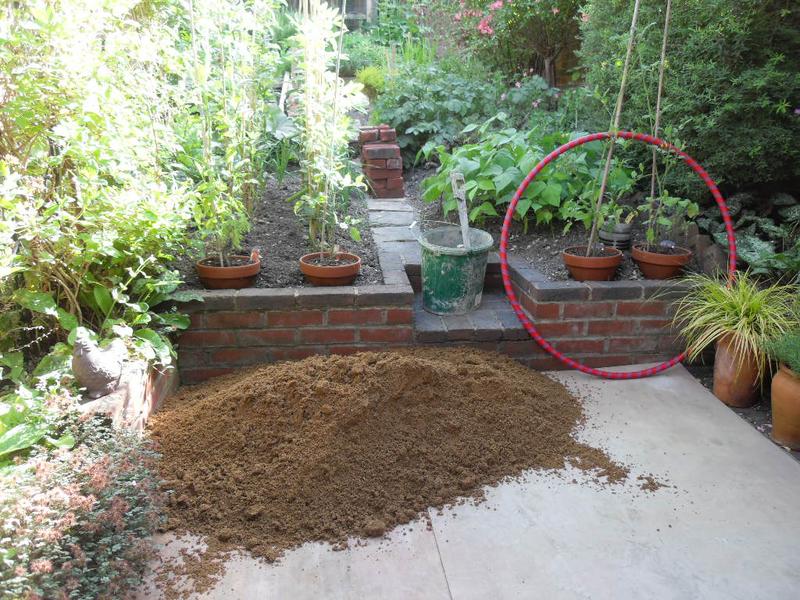
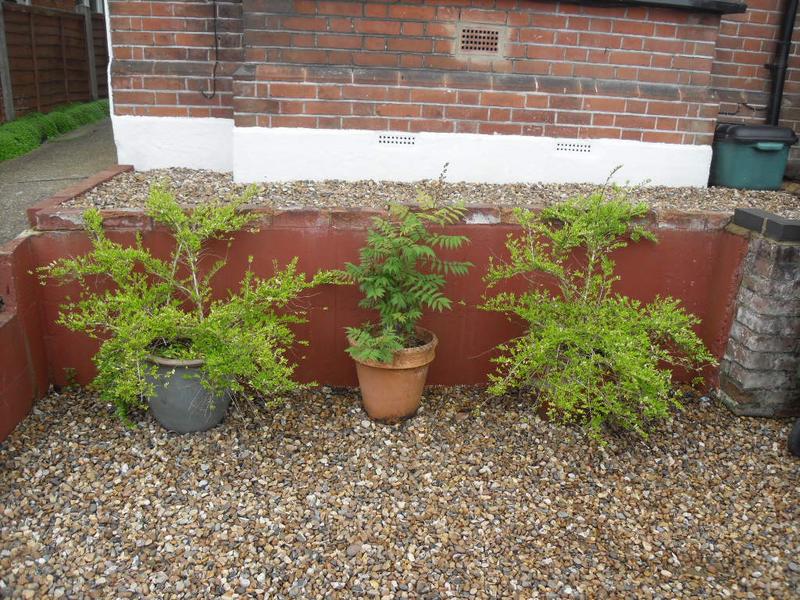
We also replaced the shingle in the front wall with plumb coloured slate. It looks amazing but I want to wait until I have finished painting before I put out a post.
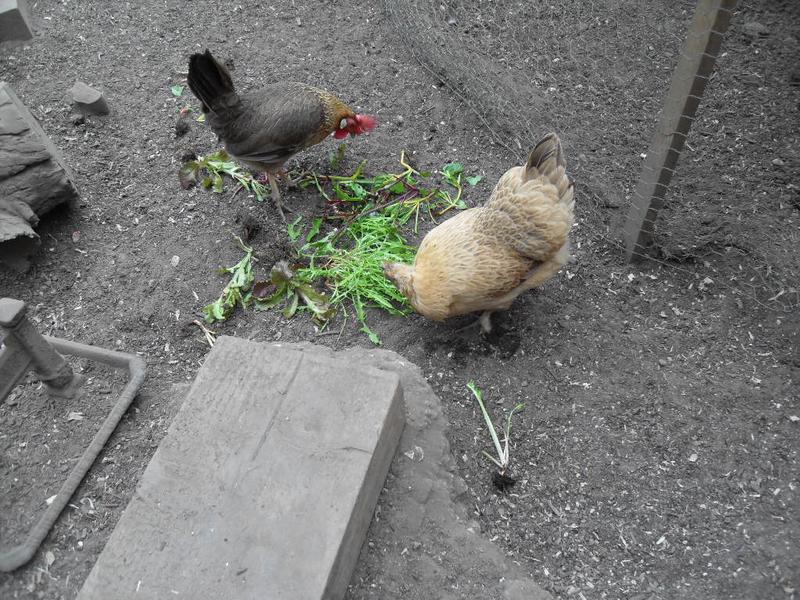
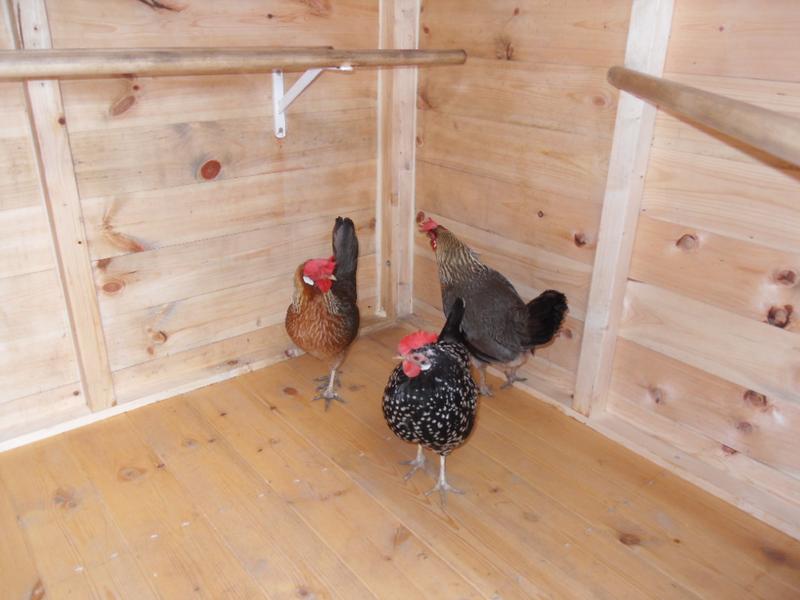
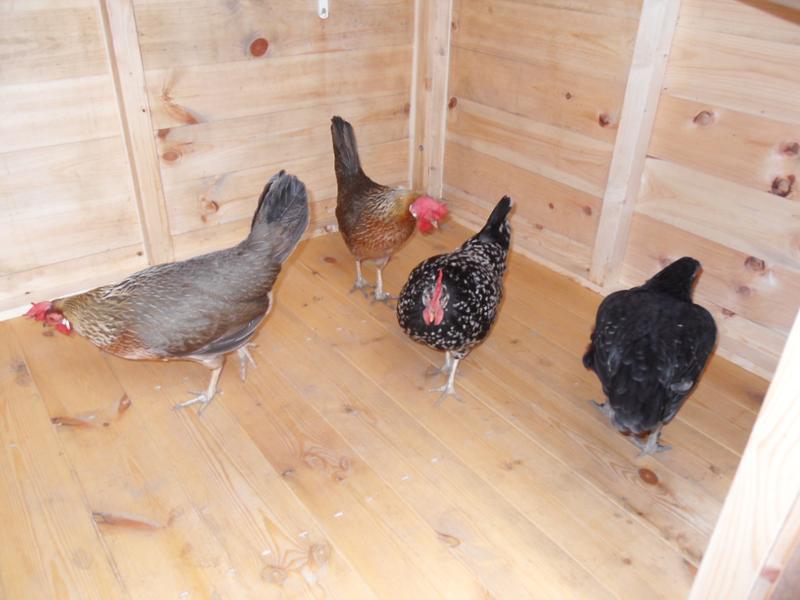
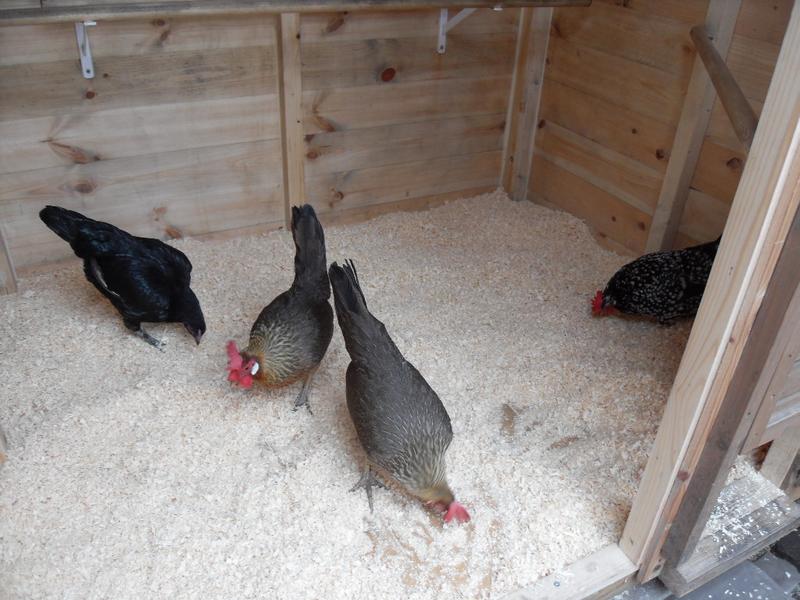
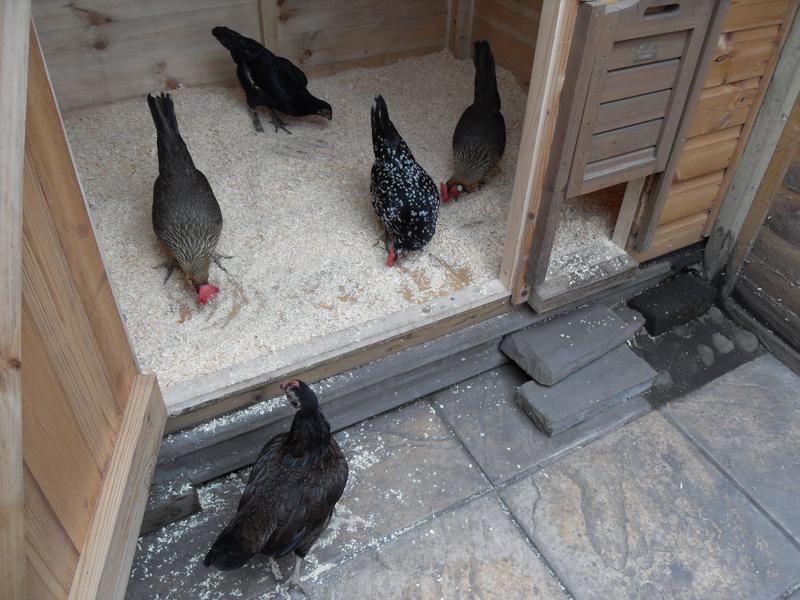
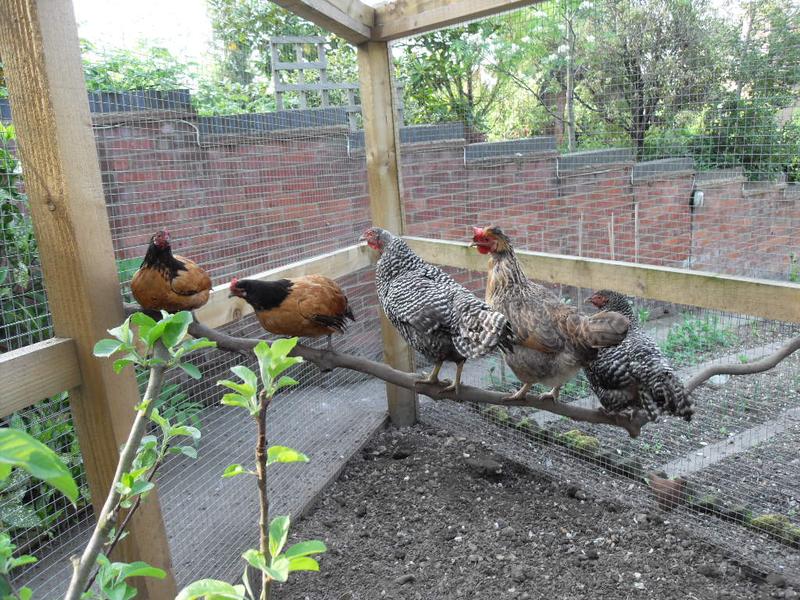
Meanwhile I gave the girls some yogurt today.
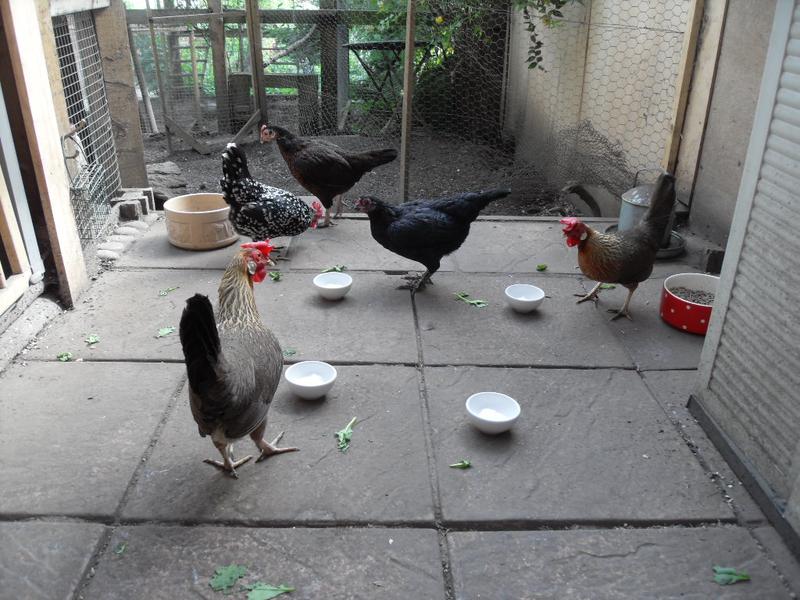
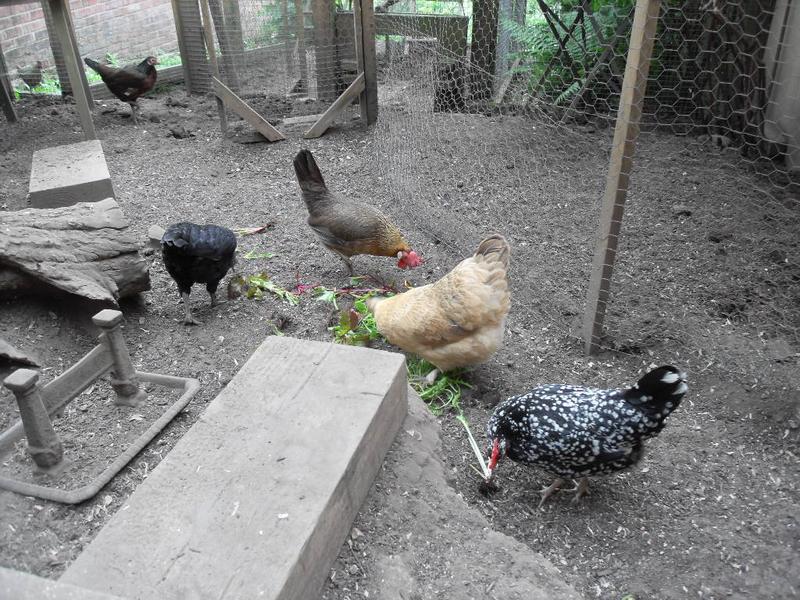
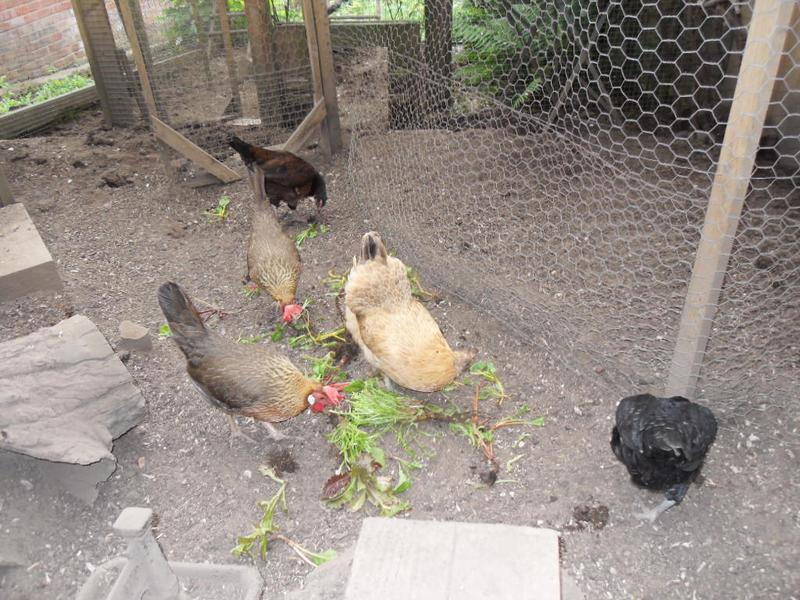
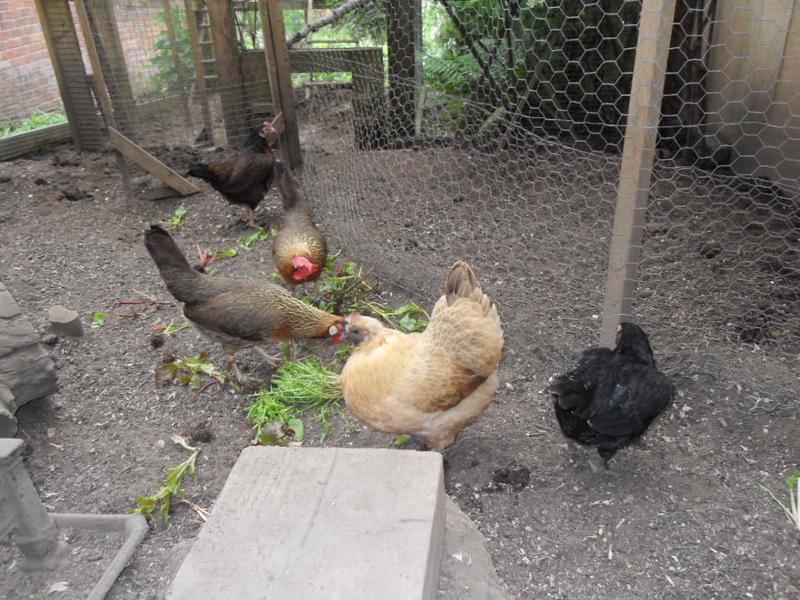
I gave the girls a yogurt treat today
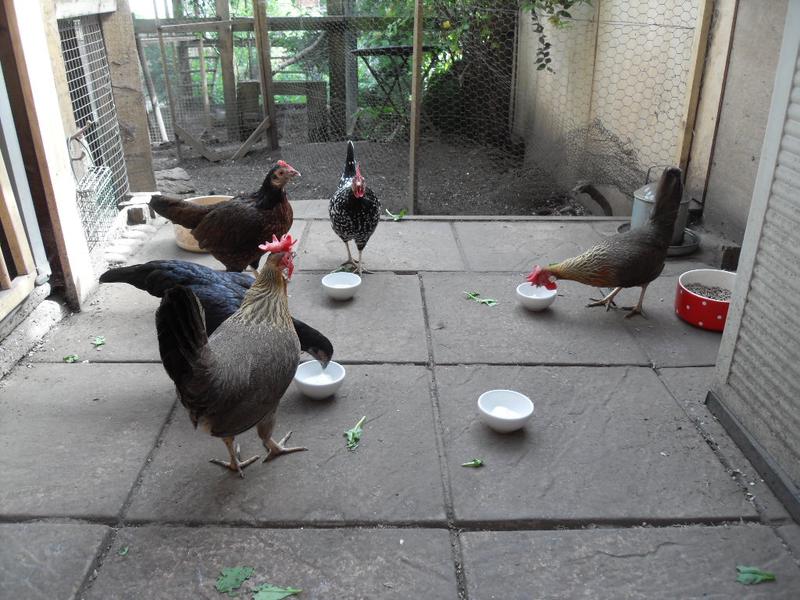
They are enjoying the yogurt
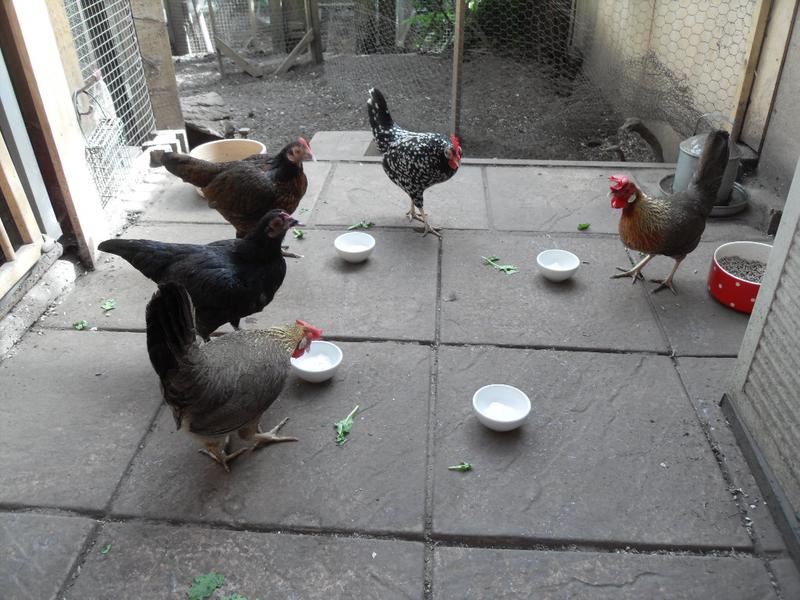
They all have yogurt beaks
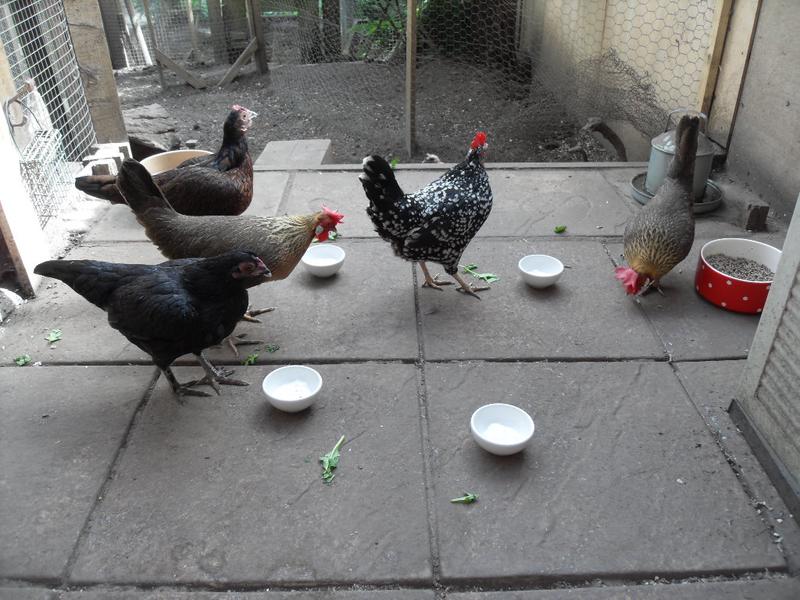
Enjoying this treat
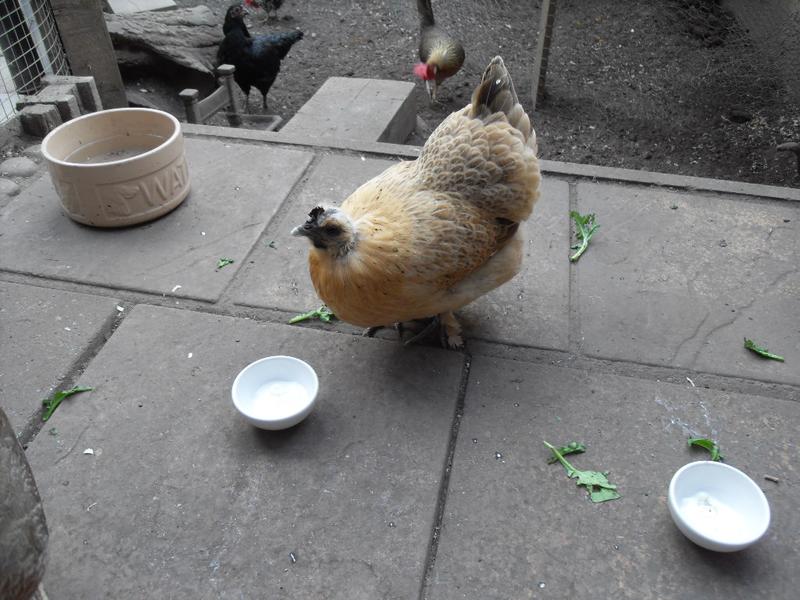
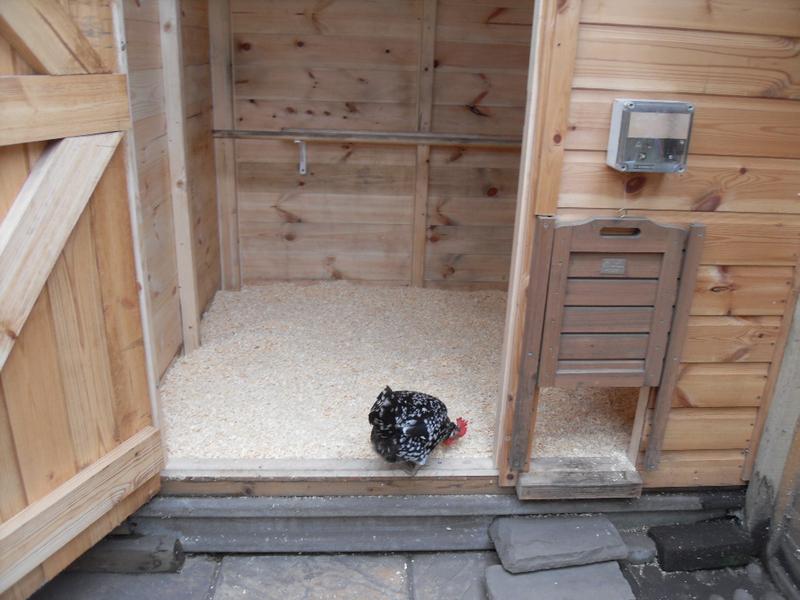
Butterscotch decides to join in
Butterscotch has some yogurt
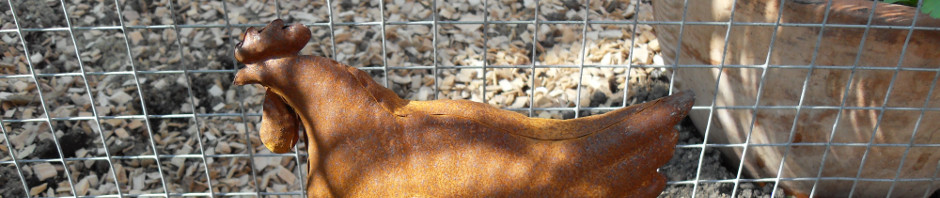
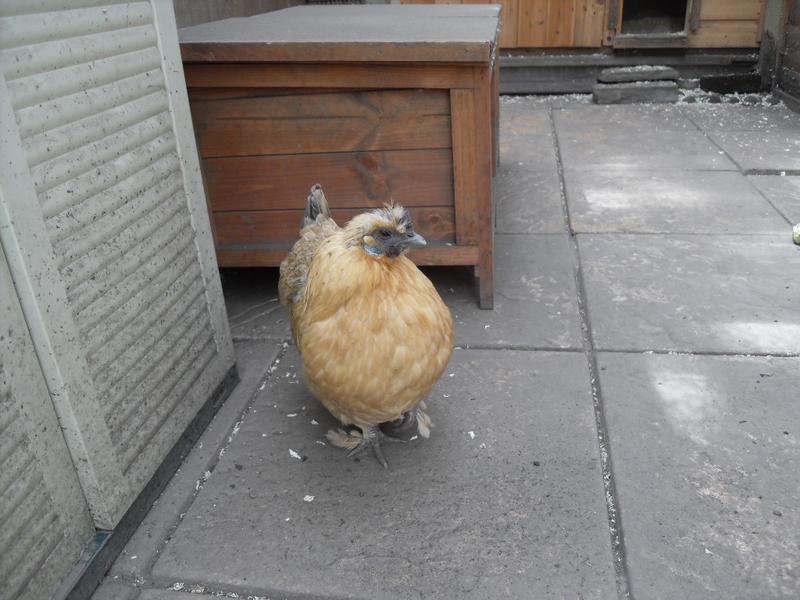
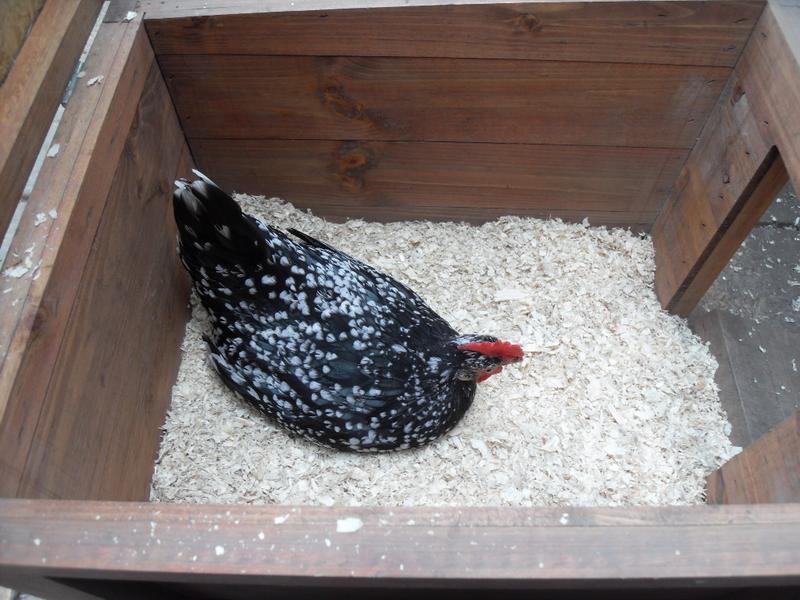
Butterscotch is still broody and has been for two weeks so I am expecting her to come out of it any day now. As usual while broody she has moulted her head and neck feathers again. It’s such a shame as she was nearly back to normal before she went broody and now she is back to this state again. It seems to be a never ending cycle for her.
I got her out of the nest box so that she could join in with the yogurt but she was slow to join in and had a little then returned to the nest box.
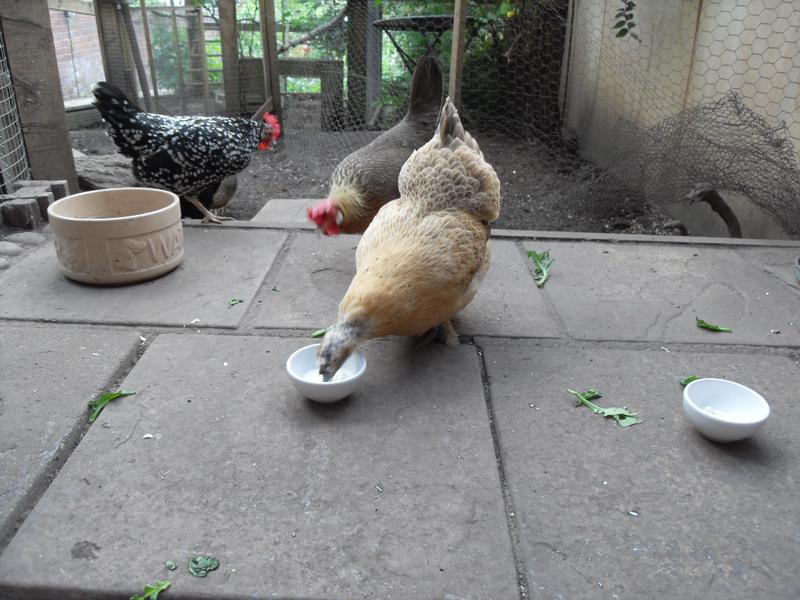
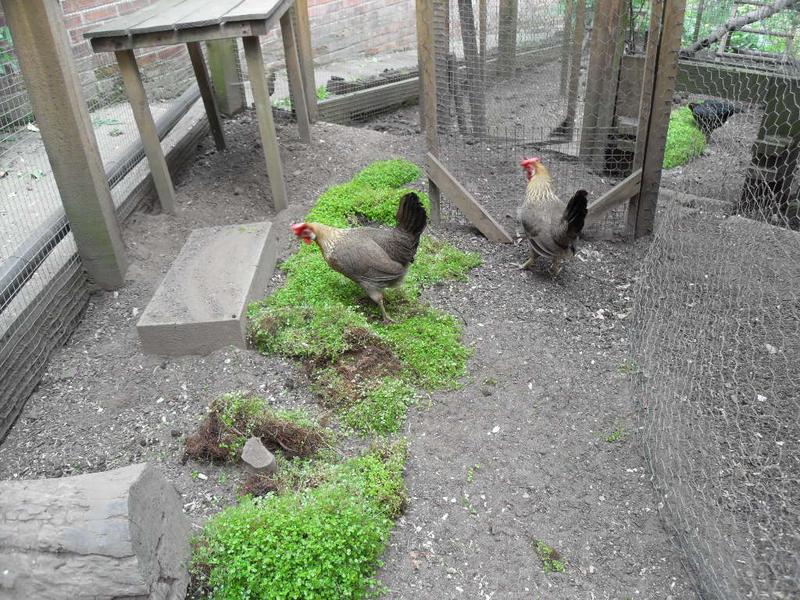
Emerald is looking better but is still dropping feathers and Toffee has a scruffy neck but otherwise looks okay. Only Speckles, Peaches and Barley are laying but I hope Butterscotch will return to laying in about a weeks time.
Barley is still trying to rise to the top of the pecking order. Since her spats with Butterscotch and Toffee neither of those two girls show her the pecking order any more by pecking or chasing her away. Butterscotch will have a token peck at Peaches but no longer includes Barley in this.
Another surprising turn was seeing Barley and Peaches have a spat recently. They both had their ruffs raised and once again Barley came out on top. They seem to have resumed being best friends since then. I think since the ex top girls have left the flock Barley has made her bid to rise to the top.
It’s not clear if she is actually at the top because since these spats she doesn’t peck at any of the other girls to show her position but it’s just that I have noticed that Butterscotch no longer pecks her out of her way like she does the rest of the girls. I think she has shown that she is not to be messed with.
Apart from these occasional spats there is no aggression in the flock which is good to see. When having the yogurt today Speckles was an equal unlike the days when I had to give her a dish away from the flock. While having the yogurt there was no girl chasing another away they just all got on with it which is really nice to see.
That is all the news from the girls at the moment. Everything is quite calm and orderly for the time being.


 Click here to see the history of my flock.