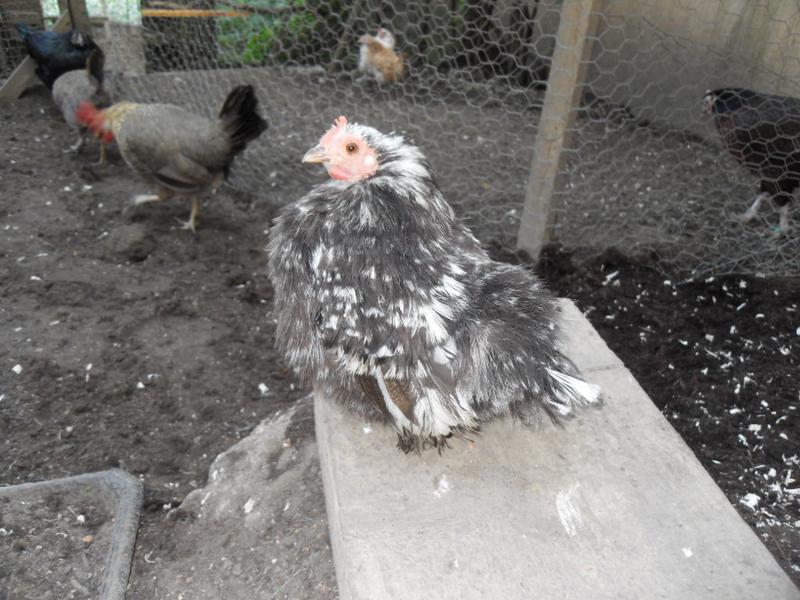
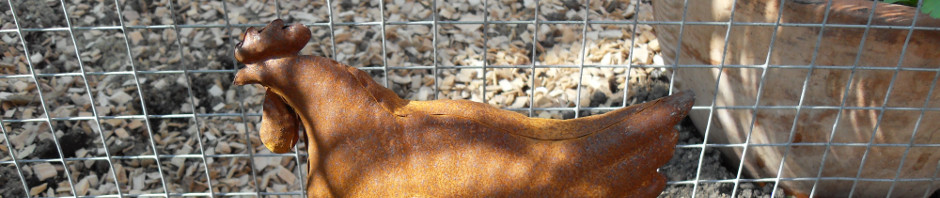
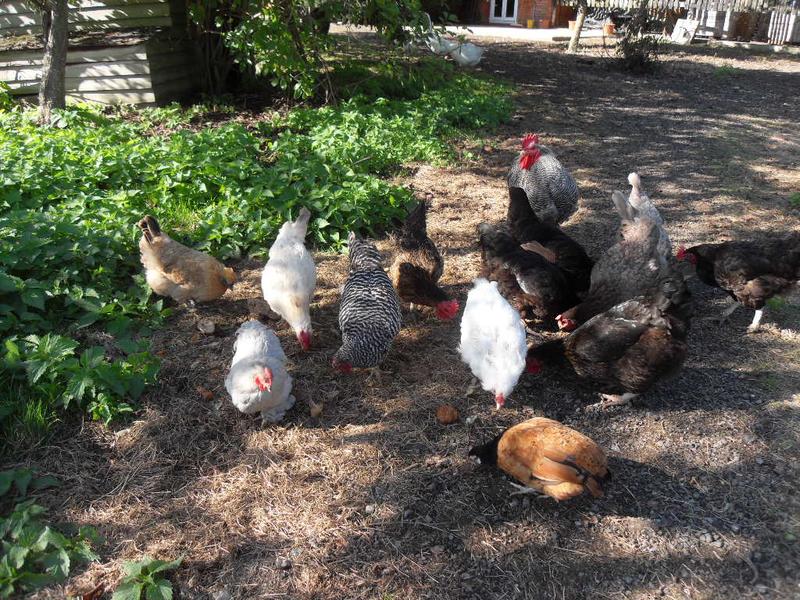
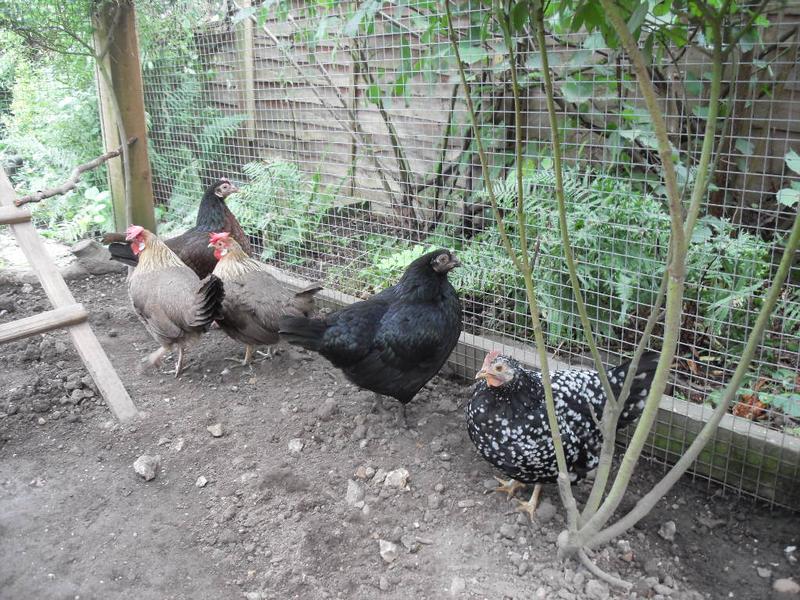
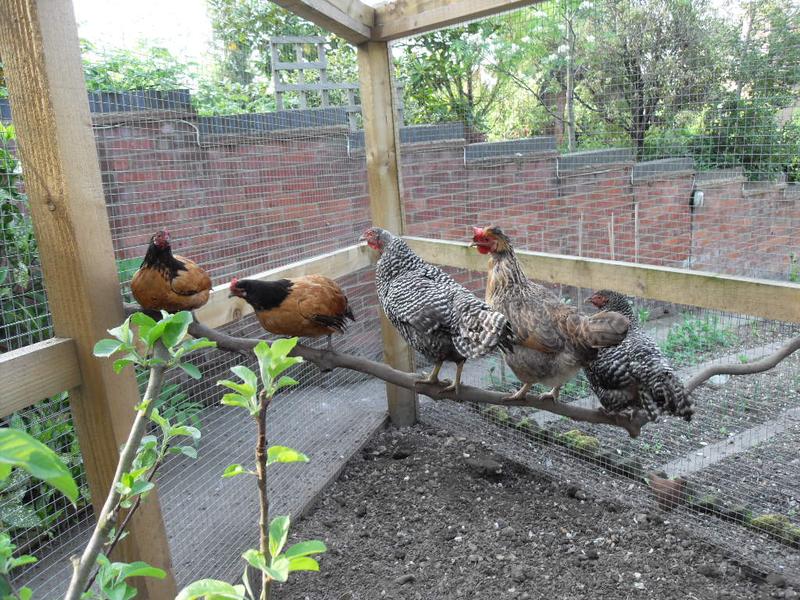
Peaches only stopped laying at the end of September so she has just started moulting whereas Barley stopped laying a couple of weeks earlier and her moult is more advanced. She is looking rather tatty and has only one tail feather left. These two started their moult last and it seems much quicker with loads of feathers around the run.
Toffee seems to have moulted in two halves. She moulted earlier in the year along with Emerald but seems to be having a second moult and losing her longer feathers from her wings and her tail.
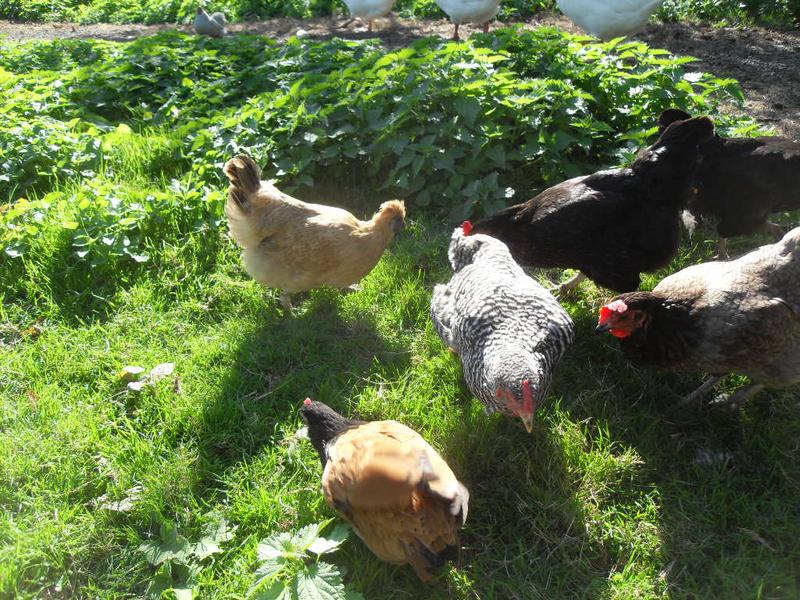
Speckles seems to be through her moult which was really slow and she was still dropping feathers until a few days ago.
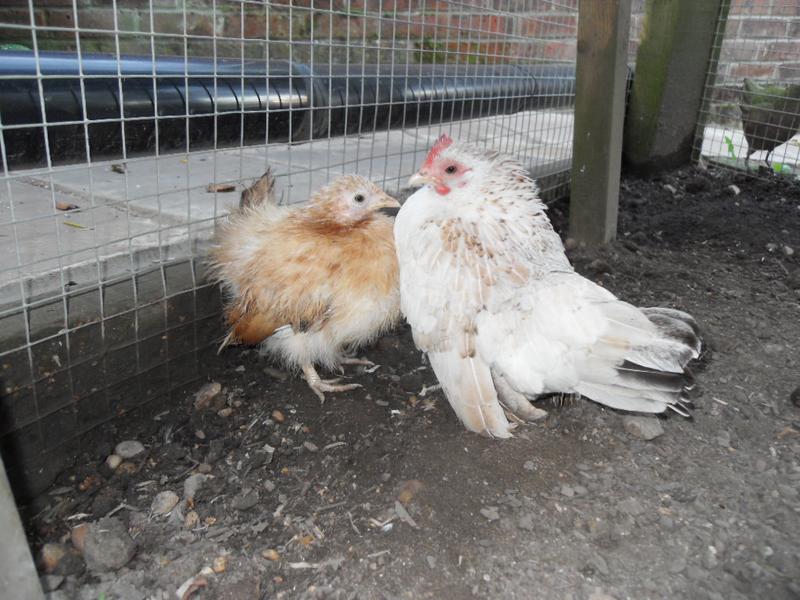
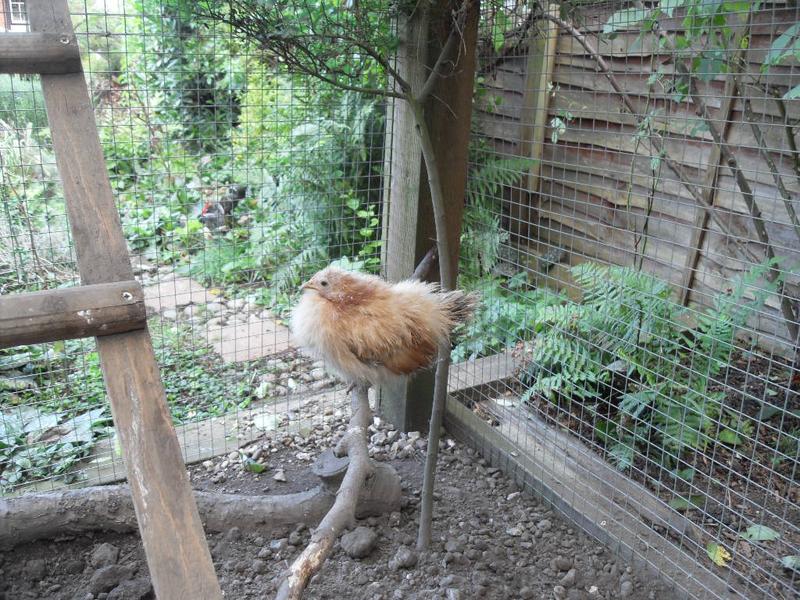
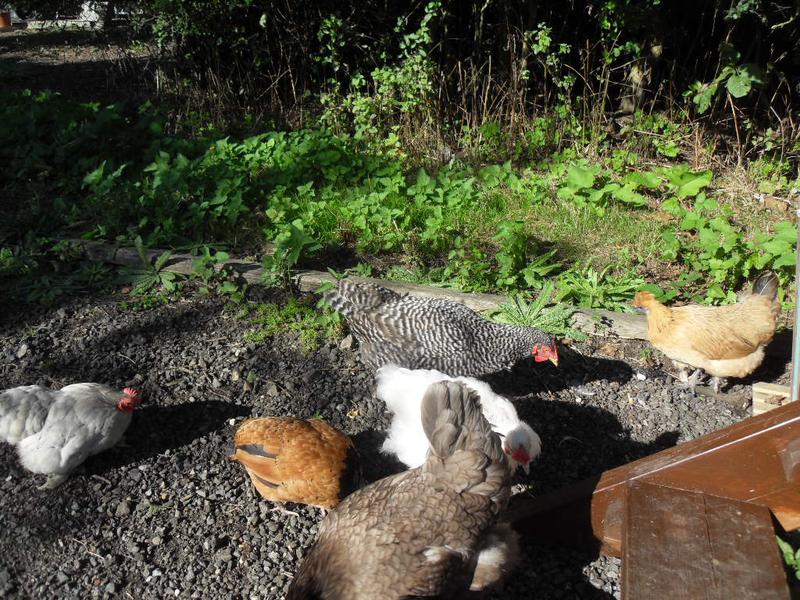
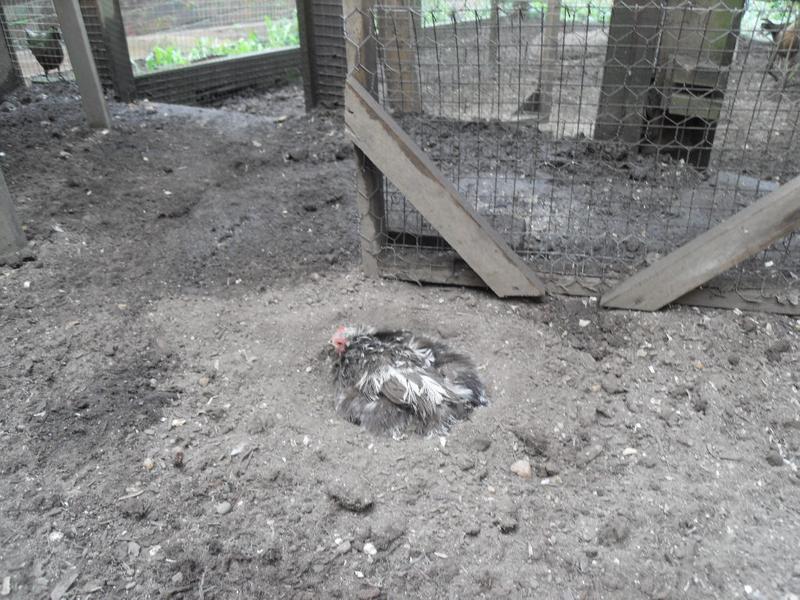
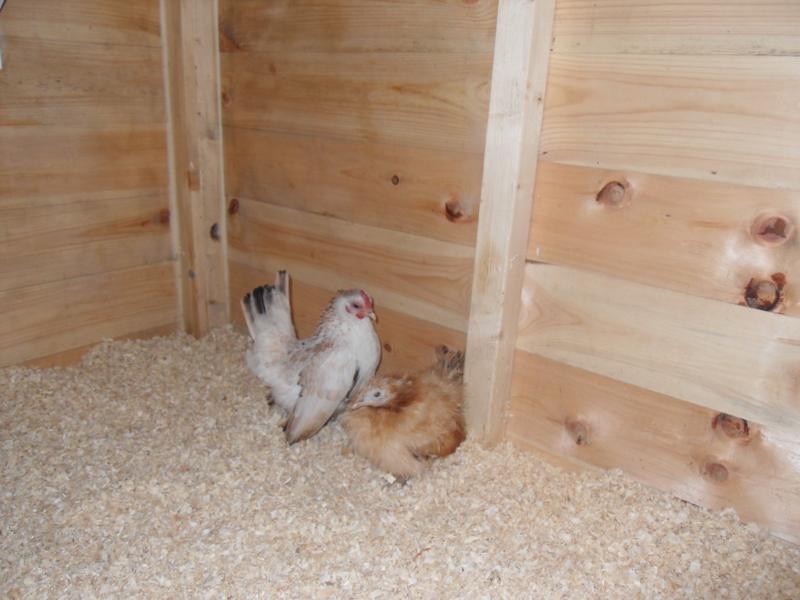
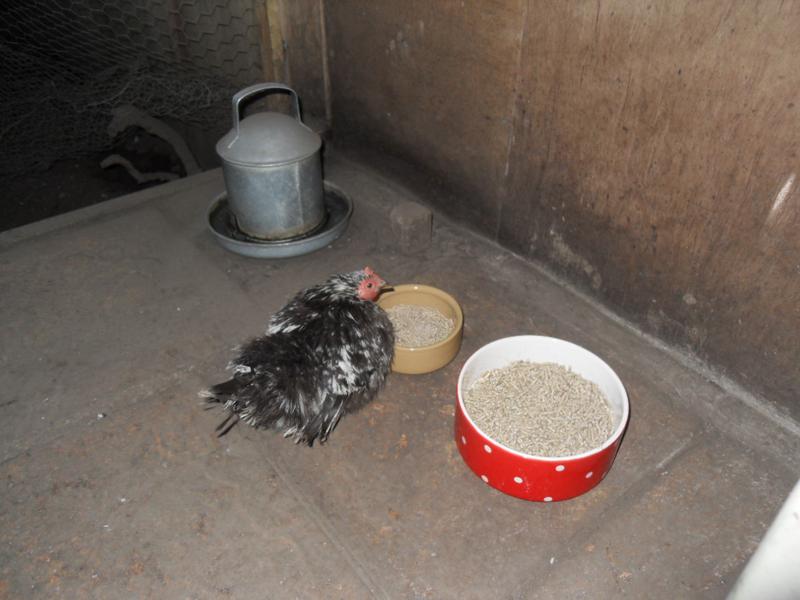
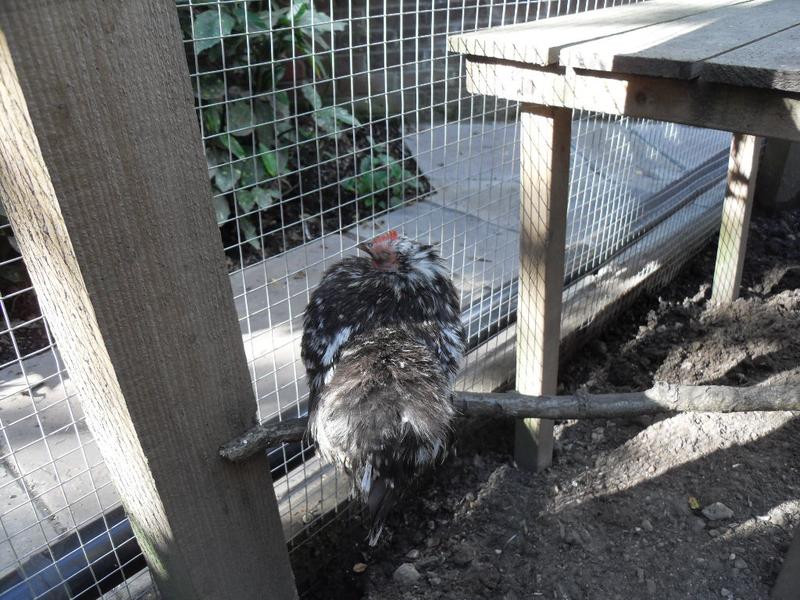
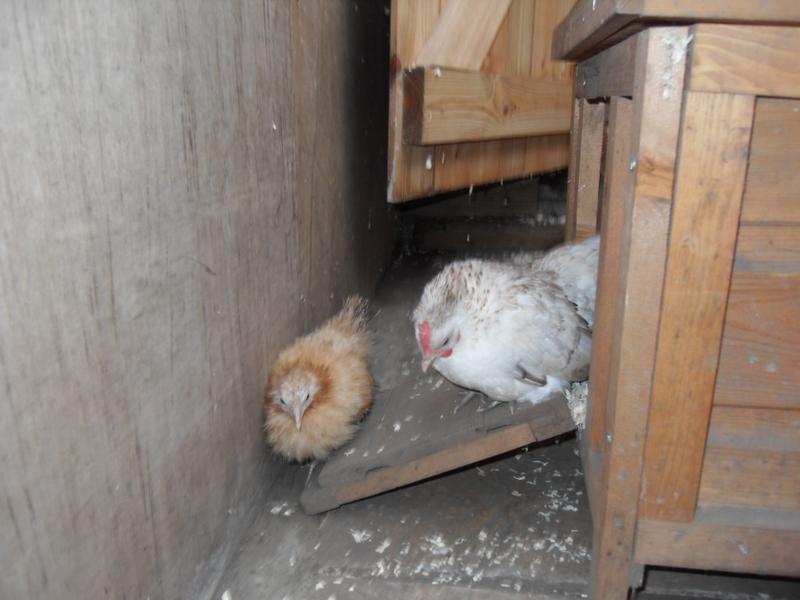
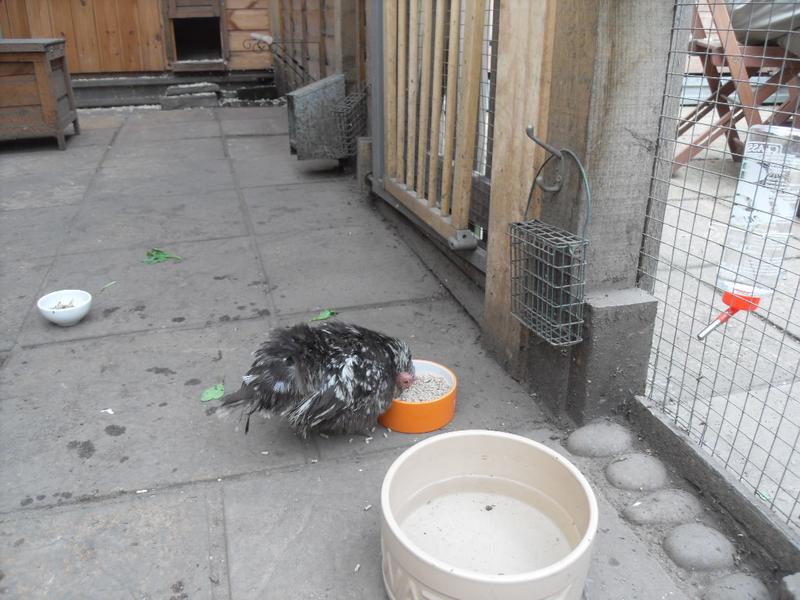
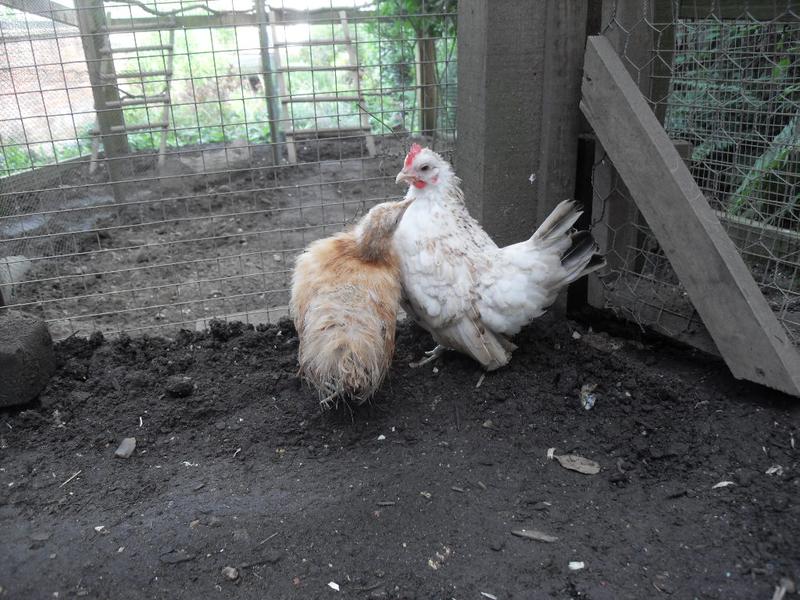
Pebbles has been moulting since we have had her and has lost long wing and tail feathers but is still a ball of fluff.
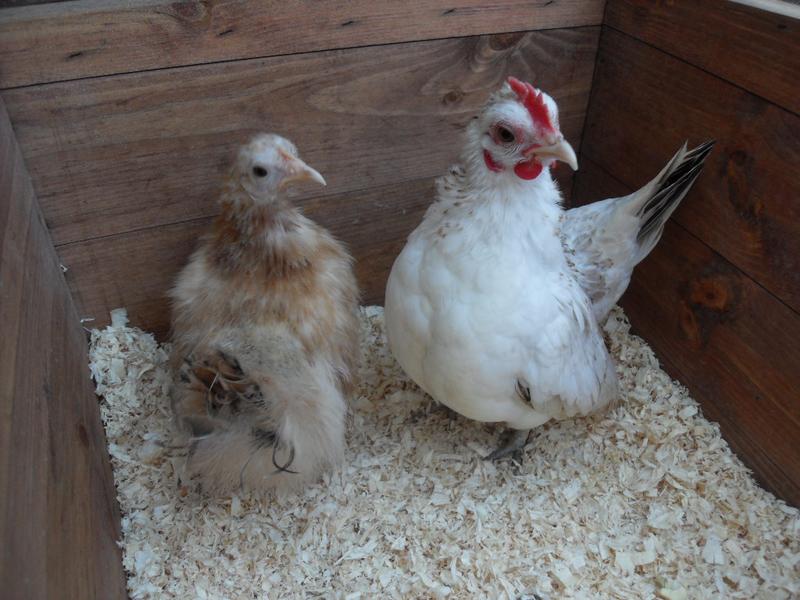
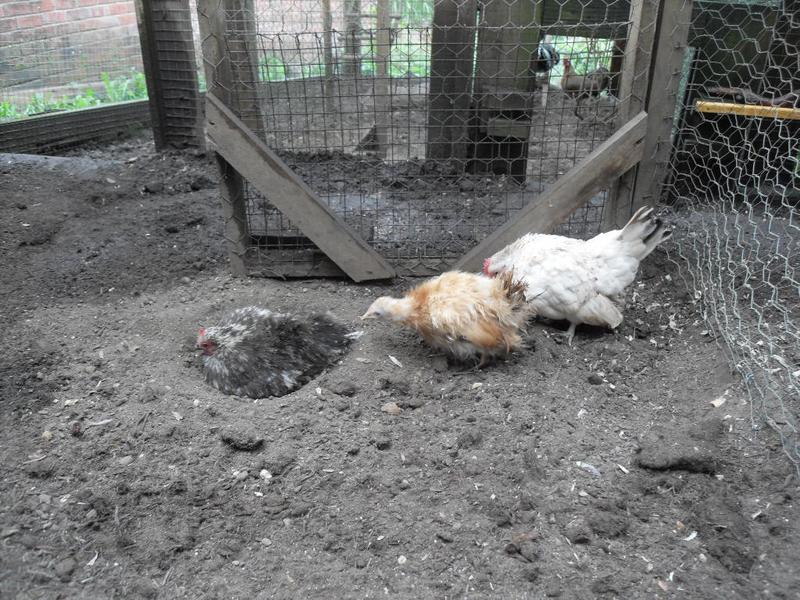
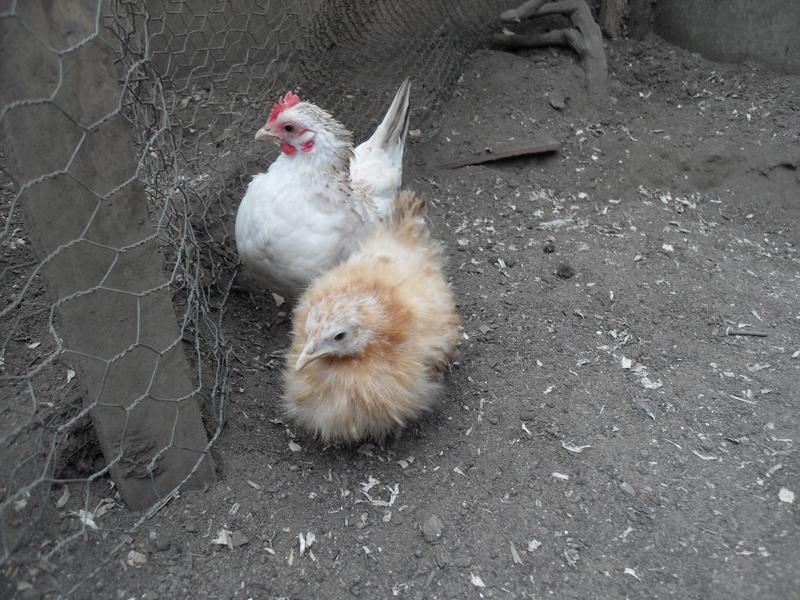
Freckles is losing some of her chick feathers as she gets her grown up feathers in and Rusty still looks very chick like. These two twitter away all day with their baby chick sounds where as Pebbles is very quiet apart from getting hiccups when ever she eats, which she has done in all the time that she has been with us.
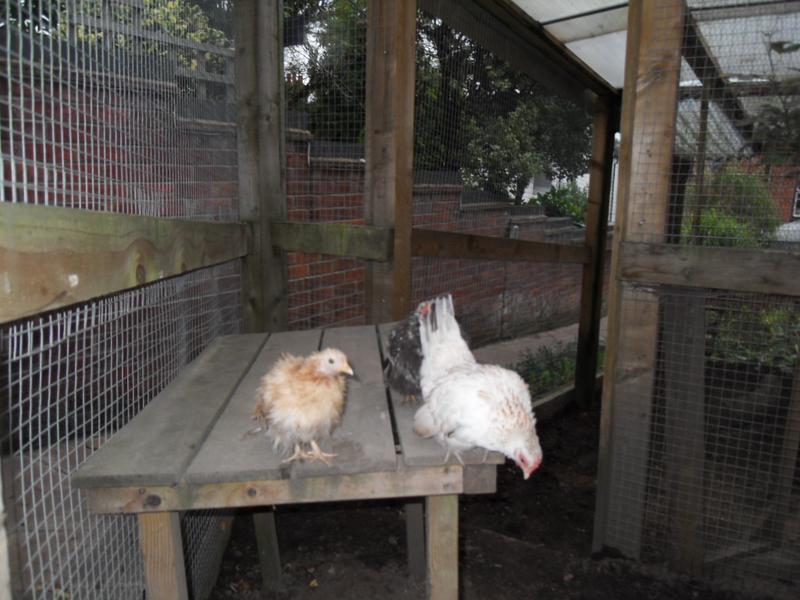
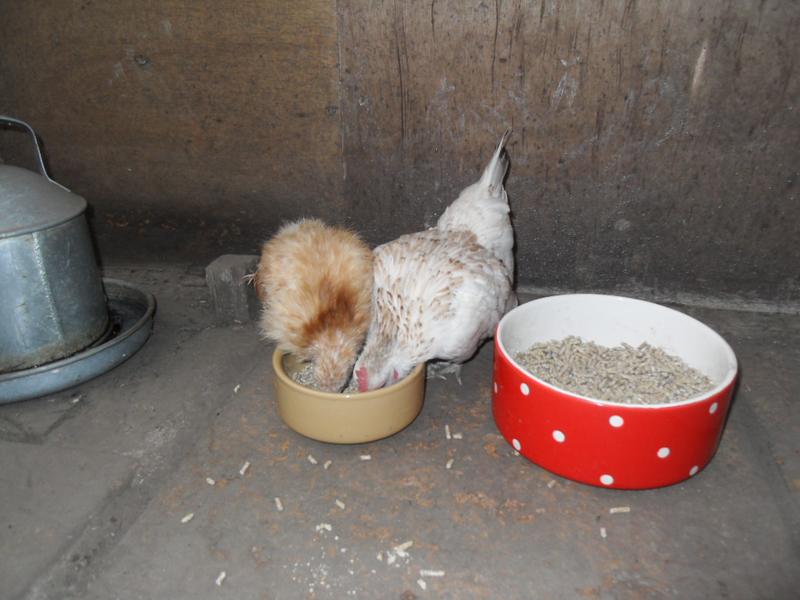
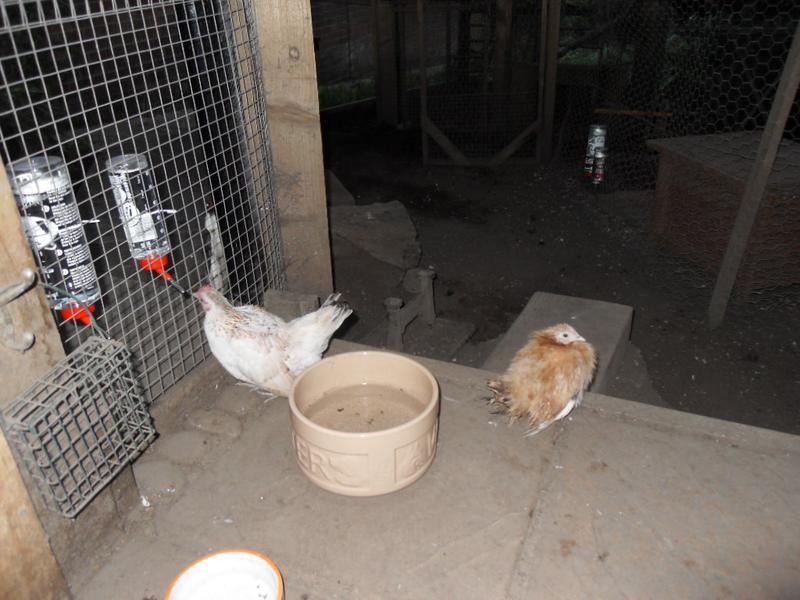
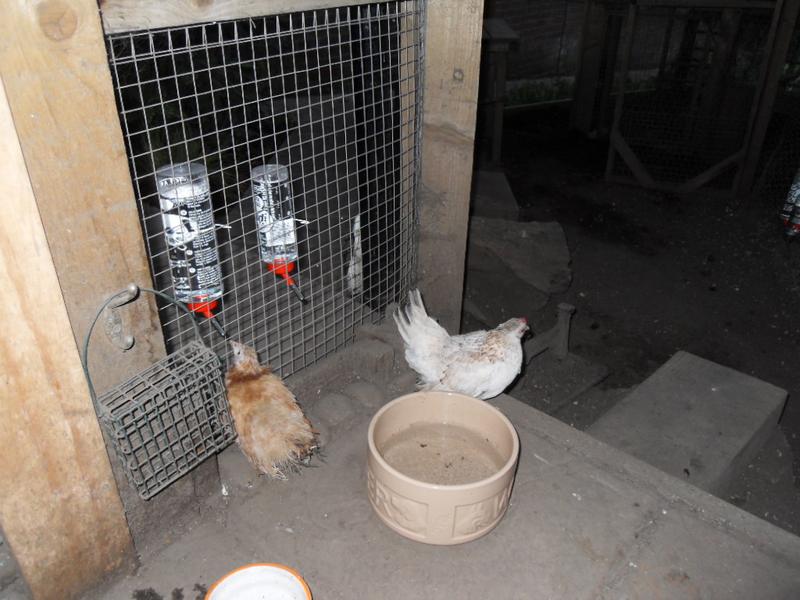
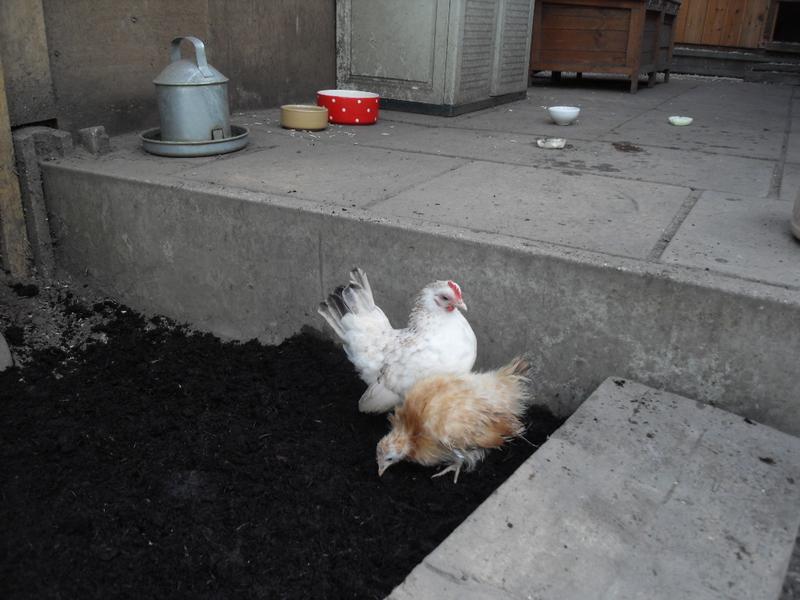
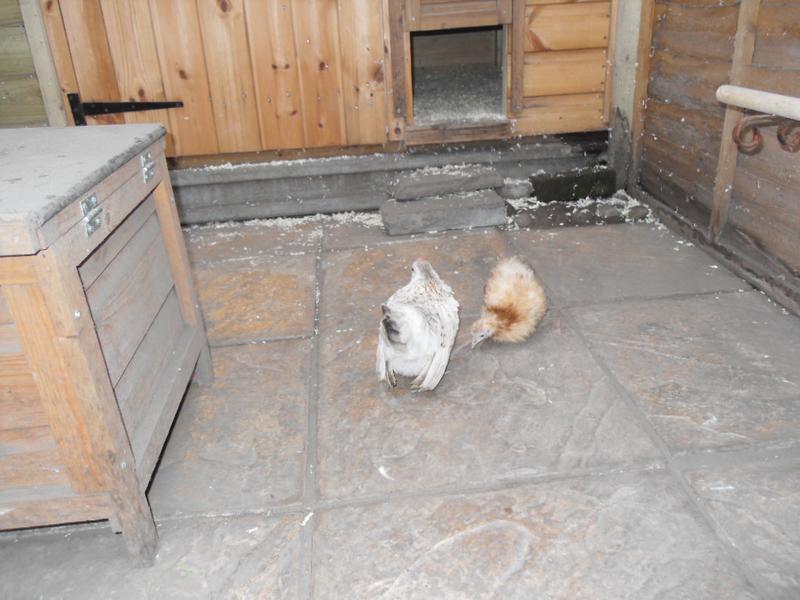
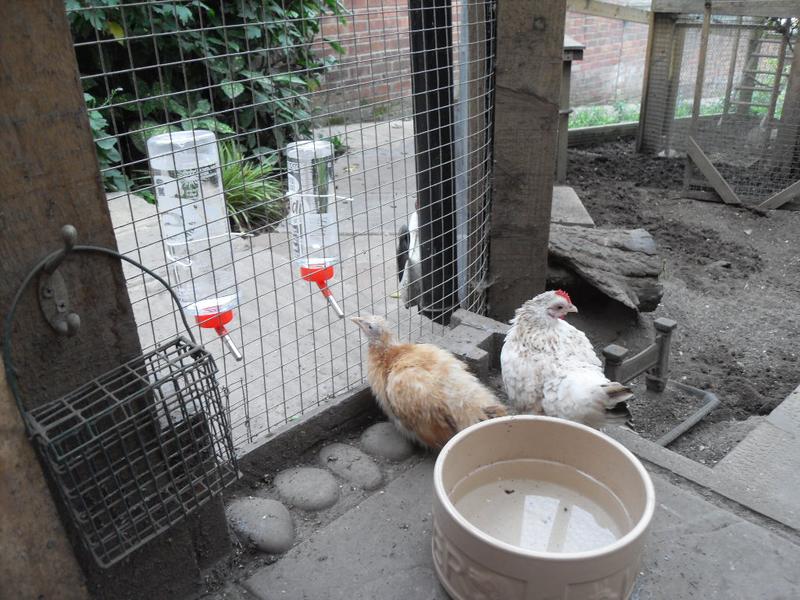
First thing this morning when I went out to them I poop picked the shed with Freckles and Rusty for company as usual and then I swept the patio area as I like to spend a bit of time with them in the morning. I swept the shavings from the patio out into the run and the little girls immediately set about pecking at them.
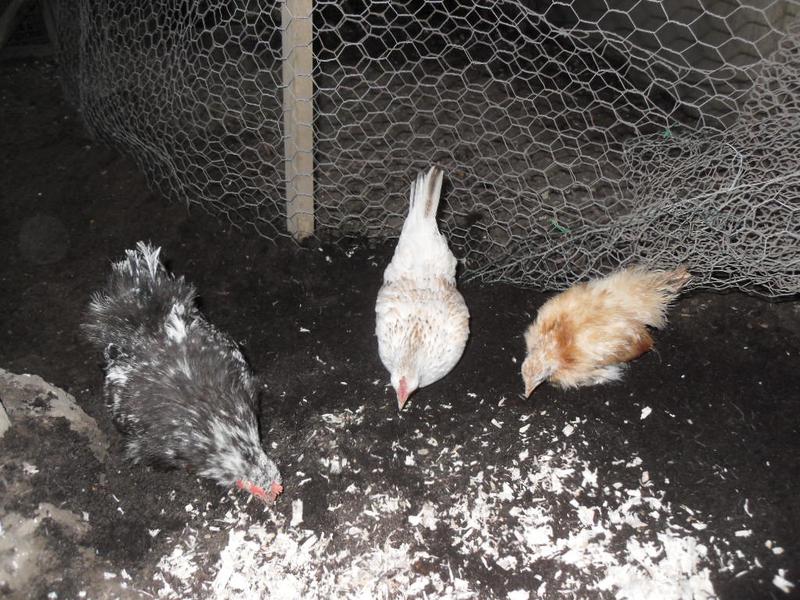
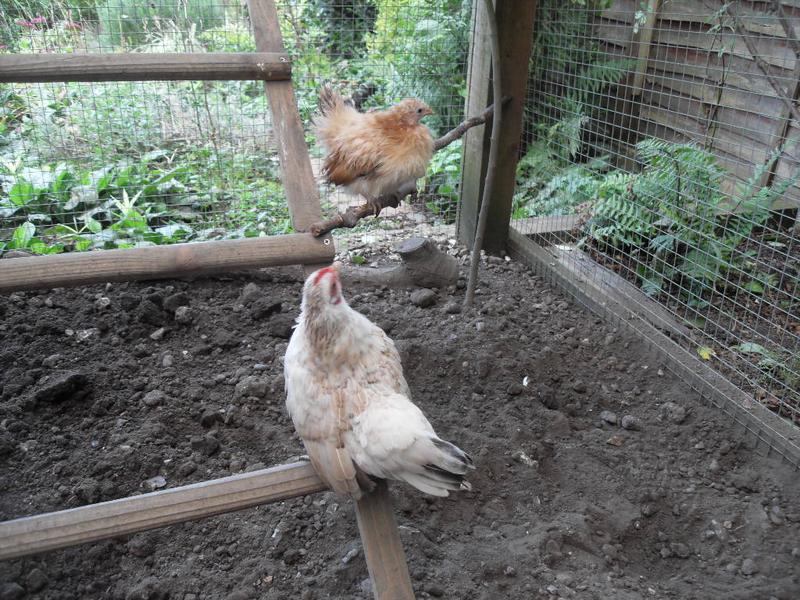
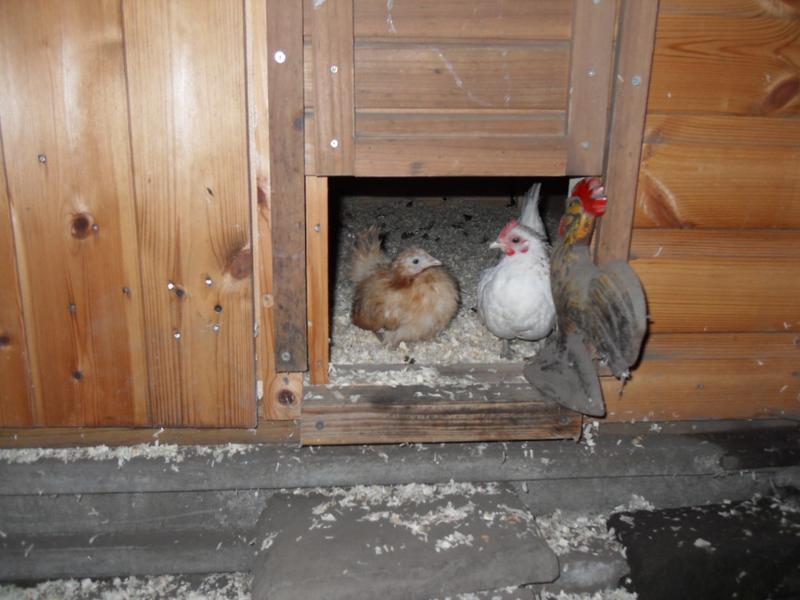
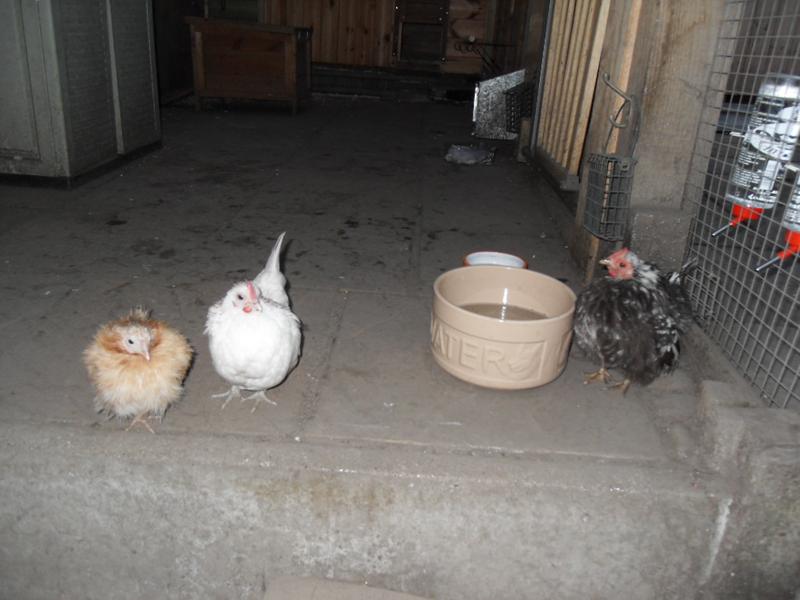
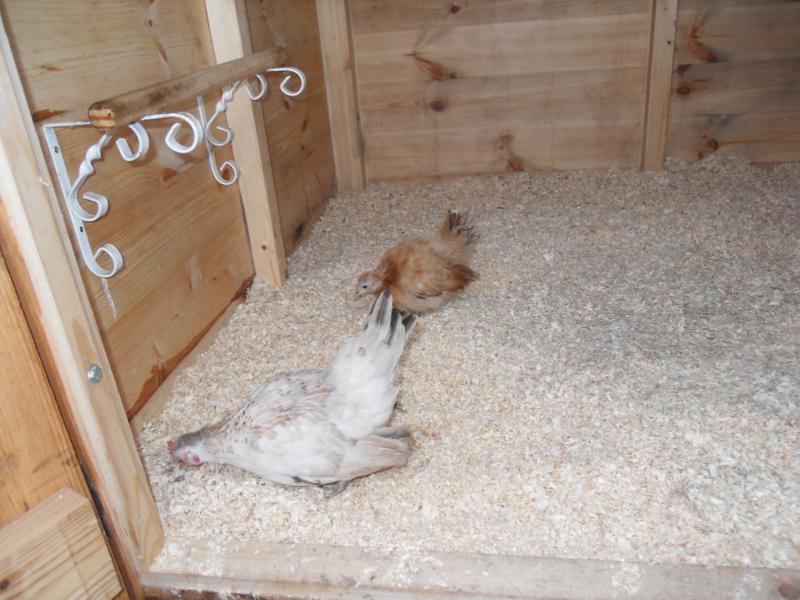
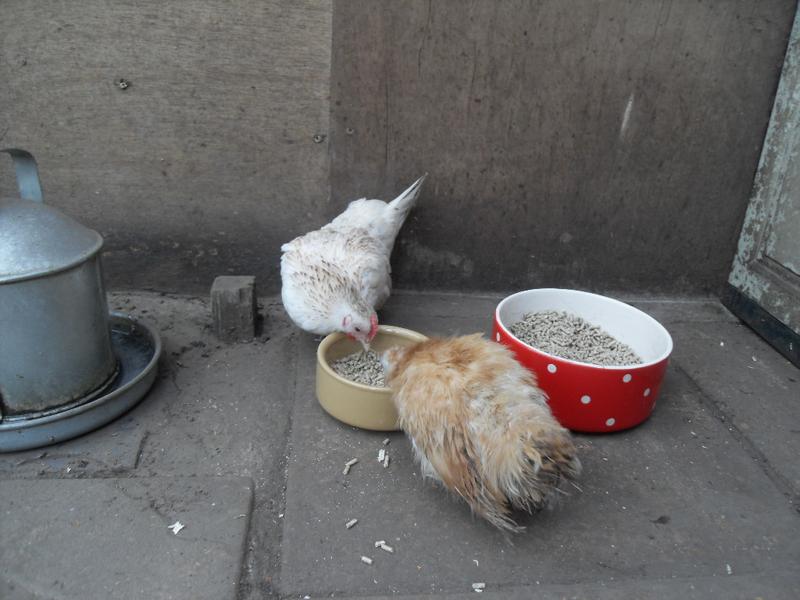
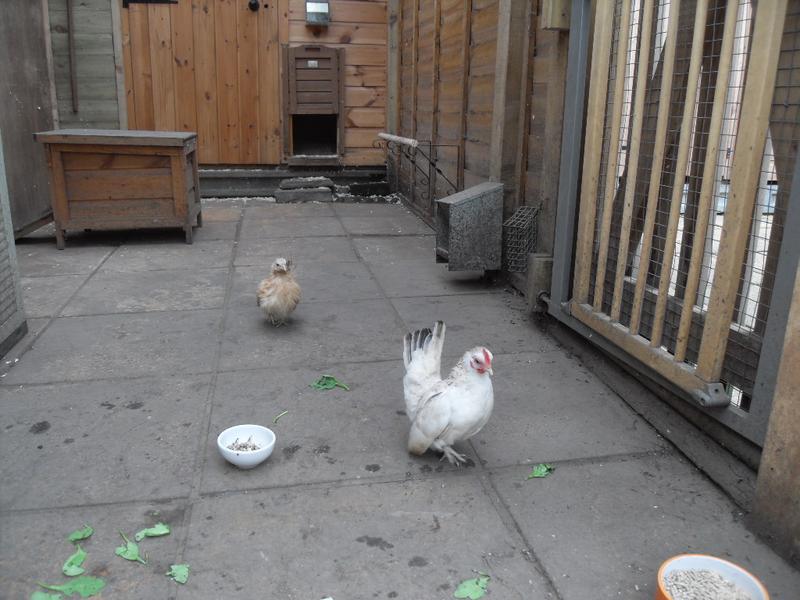
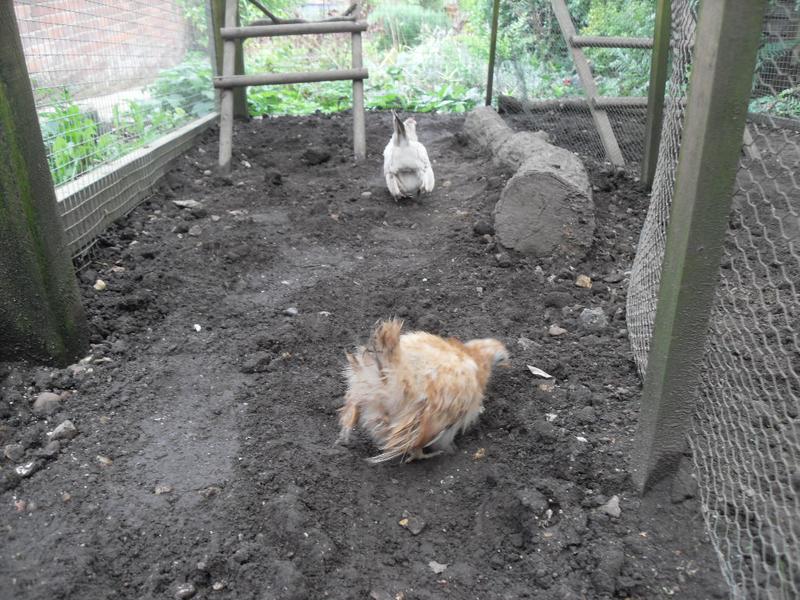
The little girls first thing this morning
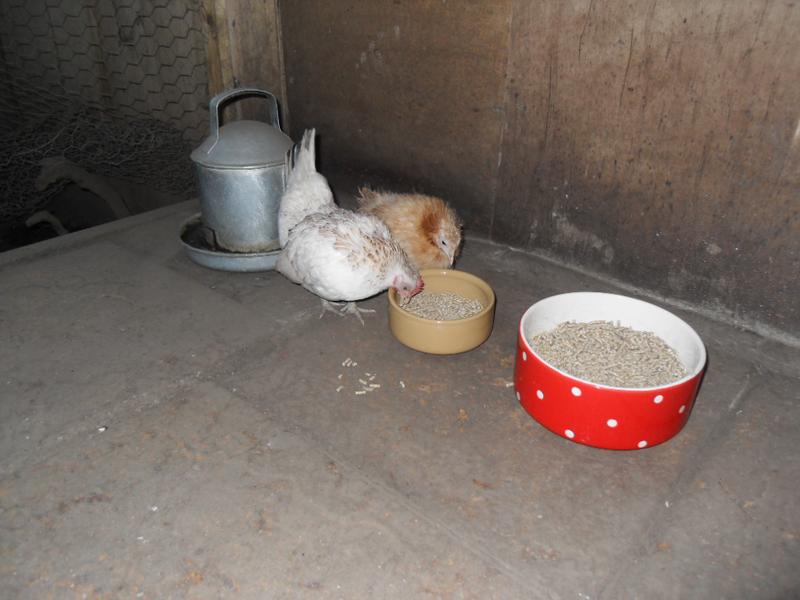
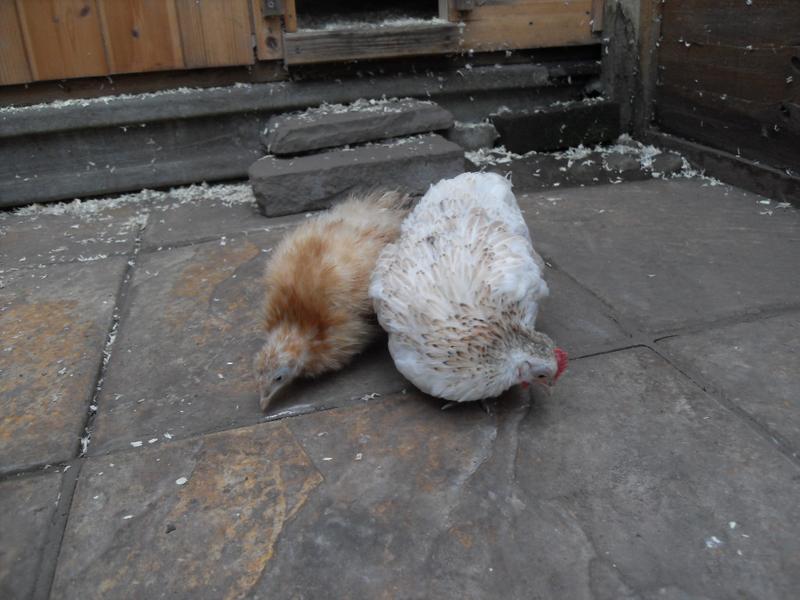
Rusty and Freckles
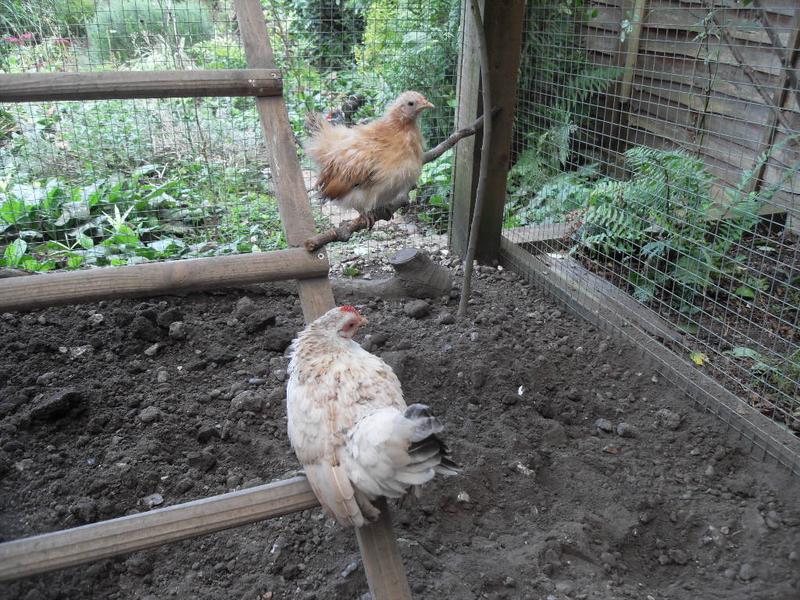
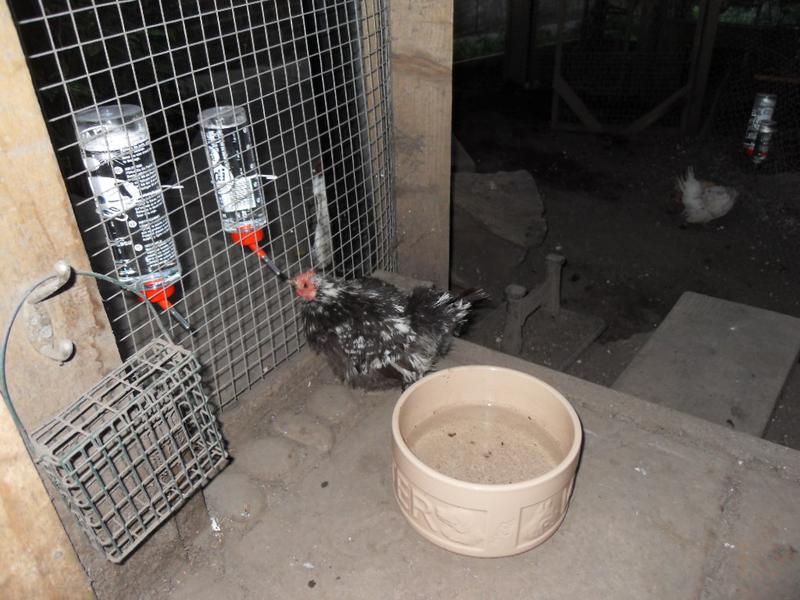
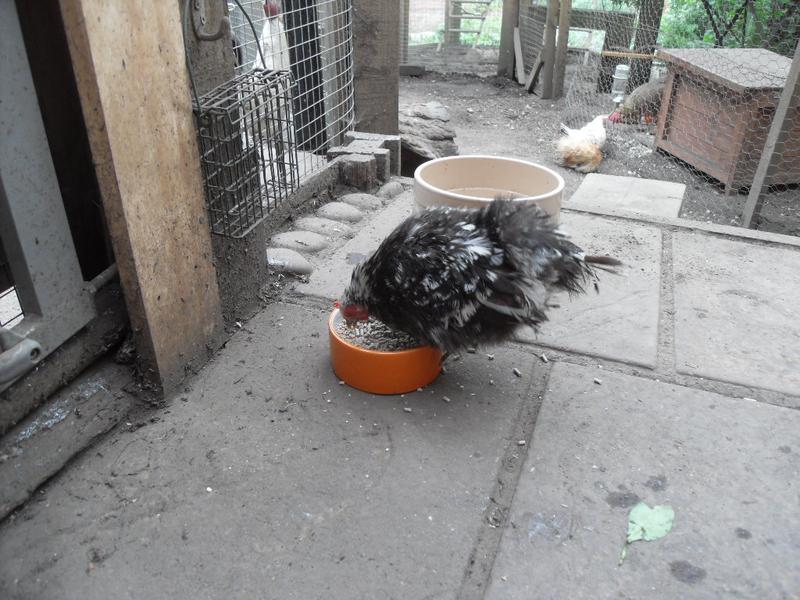
Pebbles
Although very fluffy Pebbles has lost the long slim tail feathers, which were more like hairs than feathers.
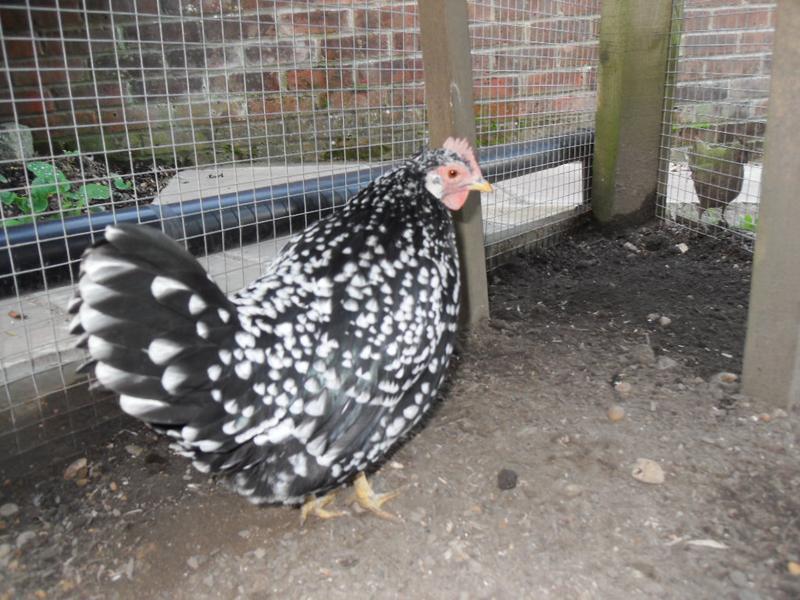
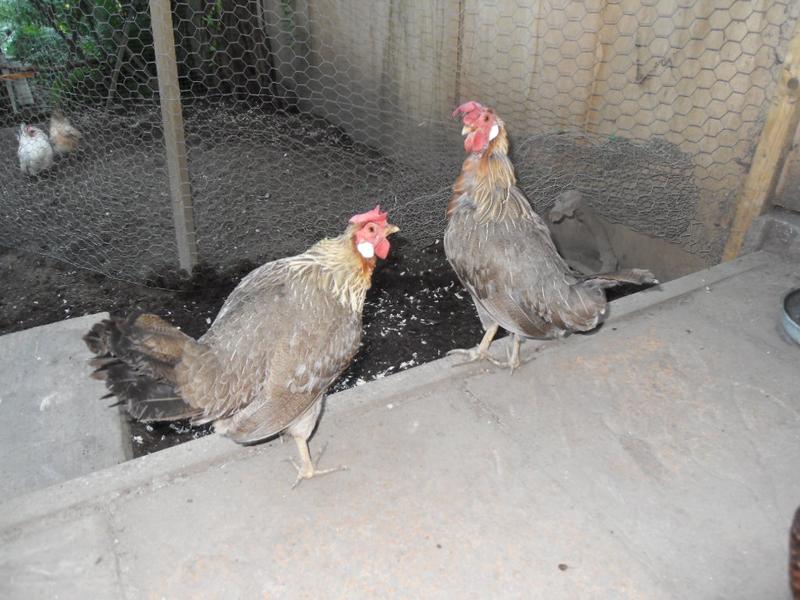
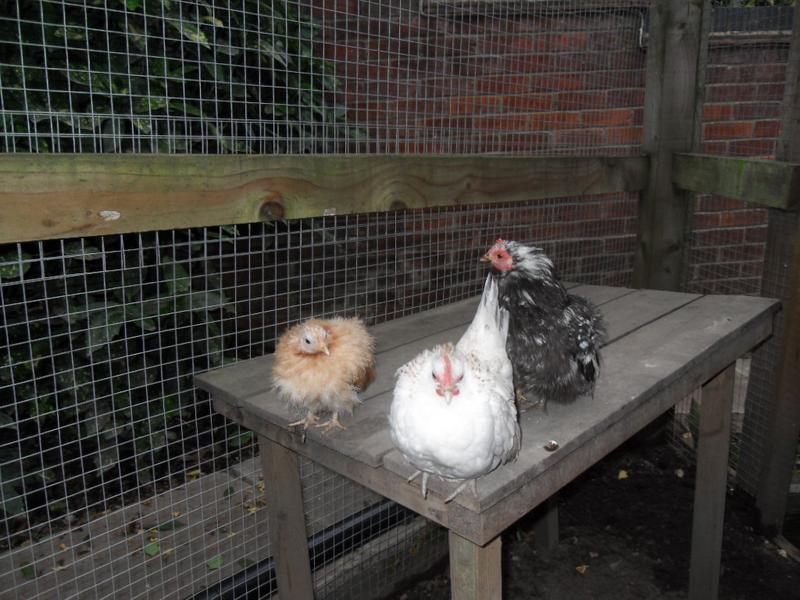
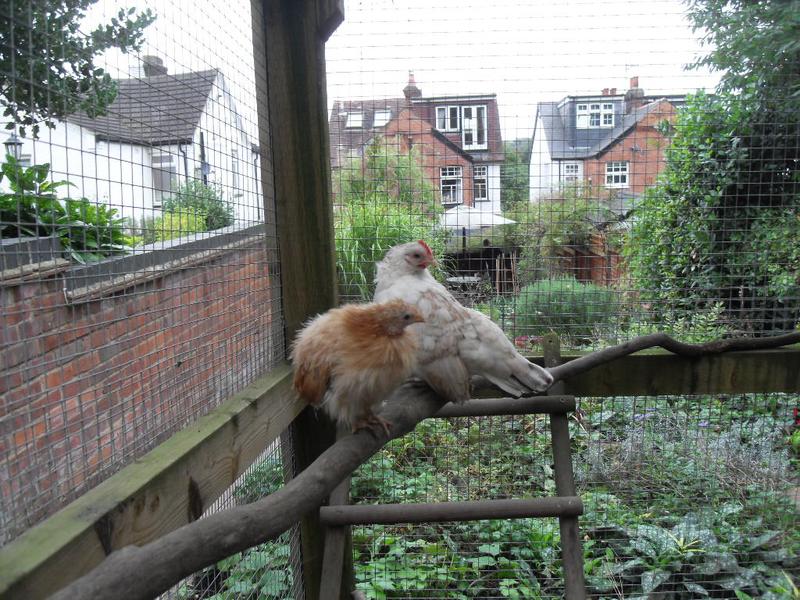
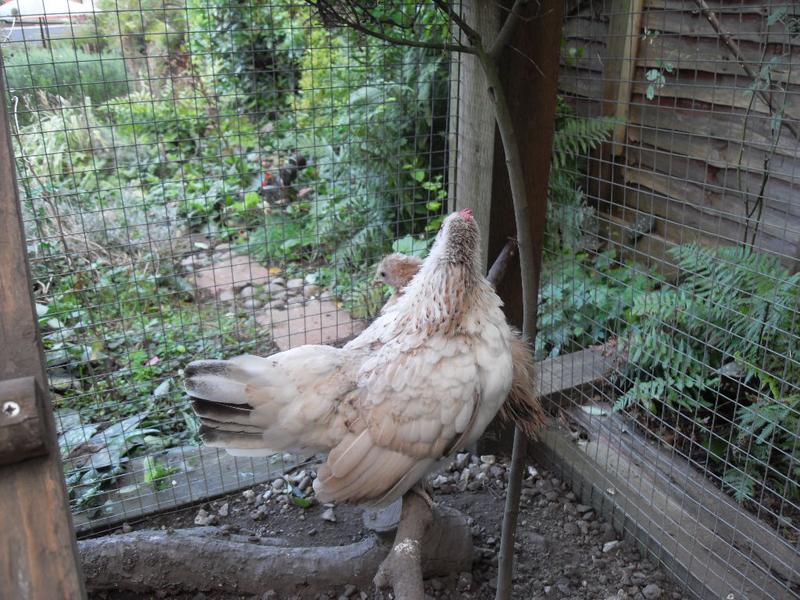
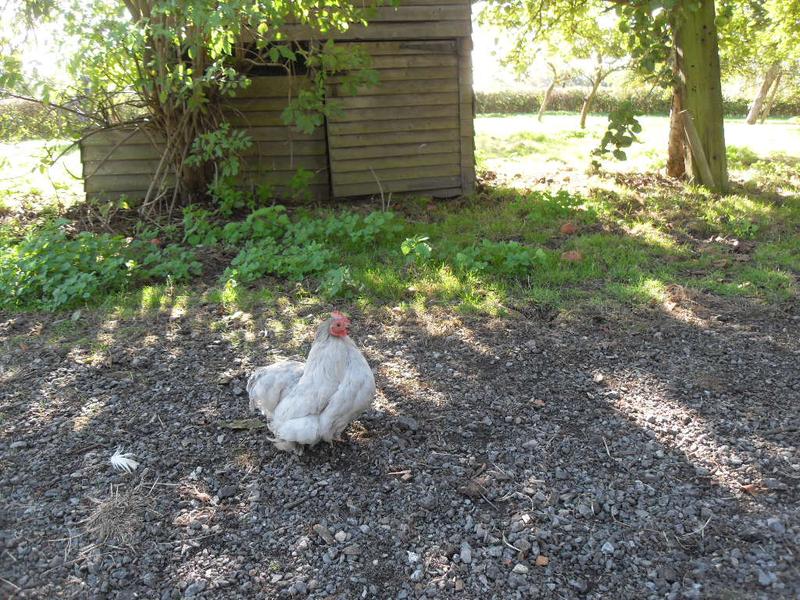
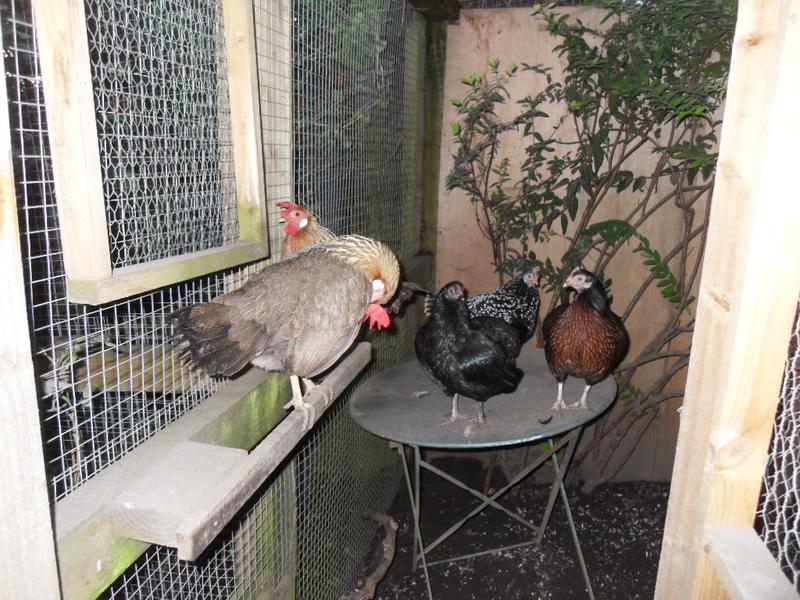
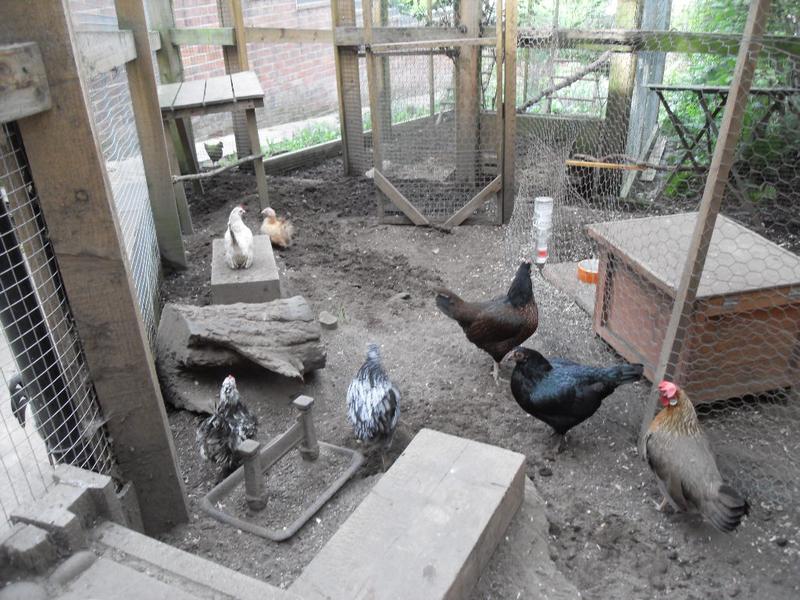
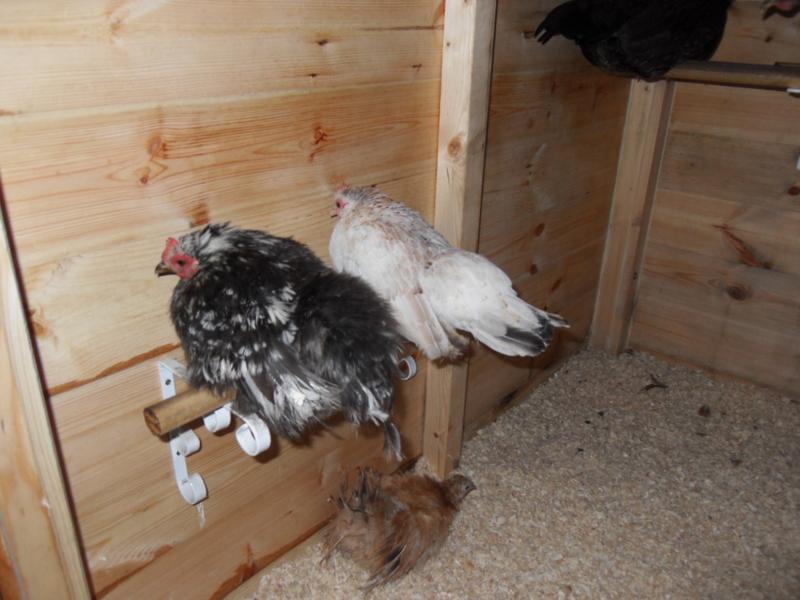
Speckles is looking good
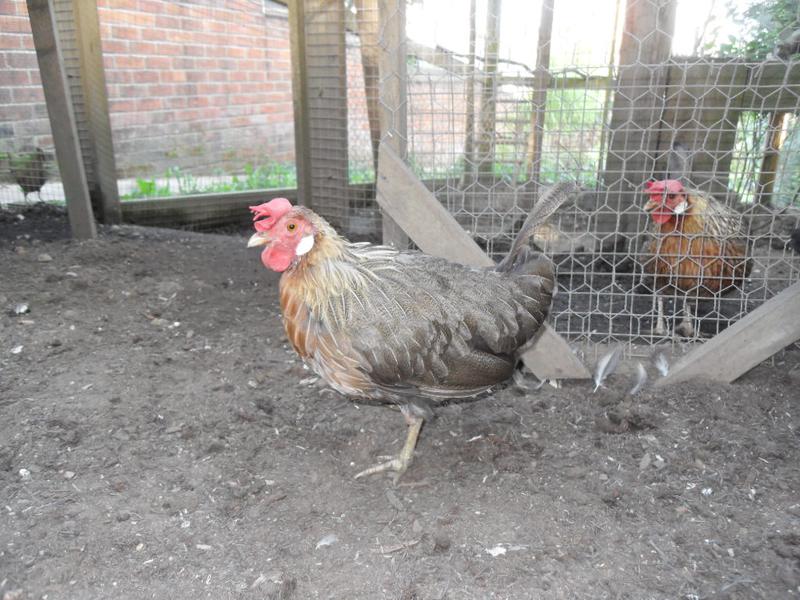
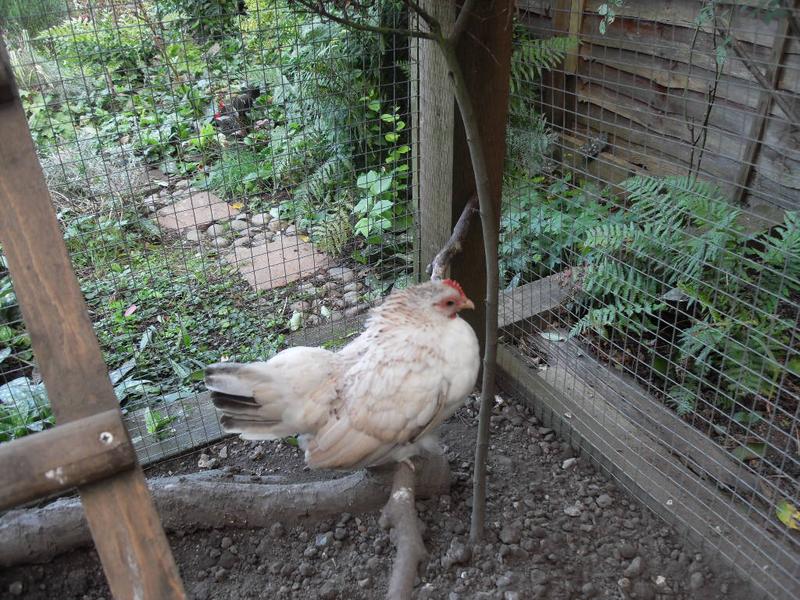
Toffee is missing some tail feathers
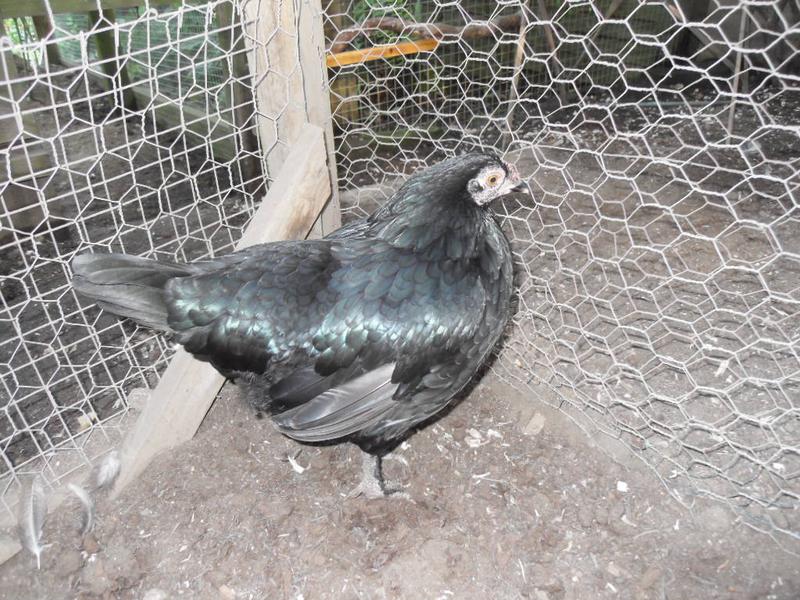
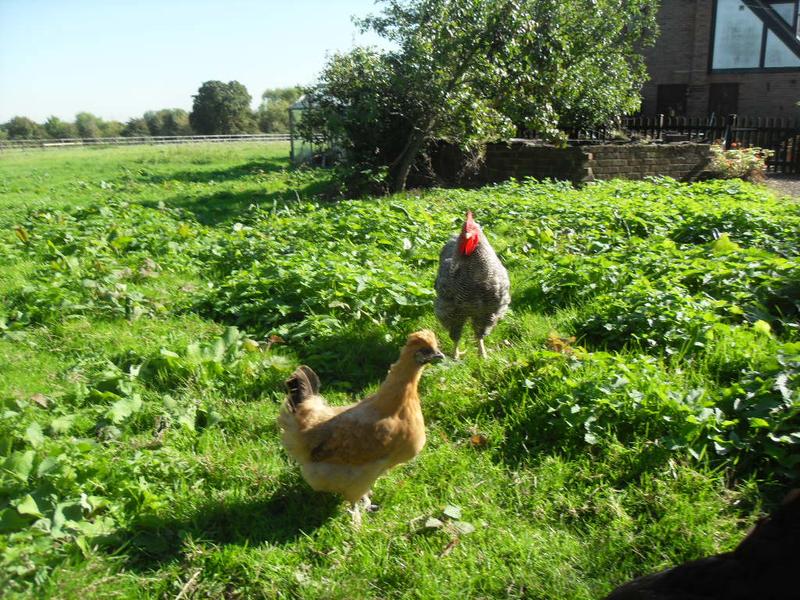
Emerald is looking good
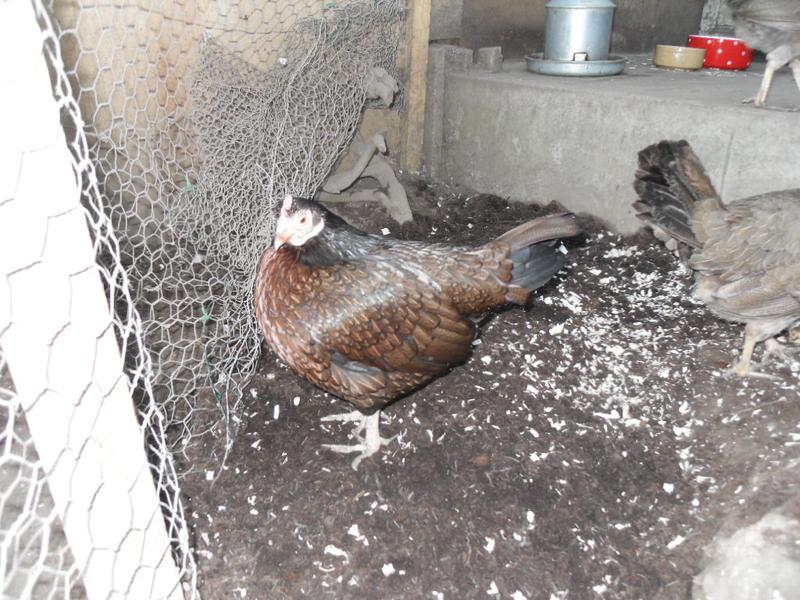
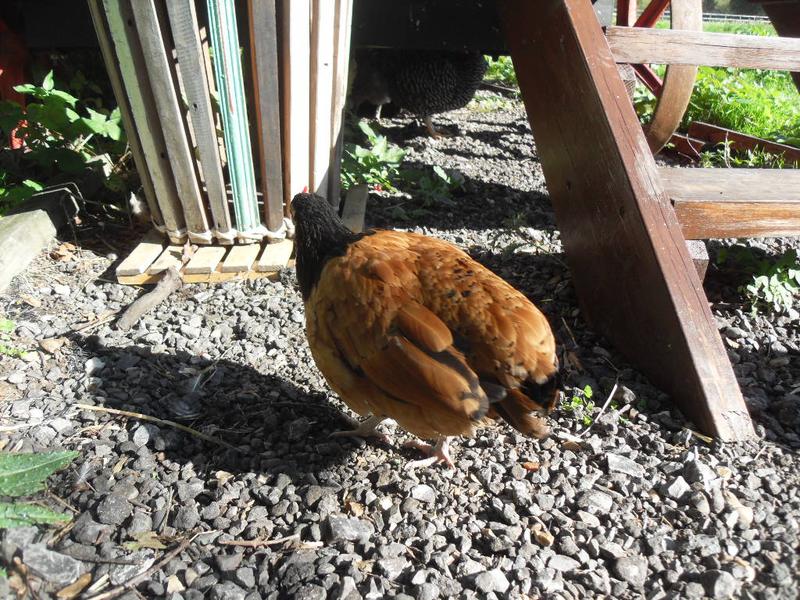
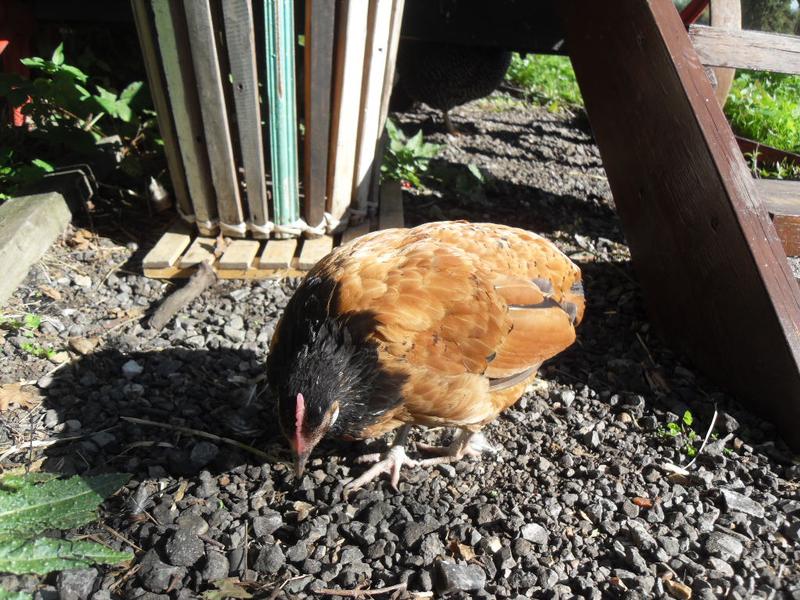
Barley has only one tail feather remaining
Peaches moult isn’t as advanced as Barley’s
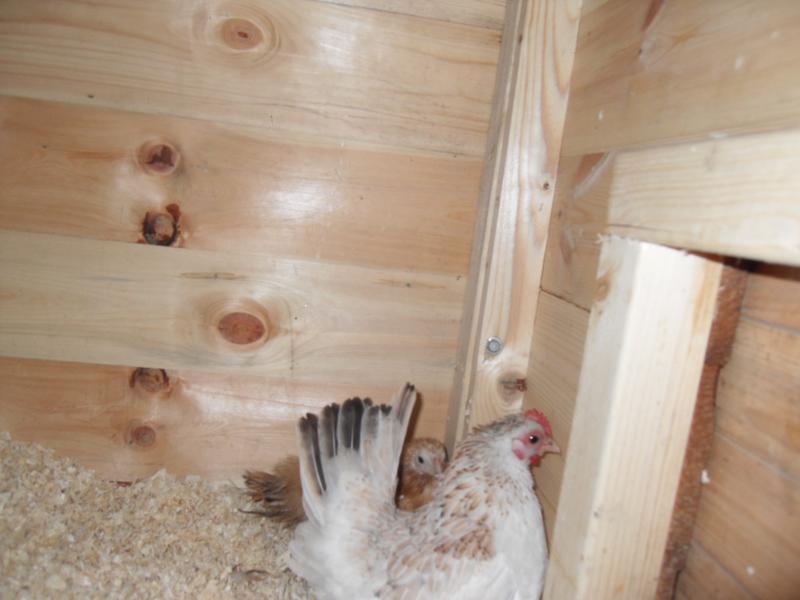
Peaches looks as if she is inspecting Barley’s tatty breast feathers.
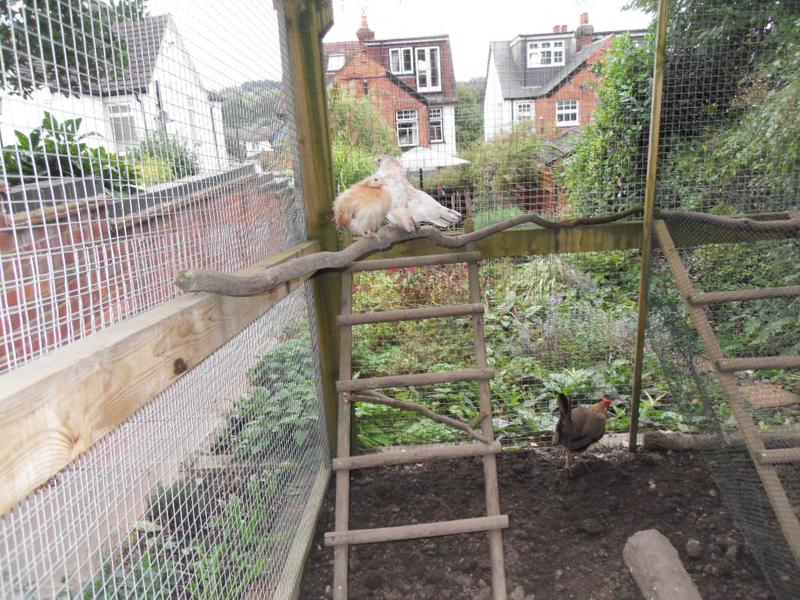
And finally, the bedtime routine. We are definitely getting there and it is only Speckles that is holding up the routine.
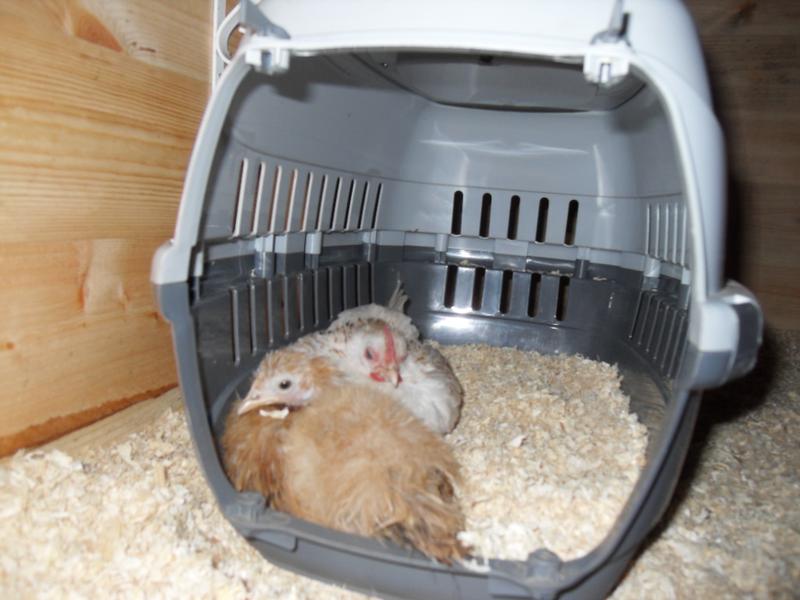
Last night when I went in after the bigger girls had gone into the shed, the little girls were on the patio area rather than looking for somewhere else to go. I could tell that they wanted to go in but every time they tried Speckles chased them out. I picked them up and put them in the cat box and draped a tea towel over the front. They were immediately calm.
Pebbles was on the perch outside the shed because she is also being intimidated by Speckles. I put her on her little perch in the shed and she stayed there. A few minutes later I removed the tea towel and the new girls stayed in the cat box.
Tonight I again went in after the bigger girls had gone in. This time Pebbles was on her little perch inside the shed. The other two little girls were on the patio and ran to me when I went through the gate. I could tell they wanted to go in but had been intimidated. I simply opened the door a little and they ran into the cat box. I didn’t think I would need the tea towel but as soon as they were in Speckles jumped down from her place on the perch.
I draped the tea towel over the cat box, this time not to keep the little girls in, but to protect them from Speckles. I swept up the feeding area while I waited for Speckles to take her place on the perch again then I removed the tea towel.
I returned a few minutes later to check on them and all was calm.
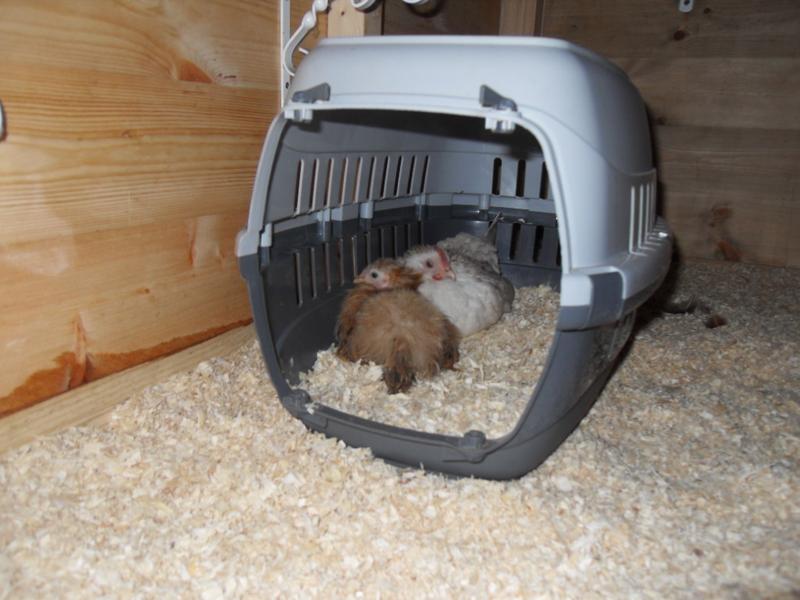
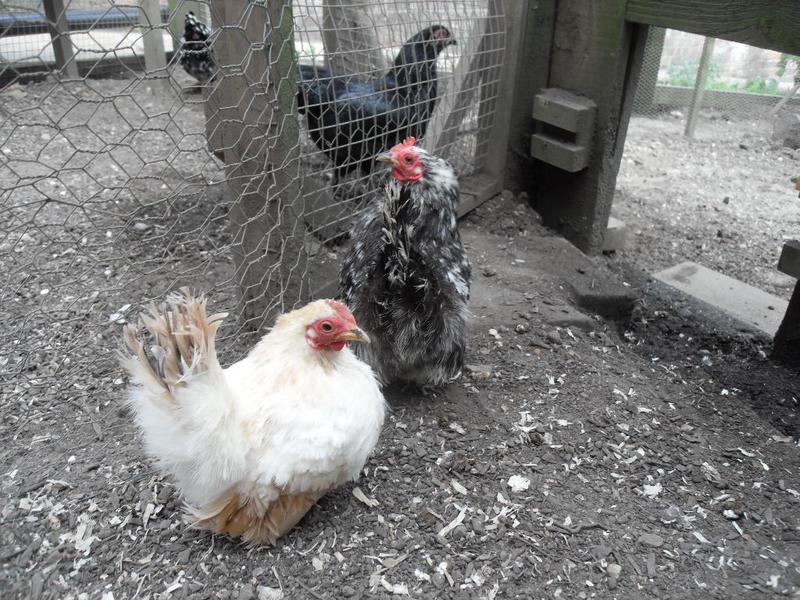
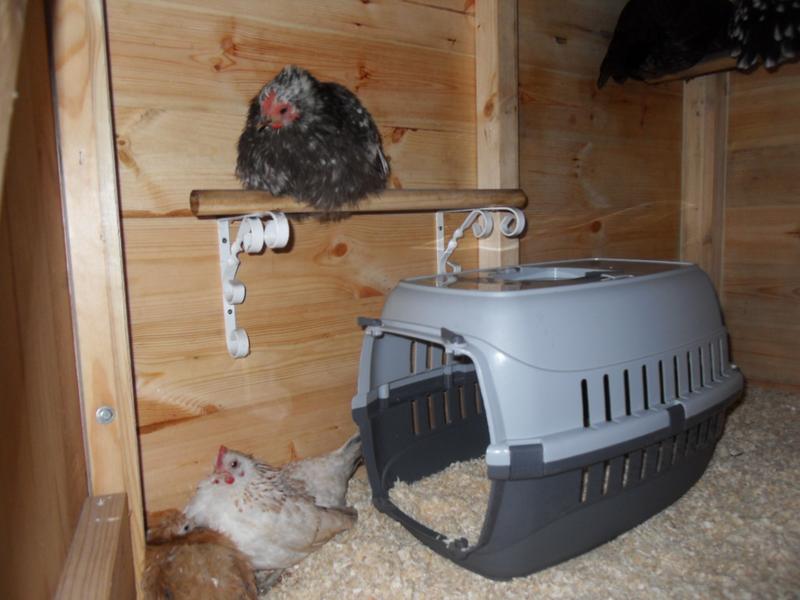
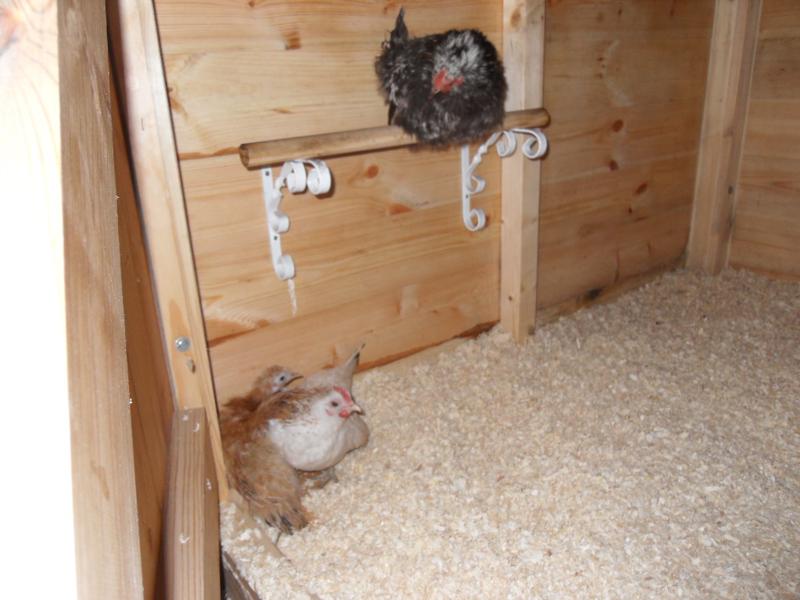
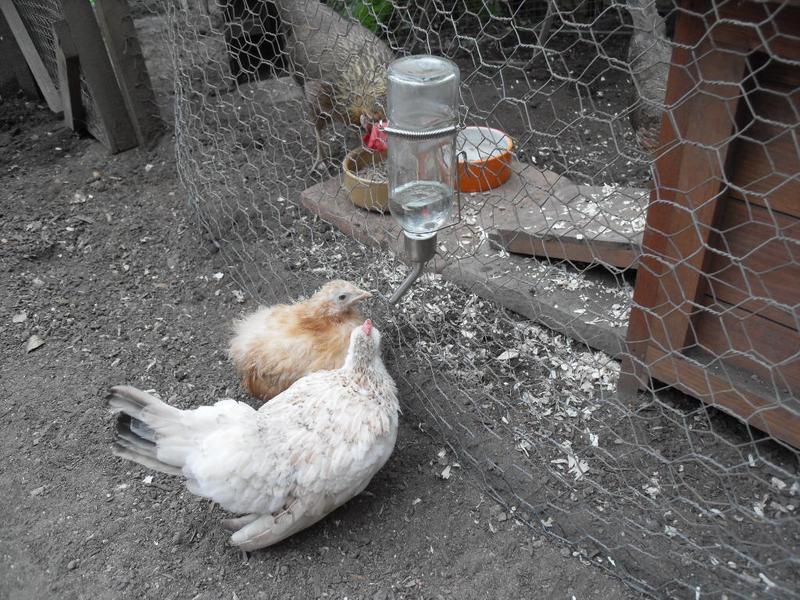
The little girls settled in the cat box
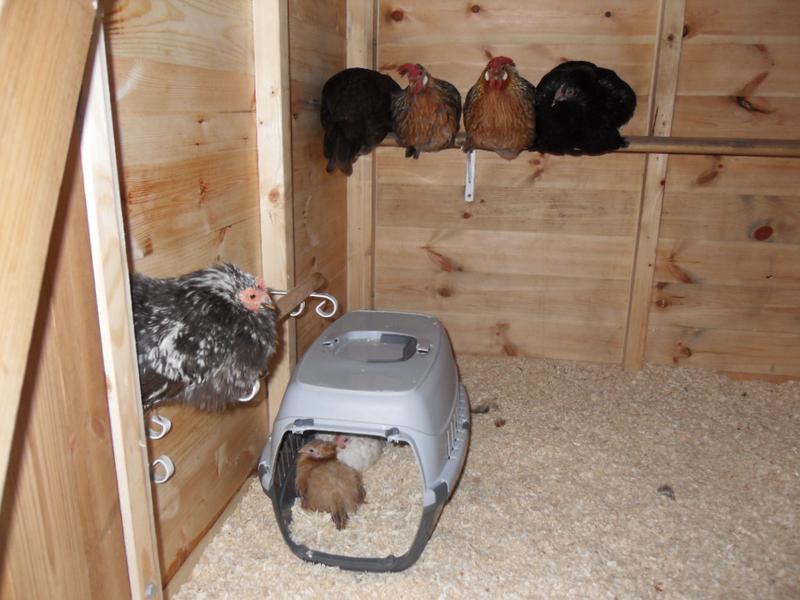
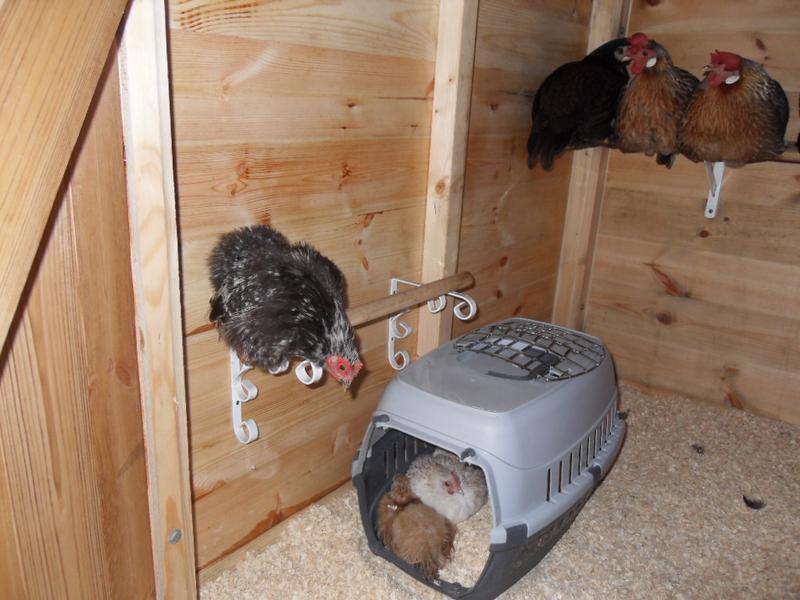
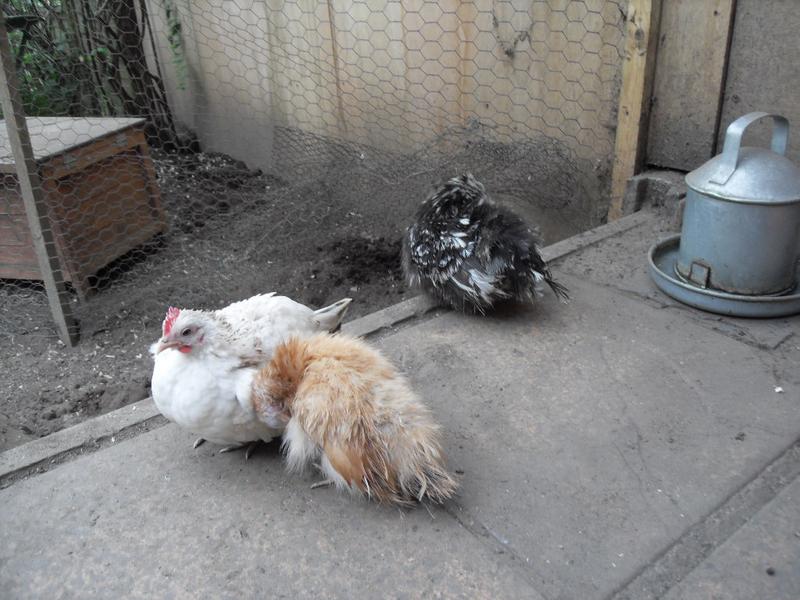
All the girls settled for the night
Speckles isn’t in this photo because she is on the right hand side of the back perch and I couldn’t get her in.
I hope that Speckles will soon tire of this behaviour because I know the little girls would go to bed with no problems if they weren’t being intimidated. Until she does I will just keep up with this routine which is working okay. At least the little girls are now receptive to my help at bedtime rather than trying to get away so I feel that we can continue with this routine until Speckles gets used to it.
The good thing is that the little girls are now totally focused on my hands for help. They run to my hands at all times, to guide them to food, water, treats, or to protect them from Speckles, or to help them to bed. I now only have to offer my hands to them and they run to them. This is so lovely and quite different from any of my experience with chickens so far.
I am totally won over by having young seramas. They are the friendliest chicks I have ever come across and I recommend the experience. I would always add more of them to the flock in future. I am really happy with the way things are progressing.


 Click here to see the history of my flock.